


21
Insignia NS-PDP42/50-09 42" and 50" Plasma TV
www.insignia-products.com
Adjusting picture settings
Setting the picture size (aspect ratio)
This feature lets you choose the way an analog
picture with a 4:3 aspect ratio is displayed on
your TV.
The RGB-PC input source uses 4:3 or 16:9
aspect ratio.
Choices include:
•
Set by program
—Selects the correct
picture proportion to match the source’s
image.
•
4:3
—Choose this when you want to view
a picture with the original 4:3 aspect ratio.
•
16:9
—Adjusts the picture horizontally to
fill the entire screen.
•
Zoom 1
—Choose this when you want to
view the picture without any alteration.
However, the top and bottom portions of
the picture are cropped.
•
Zoom 2
—Choose this when you want the
picture to be altered, both vertically
extended and cropped.
•
Just Scan
—Provides the best picture
quality without loss of original picture in
high-resolution image. Just Scan only
works with the following input sources:
•
TV
•
CADTV
•
Component
•
HDMI-DTV
•
DVI-DTV (720p/1080i/1080p)
To directly select the aspect ratio:
1
Press
RATIO
on the remote control
repeatedly to cycle through the various
aspect ratios.
2
When you have made your selection, press
RETURN
to resume normal viewing.
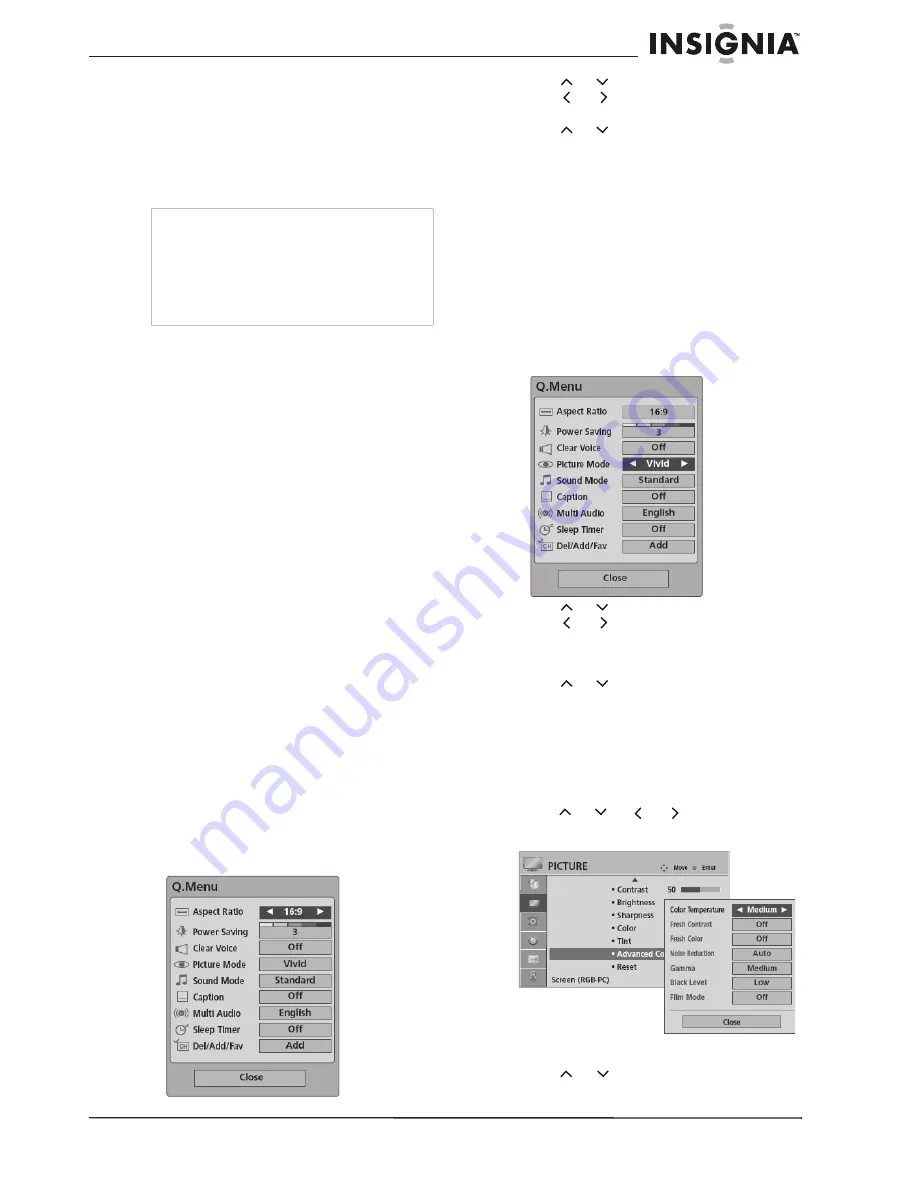
To select the aspect ratio from the Q.
M
ENU:
1
Press
Q.
M
ENU
on the remote control. The
Q.MENU opens.
2
Press
or
to select
Aspect Ratio
, then
press
or
to cycle through the various
aspect ratios.
3
Press
or
to select
Close
, then press
ENTER
to return to normal viewing.
Selecting preset picture settings
To directly select the preset picture settings:
1
Press
PICTURE
on the remote control
repeatedly to cycle through the various
presets. Choices include
Vivid
,
Standard
,
Cinema
,
Sport
,
Game
,
Expert1
, and
Expert2
.
2
When you have made your selection, press
RETURN
to resume normal viewing.
To select the aspect ratio from the Q.
M
ENU:
1
Press
Q.
M
ENU
on the remote control. The
Q.MENU opens.
2
Press
or
to select
Picture
M
ode
, then
press
or
to cycle through the various
presets. Choices include
Vivid
,
Standard
,
Cinema
,
Sport
,
Game
,
Expert1
, and
Expert2
.
3
Press
or
to select
Close
, then press
ENTER
to return to normal viewing.
Selecting preset color settings
You can choose one of three preset color
adjustments.
To set the color temperature:
1
Press
M
ENU
on the remote control, then
press
or
or
or
to select
PICTURE.
The
PICTURE menu opens.
2
Press
ENTER
to enter the
PICTURE menu.
3
Press
or
to
select
Picture
M
ode
, then
press
ENTER
.
Caution
If a fixed image is displayed on the screen for an
extended period of time, the image could become
imprinted on the screen and remain visible.
This phenomenon is common to all manufacturers
and is not covered by warranty.
After watching video that does not fill the screen,
an after-image from the black bars normally
dissipates after a few minutes.


