


30
31
Step 4:
Verify WalkAide Settings
This screen captures the current WalkAide
•
settings. Setting adjustments can be made
to accommodate specific clinical needs of
a patient. (i.e, Reduce pulse duration for a
sensitive patient; or modify Exercise Settings
to pre-set the exercise program).
Settings are sent to WalkAide as soon as they
•
are changed on the screen.
Step 5:
Collect WalkAide Data
Prepare patient to walk. Assure the cuff and
•
WalkAide are properly positioned and there
are no dangling cables that might impede
walking.
Select Start. This collects real-time data
•
which appears on screen. Stand shoulder
to shoulder on the same side of the patient’s
affected limb, provide support assistance as
needed. Prompt the patient to begin walking
with their sound side.
Activate dorsiflexion by pushing the WalkLink
•
stim button from heel off through heel strike.
Step 6:
Select Stop.
Step 7:
Select Save and Analyze.
Process the Data
Data processing involves following the sequence of icons [from left to right) displayed
•
above the Tilt data graph. ’Zoom’, ‘Autoset’ and ‘Optimize’ are the first three steps involved
in processing the walking trial.
1. ‘Zoom’ - Press and hold the left mouse button
and then drag the cursor to select the desired
steps. This ‘Selection’ process will highlight
selected steps to create the most effective
walking program.
2. ‘Autoset’ - automatically modifies the settings
based on statistically calculated values from
the walking data. Click ‘OK’ to accept the
statistical calculations and standard deviation.
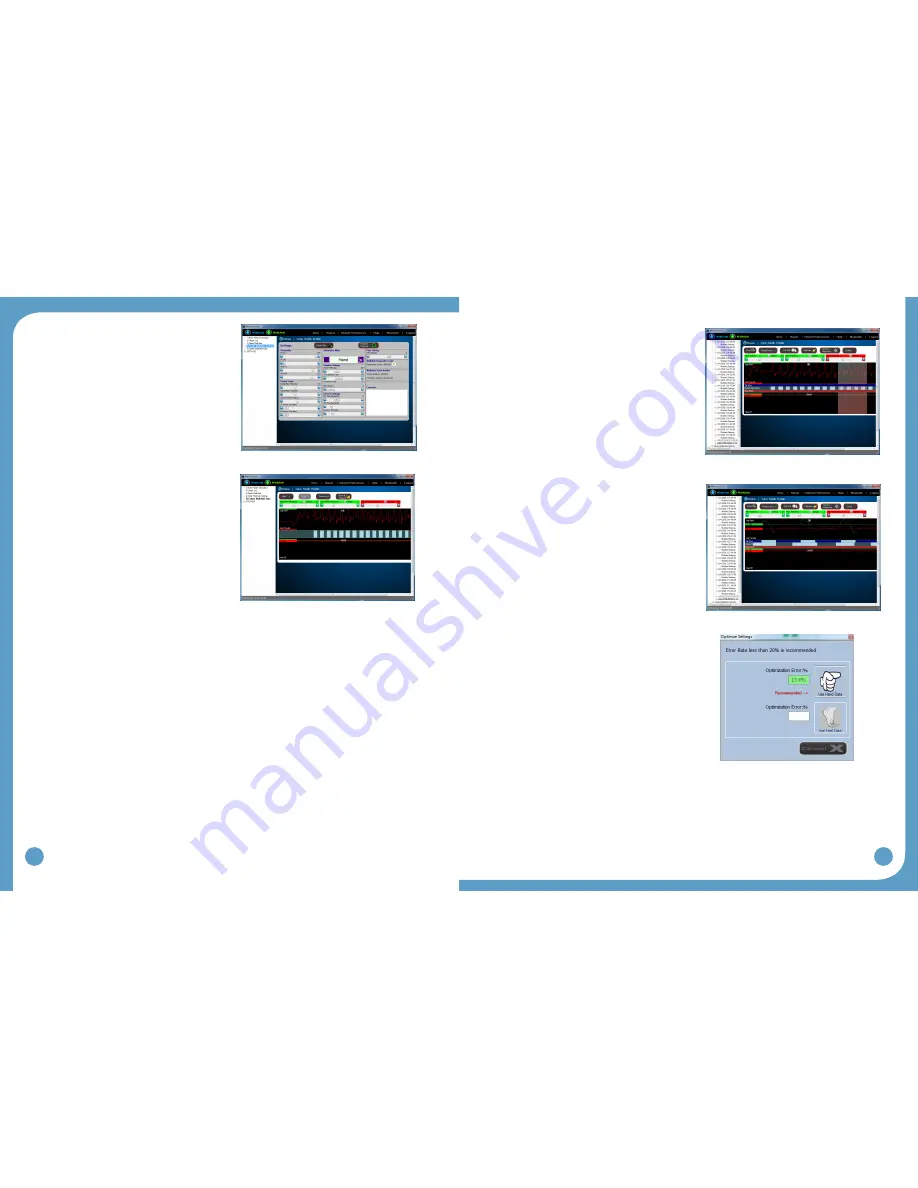
3. ‘Optimize’ - optimizes the calculated statistical
settings in reference to Hand or Heel
stimulations and calculates error rates. An
error rate of less than 20% is recommended.
Select the preferred reference signal and
associated error by clicking either the Use
Hand Data or Use Heel Data. (Figure 51)
Figure 47: (Standard) Verify WalkAide settings
Figure 48: (Standard) Collect walking data
Figure 49: (Standard) Select (zoom) walking data
Figure 50: (Standard) Autoset operation completed
Figure 51: (Standard) Optimize operation completed


