11
OBD2 DIAGNOSTICS
Performing a Scan – OBD2 Diagnostics
OBD2 DIAGNOSTICS
The
OBD2 Diagnostics
function allows you to perform OBD2 scans, view &
record Live Data, create RepairSolutions2
Reports, and Erase OBD2 DTCs.
PERFORMING A SCAN – OBD2 Diagnostics
1.
Follow the
AutoLink Connection
]
2.
Tap
OBD2 Diagnostics
.
n
The tablet automatically starts a check of the vehicle’s computer to determine which
communication protocol it is using. When the tablet identifies the computer’s communication
protocol, a communication link is established.
NOTE:
A PROTOCOL is a set of rules and procedures for regulating data
transmission between computers, and between testing equipment and computers.
As of this writing, five different types of protocols (ISO 9141, Keyword 2000, J1850
PWM, J1850 VPW and CAN) are in use by vehicle manufacturers.
n
If the Scan Tool fails to link to the vehicle’s computer, a “Scan Failed” message shows.
━
Ensure the vehicle is OBD2 compliant–check vehicle emission control information (VECI)
label located in the vehicle’s engine compartment.
━
Verify the connection at the DLC, and verify the ignition is ON.
━
Turn the ignition OFF, wait 5 seconds, then back ON to reset the computer.
━
Tap
Try Again
to try again, or tap
Cancel
to return to the Home Page.
3.
A progress dialog displays while the tablet retrieves any Diagnostic Trouble Codes, Monitor Status and Freeze
Frame Data from the vehicle’s computer memory.
4.
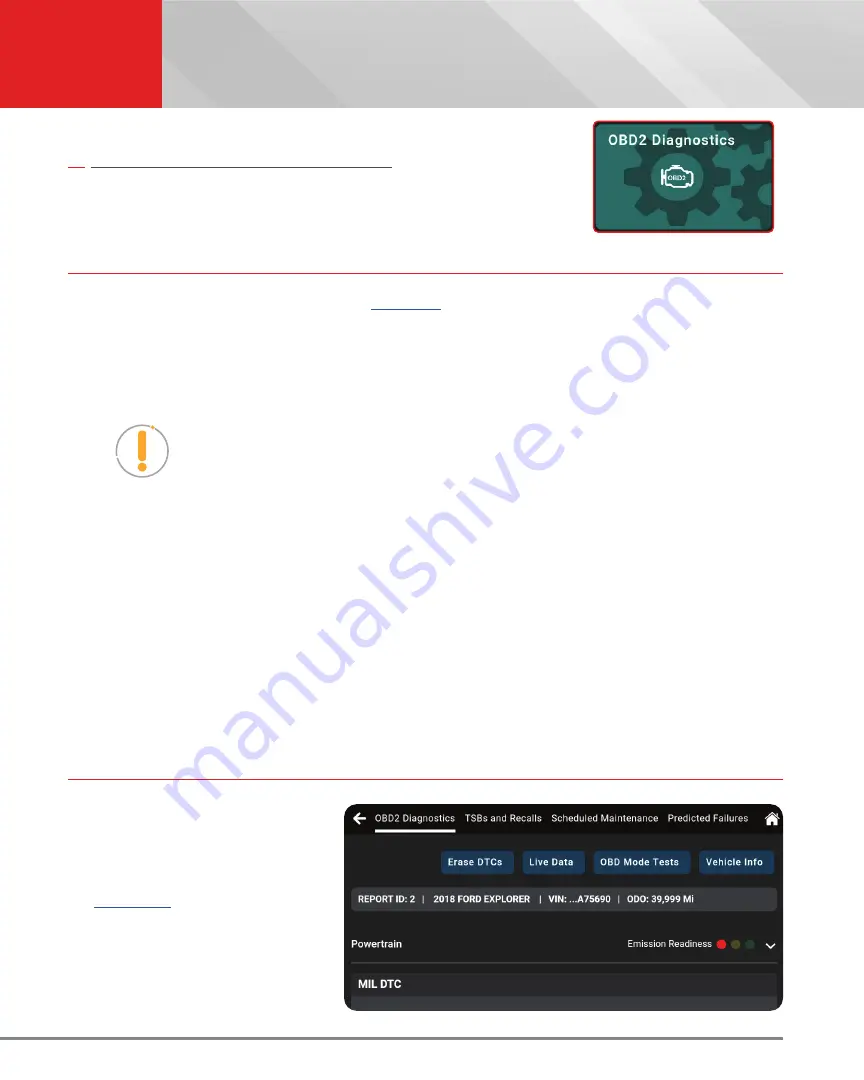
When the retrieval process is complete, the
OBD2 Diagnostics
screen displays with the scan results.
VIEWING SCAN RESULTS – OBD2 Diagnostics
Scan results are shown immediately
following completion of a scan;
and can also be viewed later using
the
PREVIOUS VEHICLE
function
available through the Home page
[
Scan results are shown in a multi-
page display, which includes
OBD2
Diagnostics, TSBs and Recalls,
Scheduled Maintenance,
and
Predicted Failures.


