10
GETTING STARTED
Scanning a Vehicle
Providing Vehicle Selection Information
1.
A dialog appears requesting
Vehicle Selection
2.
Tap on each of the available entries (
Year
,
Make
,
Model
,
Trim
,
Body Code
,
Engine
)
n
A grayed-out selection means that an entry is not available or not necessary for this vehicle.
3.
Make a selection under each option.
4.
Tap
Continue
to save your selections and return to the Home screen.
5.
Tap
Cancel
to exit without selecting and return to the Home screen.
Providing Vehicle’s Mileage
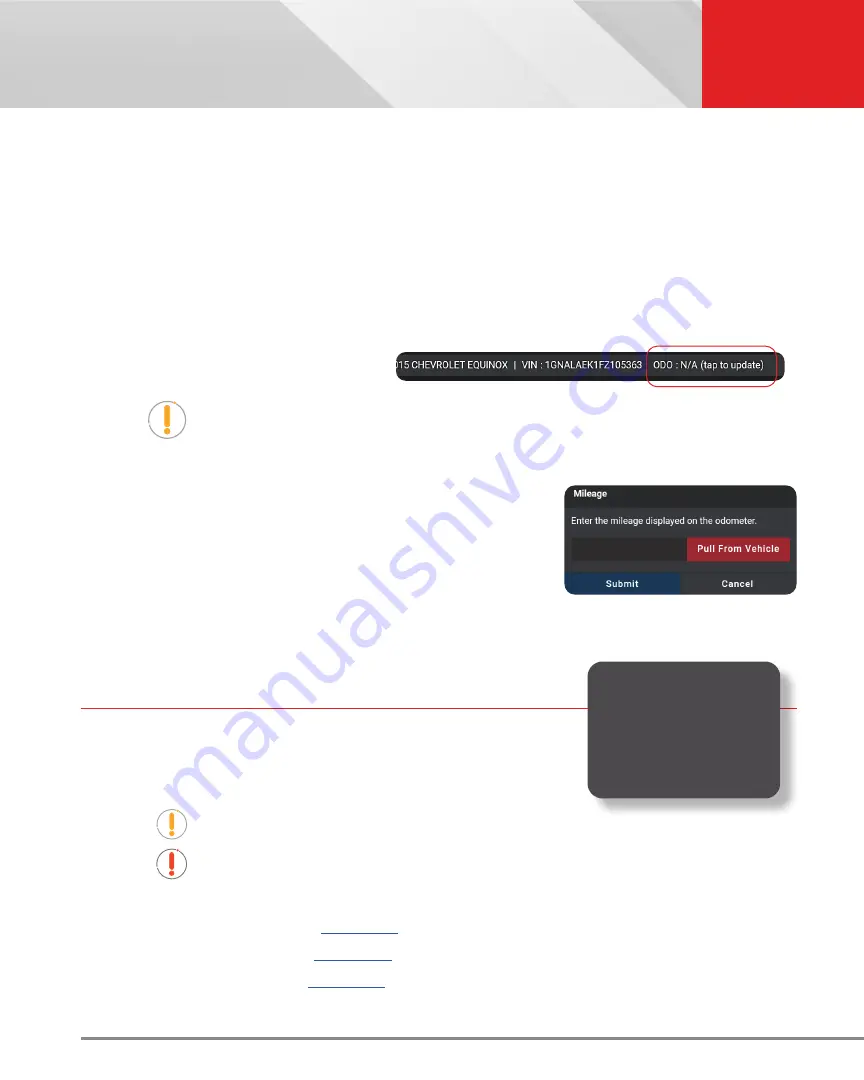
If mileage is missing, the Vehicle Info Bar will
show
“
ODO: N/A (tap to update)”.
NOTE:
Please be aware that correct mileage is necessary to generate accurate
diagnostic reports.
1.
Tap on the
Vehicle Info Bar
“(tap to update)”.
2.
Tap
Pull From Vehicle
to auto retrieve the vehicle’s stored mileage.
n
A progress bar appears “
One moment please...
”
3.
If successful, the screen returns to the Home page and displays
mileage in the Vehicle Info Bar.
4.
If unsuccessful, an error dialog appears
n
Tap on the entry box and enter mileage.
n
Tap
Submit
to confirm entry and return to the Home page.
SCANNING A VEHICLE
Never replace a part based only on the DTC definition. Each DTC has a set
of testing procedures, instructions and flow charts that must be followed
to confirm the location of the problem. Always refer to the vehicle’s service
manual for detailed testing instructions.
NOTE:
Check your vehicle thoroughly before performing any test.
WARNING:
ALWAYS observe safety precautions whenever working on a vehicle.
Refer to the appropriate diagnostic test you wish to perform:
n
OBD2 Diagnostics
n
OEM Diagnostics
n
Workshop Tools
–
Retrieving and using
Diagnostic Trouble Codes
(DTCs) for troubleshooting
vehicle operation is only
one part of an overall
diagnostic strategy.


