


45
displays on the screen. Then, click the button “Save” with the left mouse
button and the blue frame changes into black which indicates a successful
setting.
To cancel a privacy mask, just cancel the box ticking.
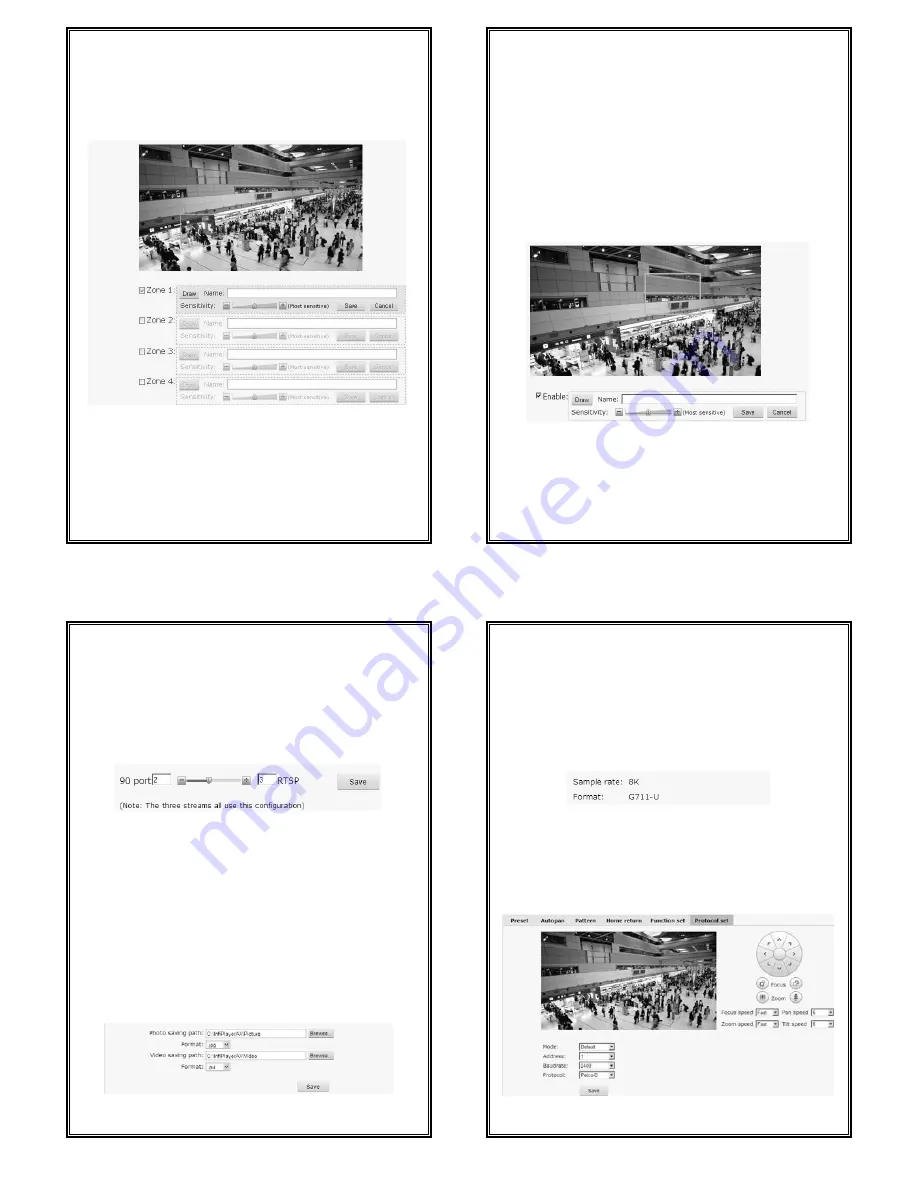
4.5.4 Motion Detection
Figure 4-33 Motion Detection Settings
V6202-TA series camera support motion detection. Users can easily set the
motion detection areas (up to 4) with the mouse.
Note: do turn on motion detection function in Live View interface before
motion detection setting (see Section 4.1).
46
Tick the box of Zone number to be set. If the motion detection area has been
set, a blue frame will be displayed on the screen.
How to set the motion detection area:
Tick the box of motion detection area number. Click the button “Draw” with
the mouse, press the left mouse button and drag on the video till a blue frame
displays on the screen. Then, click the button “Save” with the left mouse
button and the blue frame changes into green which indicates a successful
setting.
Besides, you can set the area name and sensitivity.
To cancel a motion detection area, just cancel the box ticking.
4.5.5 Shelter Alarm
Figure 4-34
V6202-TA series camera supports shelter alarm function. Users can easily set
the shelter alarm areas with the mouse.
At first, enable shelter alarm. Click the button “Draw” with the mouse, press
the left mouse button and drag on the video till a blue frame displays on the
47
screen. Then, click the button “Save” with the left mouse button and the blue
frame changes into green which indicates a successful setting.
Besides, you can set the area name and sensitivity.
It will trigger alarm when the video within the area is shielded. Refer to
Section 4.7 for alarm contact details.
4.5.6 Link Configure
Figure 4-35
For each stream, the total of 90 port and RTSP port is 5. In this interface, you
can set the video numbers of 90 port and RTSP port.
The default setting is visit 2-ch major stream, 2-ch minor stream and 2-ch
MJPEG video via 90 port and visit 3-ch major stream, 3-ch minor stream and
3-ch MJPEG video via RTSP port.
4.5.7 Storage Path
You can set the photo saving path and recording saving path in the following
interface.
Figure 4-36 Storage Path
48
Default photo saving path: C:\InfiPlayerAX\Picture.
Default video saving path: C:\InfiPlayerAX\Video.
Photo and video formats can also be set. The default photo format is .jpg and the
default video
format is .avi.
To change the saving path, click the button “Browse” and select the path from
the popup dialog box.
4.5.8 Audio Settings
Figure 4-37 Audio Settings
Sample Rate: 8K.
Format: G.711-U.
4.6 PTZ Functions
Figure 4-38


