68
INS
TALLER
U
SER
M
AINTEN
AN
CE
TECHNI
CI
AN
TECHNI
CAL
D
AT
A
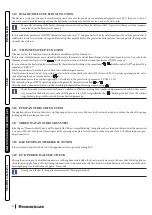
3.8 CALIBRATION TYPE INVOLVING THE REPLACEMENT OF A COMPONENT.
When performing extraordinary maintenance on the boiler, involving the replacement of a component, such as the P.C.B. or compo-
nents in the air, gas and flame control circuits, the boiler will need to be calibrated.
Select the type of calibration to be carried out according to the table below.
Component replaced
Type of calibration required
Gas valve
Quick calibration
Fan
Quick calibration
Burner
Complete calibration with CO
2
check
Ignition / detection electrode
Complete calibration with CO
2
check
P.C.B.
Restore the parameters as described in Par. 3.13
Complete calibration with CO
2
check
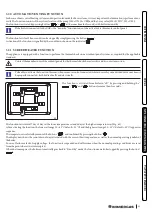
3.9 COMPLETE CALIBRATION FUNCTION
Before carrying out complete calibration, ensure that all the requirements indicated in the relevant paragraphs have been met
To access this function it is crucial that there are no active requests for central heating or DHW production and that the boiler is not in
“Stand-by” mode.
In the event of anomaly “62” or “72” (Par. 2.5) the device cancels any requests by itself.
During the various calibration stages, the CO
2
value can be checked and possibly corrected as described in (Par. 3.10).
The energy produced is dissipated via the heating circuit; alternatively, the energy can be released from the DHW circuit by opening any
hot water tap.
In this case the only active temperature control is the flow probe that limits the maximum temperature exiting the boiler at
90°C, therefore be careful not to get burned.
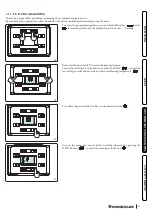
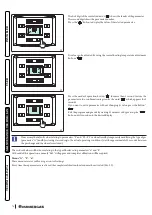
The calibration procedure involves various stages:
- nominal heat output calibration;
- intermediate heat output ignition calibration;
- minimum heat output calibration;
- calibration self-check.
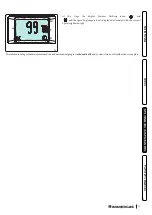
Each calibration procedure, if carried out without altering the parameters, lasts 5 minutes at the most, after which it switches automati-
cally to the next parameter until the calibration process is complete.
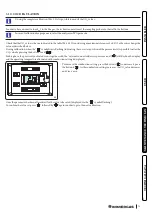
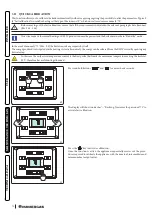
Once activated, to cancel the complete calibration function, press the button (
) for 2 seconds or disconnect the power sup-
ply. The adjustments present before activating the function will be maintained.


