Part 2 - Configuration
44
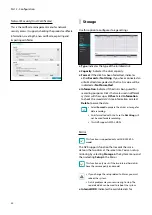
Device Scan
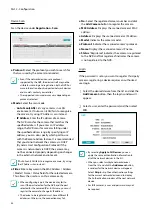
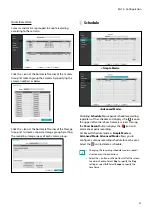
Scan the device under
Registration
-
Scan
.
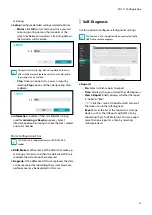
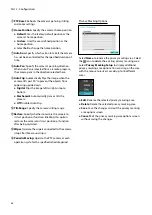
●
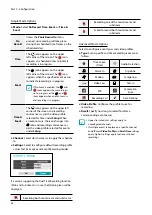
Protocol
: Select the protocol you wish to search for
that was used by the camera (or encoder).
•
Even if the network device uses a protocol
supported by the NVR, the device itself may not be
visible for scanning and registration by the NVR. For
more information about supported network devices
and models, contact your retailer.
•
The supported scan modes may vary depending on
protocol selected.
●
Mode
: Select the scan mode.
–
Auto Scan(LAN)
: Lists any cameras in a LAN
environment. If Auto scan (LAN)
fails to recognize
the camera, try using IP Address scan instead.
–
IP Address
: Enter the IP address of a camera.
The NVR scans for the camera that matches the
specified address. If you enter an IP address
range, the NVR scans for cameras falling under
the specified address range. By specifying an IP
address, you can also specify which port to use
with the Remote Admin feature. It is recommended
that you do not network the camera via DHCP
(Dynamic Host Configuration Protocol). If the
camera is networked via DHCP, the camera may
not be connected properly depending on changes
in the external network environment.
If Auto Scan (LAN)
fails to recognize a camera, try using
the IP Address
scan instead.
●
Filter
: Enter a keyword in the MAC Address / Address
/ Model / Name / Status fields for the selected camera.
This allows the user to scan this camera easily.
•
When configuring a port, the device may fail to
scan if the port selected for the NVR and the port
selected for the camera differ. In this case, you must
register the camera to change its IP address.
•
The device to be registered must have different IP
addresses. Otherwise, the connection may fail.
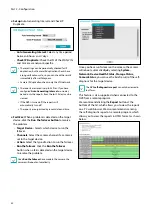
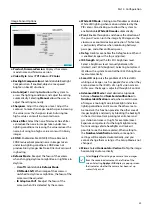
●
No.
: Select the registered camera number and click
the
Add Camera
button to register the camera.
●
MAC Address
: Displays the scanned camera’s MAC
address.
●
Address
: Displays the scanned camera’s IP address.
●
Model
: Indicates the camera model.
●
Protocol:
Indicates the scanned camera’s protocol.
●
Name
: Displays the scanned camera’s IP name.
●
Status
: “Registered” indicates the camera is registered
to the NVR and “Not registered” indicates the camera
is not registered to the NVR.
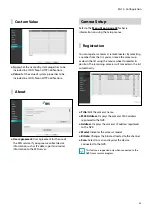
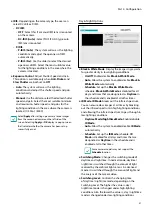
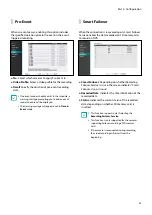
Login
If the password is set or you want to register third party
cameras, registering a device requires an authorized
user login.
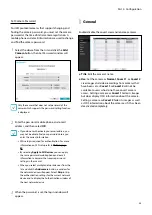
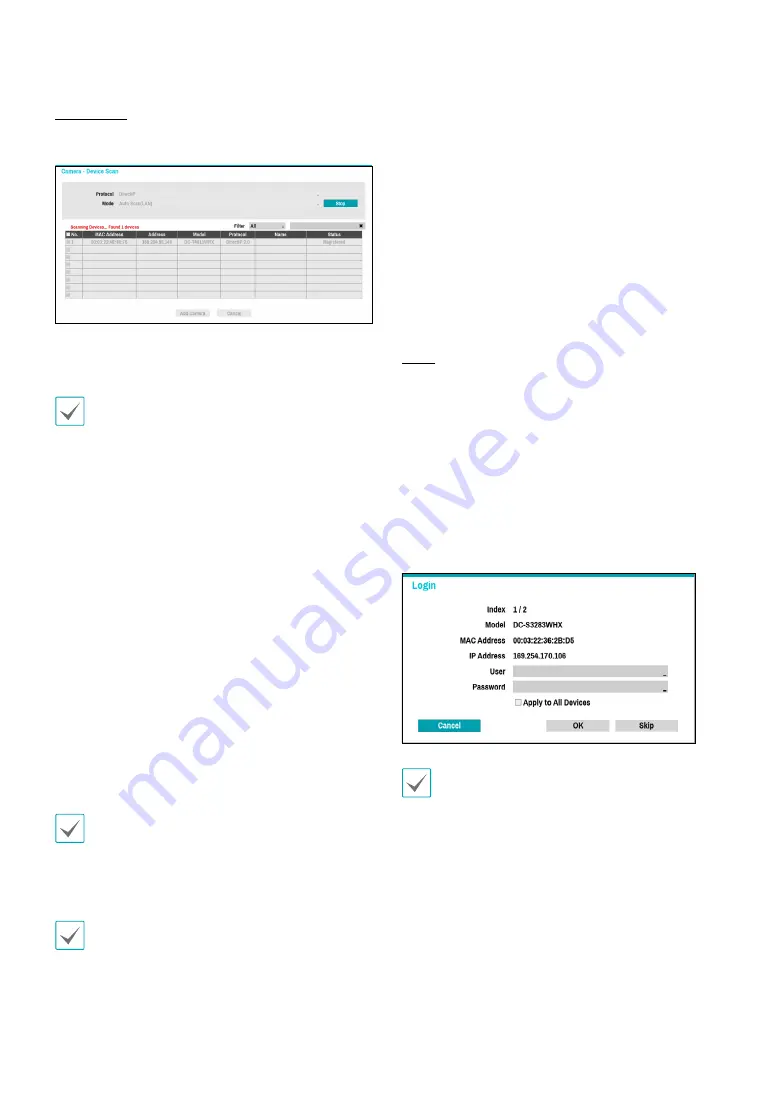
1
Select the desired deivce from the list and click the
Add Camera
button, then the login window will
appear.
2
Select a user, enter the password, and then select
OK
.
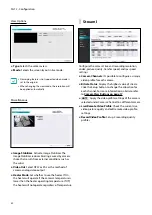
•
By selecting
Apply to All Devices
, you can
apply the same authentication information to
all of the network devices in the list.
•
When you select multiple network devices
from the list and click the
Add camera
button,
a window for the network device will appear.
Select
Skip
to skip the authentication settings
for the current network device and to display
the Authentication window of the next network
device.
•
For IDIS cameras, a user and password may not
be required.

