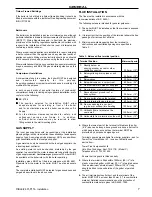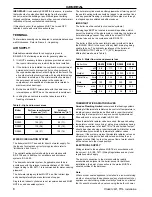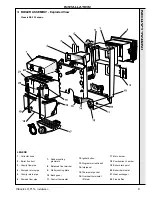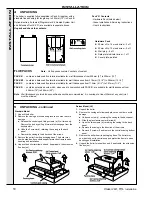
21
Classic LX, RS -
Installation
REPLACEMENT OF PARTS
1.
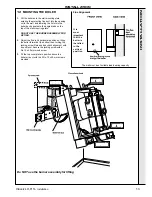
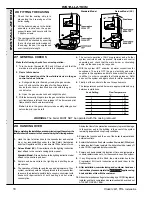
Refer to Frame 36.
2.
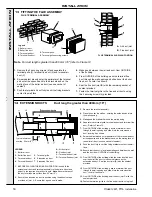
Unfasten the 2 nuts and washers holding the
sightglass assembly to the casing front panel.
3.
When fixing the new assembly, make certain that
the parts are in the correct order. The frame
MUST have the return edge at the bottom.
4.
Retighten the 2 nuts to ensure an airtight
seal. Do NOT overtighten.
5.
Replace the boiler casing.
1.
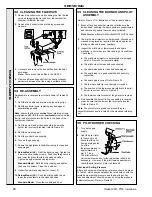
Refer to Frame 36.
2.
Remove the control box fixing screw. Pull the box forward
and downward to disengage.
3.
Disconnect the ignition lead from the piezo unit.
4.
Unscrew the locking nut at the rear of the piezo unit
mounting bracket.
5.
Remove the piezo unit. Refit the new unit and re-assemble
in reverse order.
6.
Refit the control box assembly.
7.
Replace the boiler casing.
8.
Check the operation of the new piezo unit.
SERVICING
When replacing any component:
1.
Isolate the electricity supply.
2.
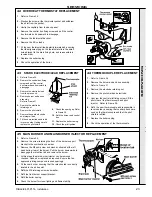
Turn off the gas supply at the boiler - refer to the
illustration below.
Note.
The gas cock is shown in the
CLOSED position.
3.
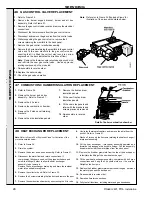
Remove the boiler casing (refer to Frame 30).
IMPORTANT.
When work is complete the casing MUST be
correctly refitted - ensuring that a good seal is made.
38 PIEZO UNIT REPLACEMENT
SER
VICING
The boiler MUST NOT be operated if the casing is not fitted.
Note
.
Standard model
illustrated.
For the
Deluxe model (LX)
,
slide the glass fascia out BEFORE removing the
sightglass assembly. Refit the glass fascia AFTER fitting the new sightglass
assembly.
37 SIGHTGLASS REPLACEMENT
36 GENERAL
Содержание Classic LXRS 230
Страница 1: ......

