12
Classic LX, RS -
Installation
INSTALLATION
1.
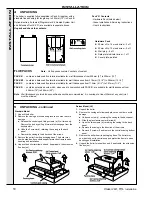
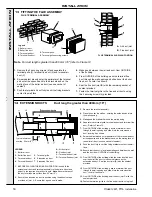
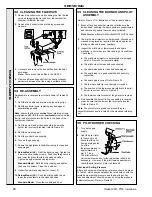
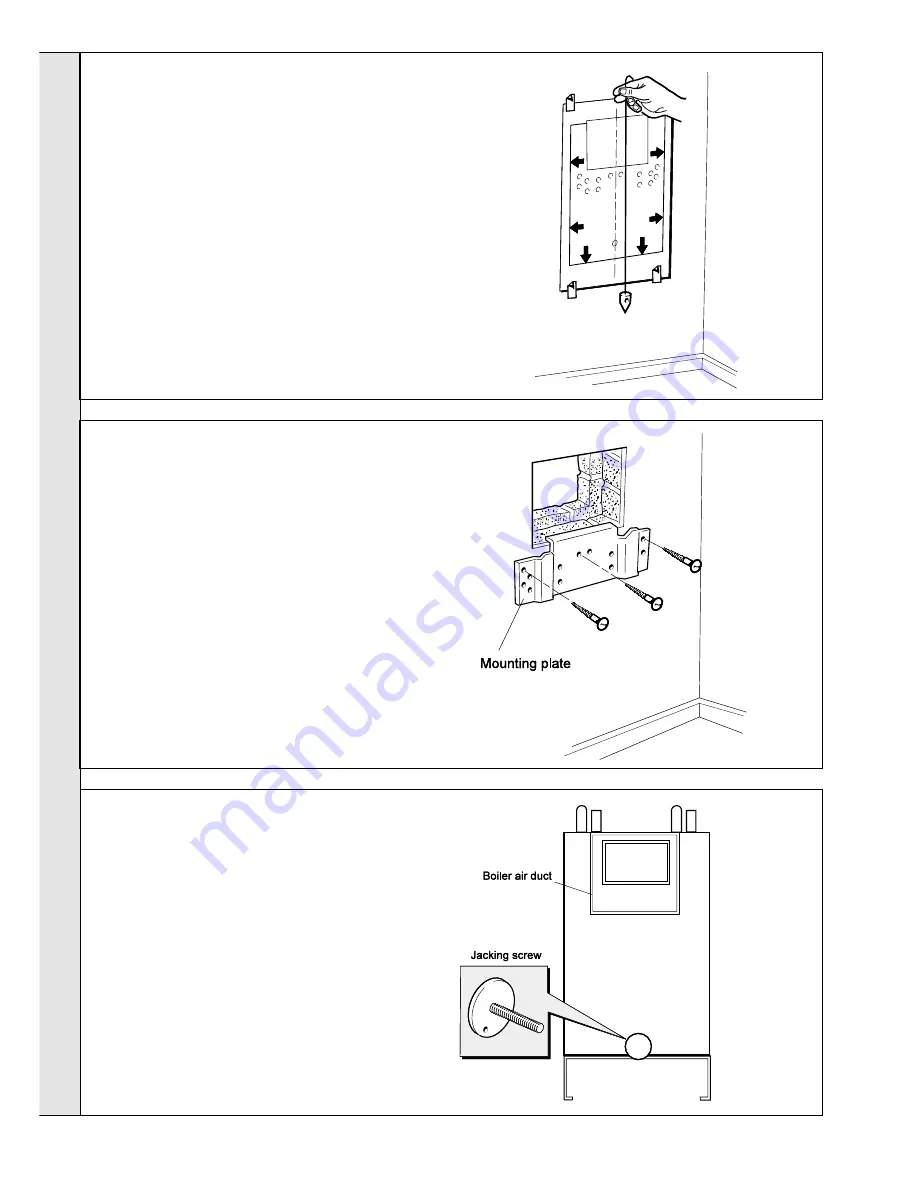
Tape the template to the wall in the selected position.
Ensure squareness by use of a plumbline, as shown.
2.
Mark out the position of the 3 wallplate screws, choosing
one from each group of 3 holes. Also mark the position of
the hole for the duct, the jacking screw and the top cover
plate screws.
3.
Drill the 3 holes, 8 mm (
5/16"
), and insert the 3 plastic
plugs. Drill the jacking screw and the top cover plate
screw holes 7mm (9/32") and insert the plastic plugs.
4.
Remove the template from the wall.
IMPORTANT.
The wall must be of suitable load bearing capacity.
1
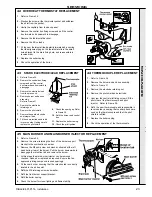
. Cut the appropriate hole in the wall for insertion
of the terminal assembly.
Note.
The terminal must not come into contact
with a combustible material such as that used
in the non-standard construction of timber
framework and plasterboard etc.
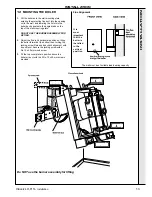
2.
Fix the mounting plate to the wall with the 3
No.14 x 50 mm screws provided.
Check the jacking screw is fitted and screwed home.
INST
ALLA
TION
10 PREPARING THE WALL
11 CHECKING THE BOILER
9
WALL MOUNTING TEMPLATE
Rear View of Boiler
Содержание Classic LXRS 230
Страница 1: ......


