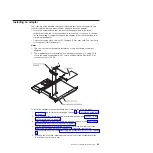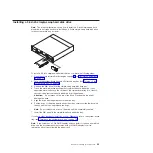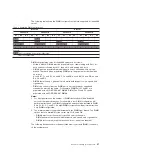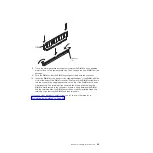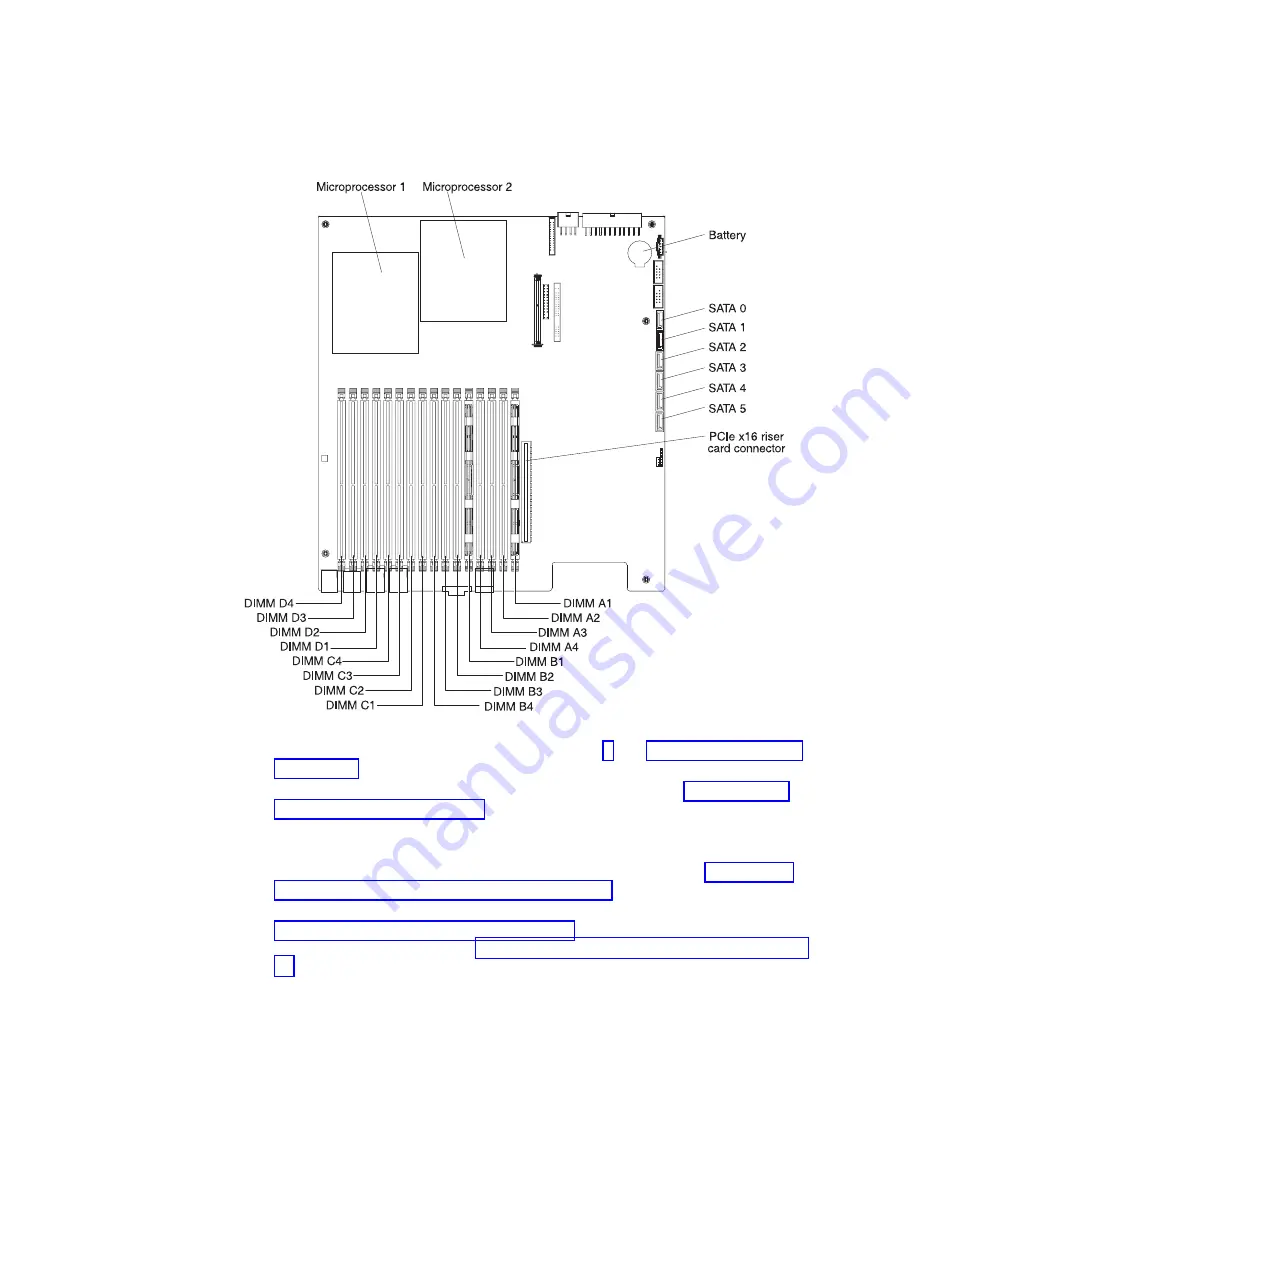
To install a DIMM, complete the following steps:
1.
Read the safety information that begins on page v and “Installation guidelines”
2.
Turn off the system-board tray and all attached devices (see “Turning off the
system-board tray” on page 16).
3.
Make note of where the cables are attached on the front of the system-board
tray; then, disconnect them.
4.
If the system-board tray is installed in a chassis, remove it (see “Removing a
system-board tray from a 2U chassis” on page 19).
5.
If a storage enclosure is installed on the system-board tray, remove it (see
“Removing a storage enclosure” on page 21). Otherwise, remove the
system-board tray cover (see “Removing the system-board tray cover” on page
20).
6.
Locate the DIMM connectors on the system board. Determine the connectors
into which you will install the DIMMs.
Attention:
To avoid breaking the retaining clips or damaging the DIMM
connectors, open and close the clips gently.
7.
Open the retaining clips and, if necessary, remove any existing DIMM.
28
IBM iDataPlex dx360 User's Guide
Содержание System x iDataPlex dx360
Страница 1: ...System x iDataPlex dx360 Types 6313 6316 6385 6390 7831 and 7833 User s Guide...
Страница 2: ......
Страница 3: ...System x iDataPlex dx360 Types 6313 6316 6385 6390 7831 and 7833 User s Guide...
Страница 11: ...Statement 10 CAUTION Do not place any object on top of rack mounted devices Safety ix...
Страница 12: ...x IBM iDataPlex dx360 User s Guide...
Страница 46: ...34 IBM iDataPlex dx360 User s Guide...
Страница 54: ...42 IBM iDataPlex dx360 User s Guide...
Страница 67: ......
Страница 68: ...Part Number 90Y5678 Printed in USA 1P P N 90Y5678...


