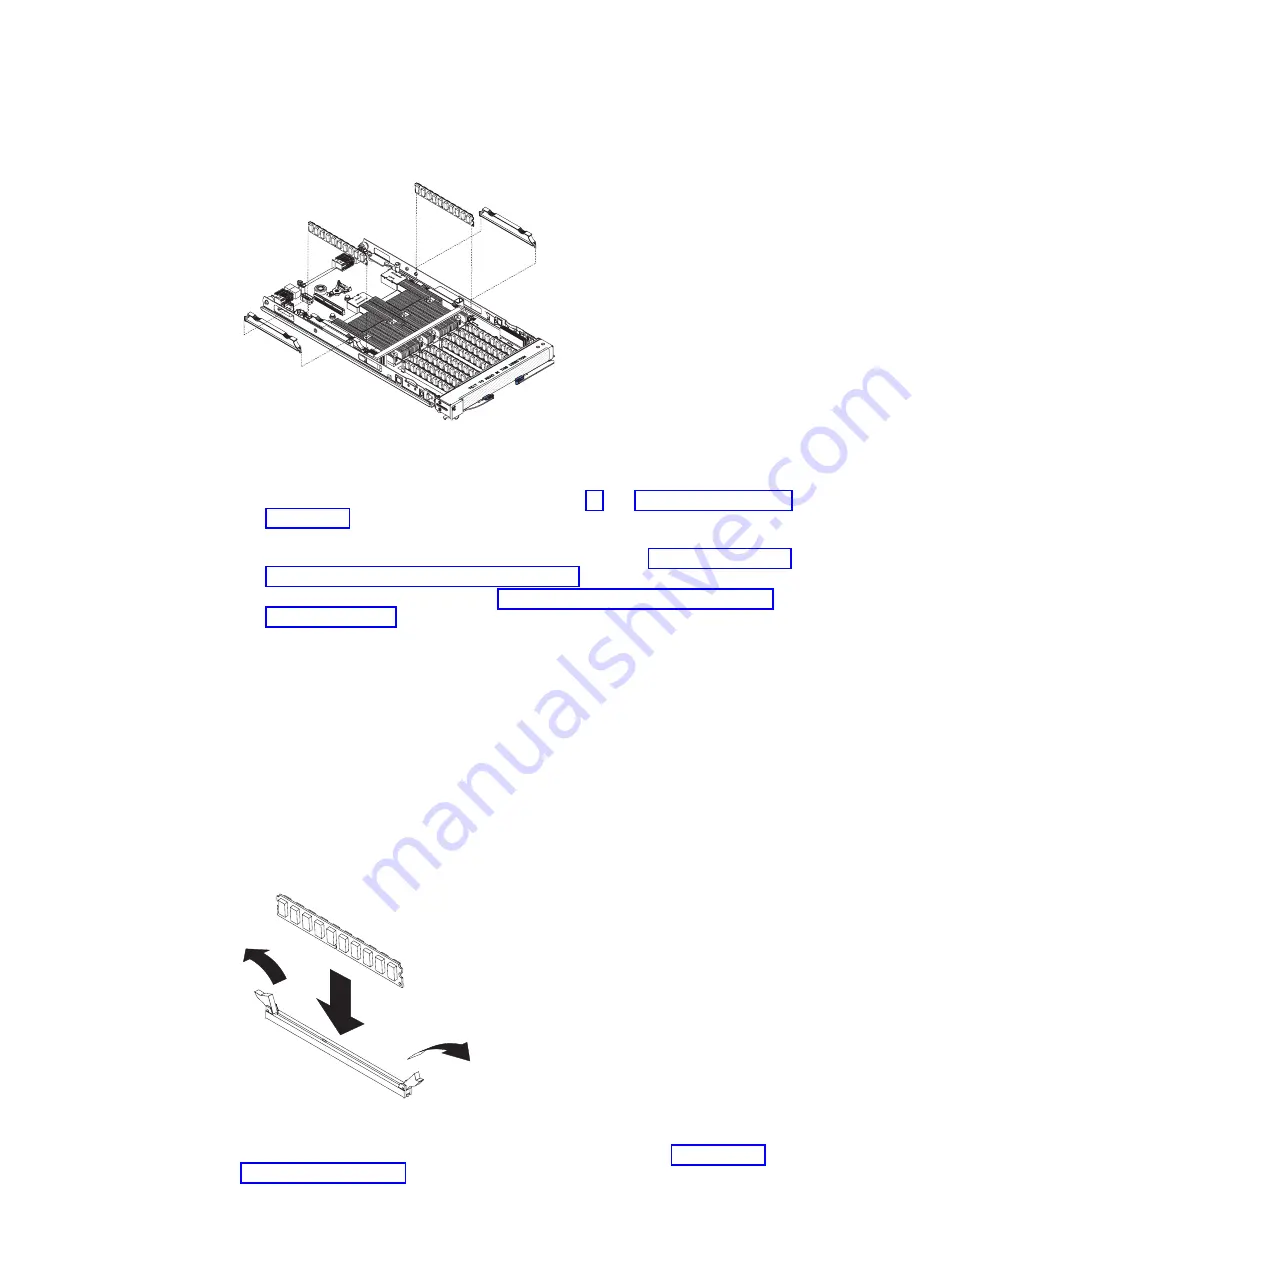
To
install
I/O
buffer
memory,
complete
the
following
steps:
1.
Read
the
safety
information
beginning
on
page
and
2.
If
applicable,
shut
down
the
operating
system,
turn
off
the
blade
server,
and
remove
the
blade
server
from
the
BladeCenter
unit.
See
3.
Open
the
blade
server
cover.
See
4.
Locate
the
DIMM
slots
for
the
I/O
buffer
DDR2
memory
modules.
There
are
two
DIMM
slots,
one
for
each
IBM
PowerXCell
8i
companion
chip.
The
slots
are
labelled
IOBUF
1
and
IOBUF
2
.
You
must
install
a
1
GB
DIMM
for
both
IBM
PowerXCell
8i
companion
chips.
5.
Remove
the
DIMM
fillers
from
the
slots.
Retain
the
DIMM
fillers.
They
are
an
important
part
of
the
blade
server
cooling
system
and
you
need
them
if
you
ever
remove
the
I/O
buffer
DIMMs
from
the
blade
server.
6.
Place
each
DIMM
in
its
slot,
contact
side
down.
Check
the
orientation
of
the
modules.
The
locating
pin
in
each
slot
must
match
the
corresponding
cut-out
on
the
module.
7.
Carefully
press
the
modules
into
place
until
the
retaining
clips
snap
into
place.
Make
sure
that
the
clips
are
locked
properly.
If
you
have
other
options
to
install,
do
so
now.
Otherwise,
go
to
Figure
18.
I/O
buffer
DIMM
slot
location
Figure
19.
DIMM
retaining
clips
30
BladeCenter
QS22
Type
0793:
Installation
and
User’s
Guide
Содержание QS22 - BladeCenter - 0793
Страница 3: ...BladeCenter QS22 Type 0793 Installation and User s Guide...
Страница 8: ...vi BladeCenter QS22 Type 0793 Installation and User s Guide...
Страница 30: ...14 BladeCenter QS22 Type 0793 Installation and User s Guide...
Страница 34: ...18 BladeCenter QS22 Type 0793 Installation and User s Guide...
Страница 54: ...38 BladeCenter QS22 Type 0793 Installation and User s Guide...
Страница 70: ...54 BladeCenter QS22 Type 0793 Installation and User s Guide...
Страница 84: ...68 BladeCenter QS22 Type 0793 Installation and User s Guide...
Страница 112: ...96 BladeCenter QS22 Type 0793 Installation and User s Guide...
Страница 113: ......
Страница 114: ...Part Number 44R5161 1P P N 44R5161...


