230
Planning, Installing, and Managing the IBM System x3950 M2
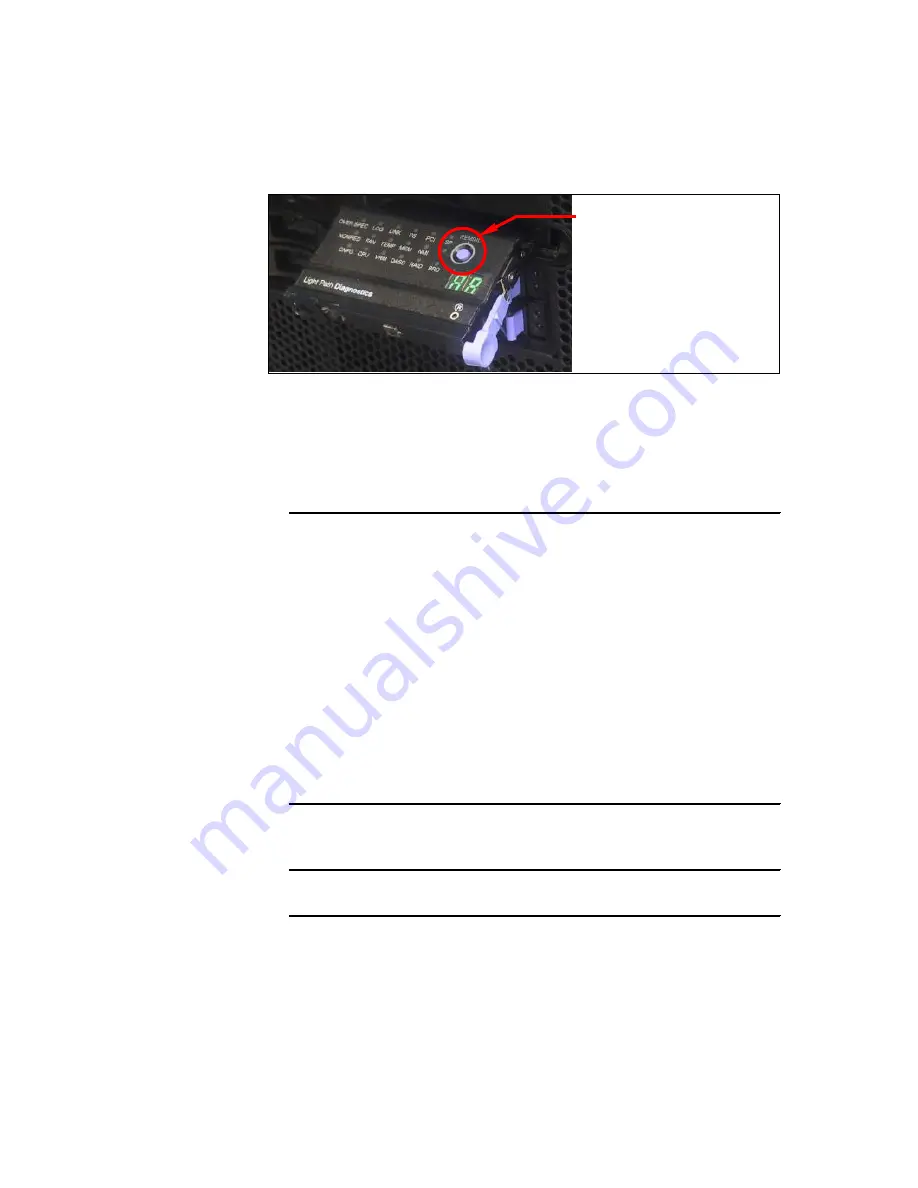
Figure 4-28 x3950 M2: Light Path Diagnostics panel with blue REMIND button
After the boxes merged successful you can see the following information
about the window on the different boxes:
– Primary server display, shown in Example 4-3.
Example 4-3 x3950 M2: merging process successful, Primary server
Chassis Number
Partition Merge Status
Installed Memory
1
Primary
32GB
2
Merged
32GB
Partition merge successful
64 GB Memory:
Installed
512 MB Memory:
Consumed by Scalability
Press ESC to reboot and bypass merge attempt on next boot
Press F1 for Setup
Press F2 for Preboot Diagnostics (DSA)
Press F12 to select boot devices
– Secondary server display, shown in Example 4-4.
Example 4-4 x3950 M2: merging process successful, Secondary server
Merge complete - see primary server display
The
white
scalability LED on the front of all nodes, which merged successfully
to this partition, becomes solid
on
. This LED goes
off
again after a system in
this partition is swapped to the Standalone mode, followed by a reboot.
Blue REMIND button
Содержание 88743BU - System x3950 E
Страница 2: ......
Страница 10: ...viii Planning Installing and Managing the IBM System x3950 M2 ...
Страница 14: ...xii Planning Installing and Managing the IBM System x3950 M2 ...
Страница 106: ...88 Planning Installing and Managing the IBM System x3950 M2 ...
Страница 262: ...244 Planning Installing and Managing the IBM System x3950 M2 Figure 4 36 IBM System x technical support on the Web ...
Страница 309: ...Chapter 5 Installation 291 Figure 5 36 Select type of installation Upgrade or Custom clean installation ...
Страница 316: ...298 Planning Installing and Managing the IBM System x3950 M2 ...
Страница 398: ...380 Planning Installing and Managing the IBM System x3950 M2 ...
Страница 423: ... 0 5 spine 0 475 0 875 250 459 pages Planning Installing and Managing the IBM System x3950 M2 ...
Страница 424: ......
Страница 425: ......


