Print Server Administration User’s Guide
EtherP Admin Administration
27
2.
Make sure that the NetWare protocol is enabled in the server. This setting is
found in the Server Device Configuration window, accessible by selecting the
print server and choosing
Server Device...
from the
Configuration
window.
3.
Make sure you have a NetWare print server created and running on your
NetWare file server. Consult your NetWare documentation for instruction on
how to do this.
4.
Choose
NetWare Protocol...
from the
EtherP Admin
Configuration
menu, or
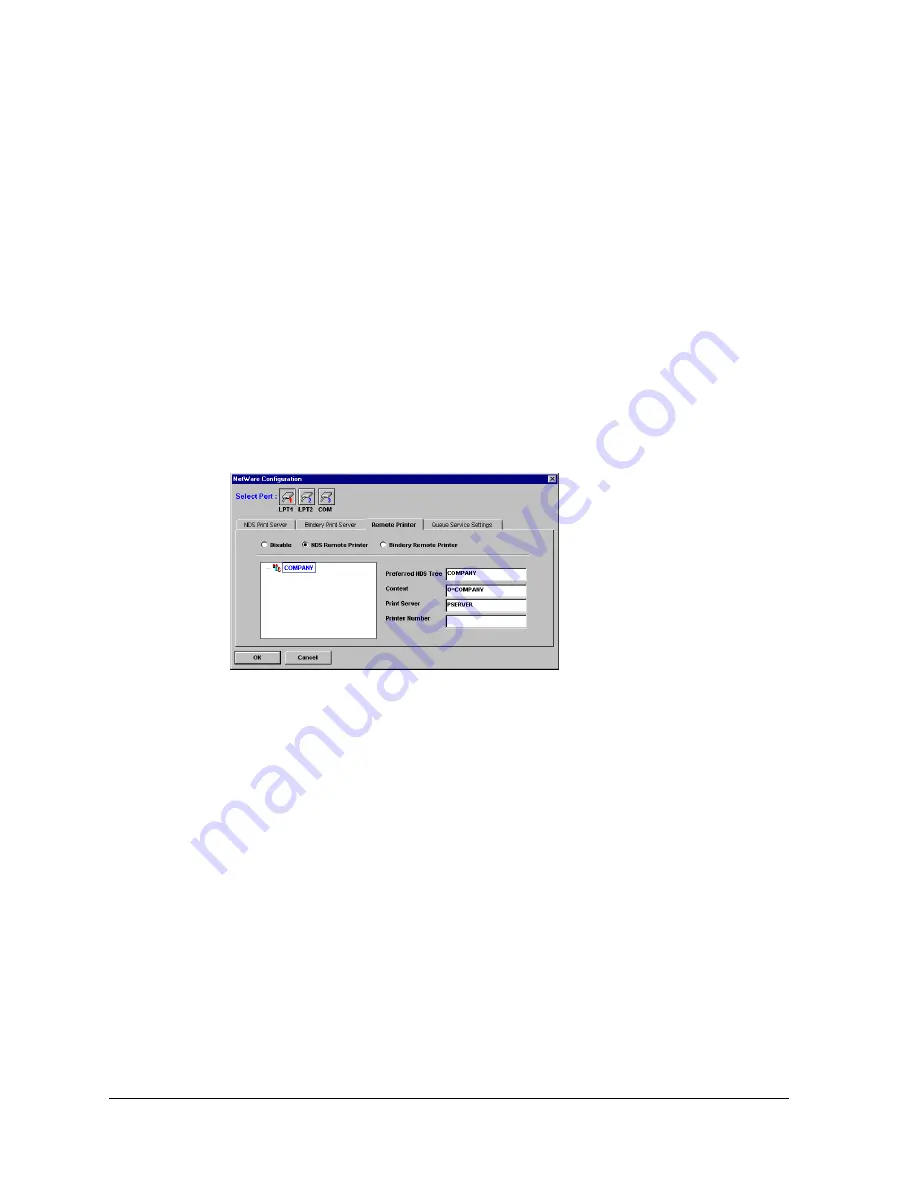
click the Configure NetWare button in the toolbar. Click on the
Remote
Printer
tab.
5.
Click on the port number button corresponding to the port you will be using
for remote printer service.
6.
Click on the
NDS Remote Printer
selection.
EtherP Admin
will display the
tree structure of the NetWare NDS contexts accessible from your network.
7.
Enter the name of the context you will be using, and enter the name of the
print server in that context.
8.
Determine what printer numbers are available on the given print server, and
enter an unused printer number in the Printer Number field. Printer numbers
can range from 0 to 15.
9.
Click
OK
, then choose
Save Configuration
from the
Configuration
menu (or
press the Save Configuration toolbar button) to change the settings in the print
server. The print server will restart itself and begin serving as a remote printer
for the specified print server.
Printing from Client Workstations
Once your print server is set up for printing from the file server, your network’s
client workstations can connect to the file server’s print queue.
Windows 95 Workstations
Unless you are using the 32-bit NetWare requester from Novell, Windows 95 does
not directly support NDS access. You can access NetWare 4.
x
printer queues using
bindery emulation, as described on page 16 of this manual.
Содержание FastPrint Multiprotocol Ethernet/Fast Ethernet Print Server
Страница 6: ......


