Print Server Administration User’s Guide
EtherP Admin Administration
11
Testing Your Print Server
Once you have set all of the necessary parameters, and have finished connecting
your printer(s) to the print server, you should test each of the printer ports using the
Print Test function.
For each port you wish to test,
1.
Select the print server in the
EtherP Admin
main window’s server name
display (or extended server display).
2.
Choose
Print Test.
in the
Tools
menu.
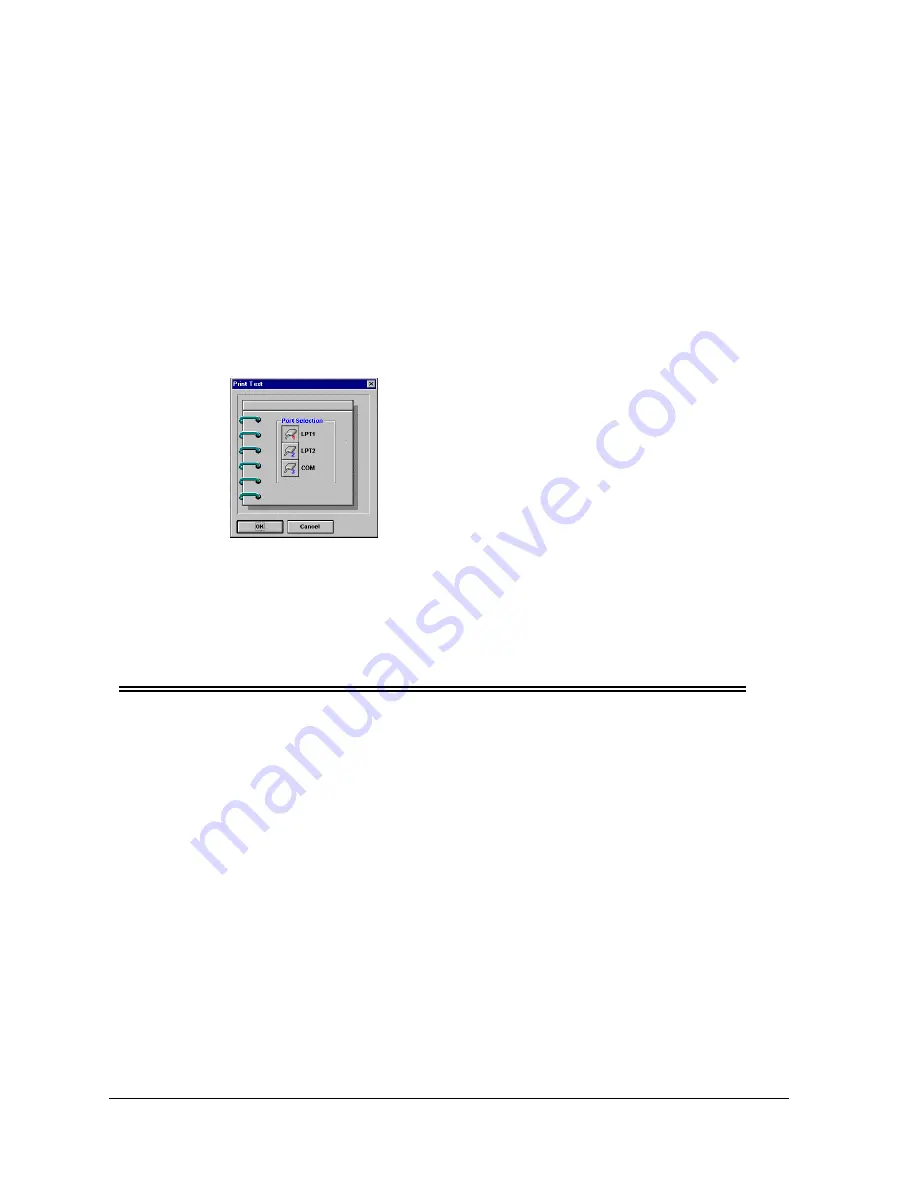
EtherP Admin
will prompt you for
which port you wish to test.
3.
Choose a port and click OK. The print server should print out a “HyperNet
Fastprint print server Test Page.”
4.
Repeat this procedure for each printer port with an attached printer.
NOTE:
The Print Test function may not work with PostScript printers that do not accept plain
text files.
Setting up Novell NetWare 3.x Printing
This chapter explains how you can set up your HyperNet Fastprint print server so
that clients of your Novell NetWare 3.
x
server can print to attached printers. This
chapter also applies if any workstations on your network are using a Novell NetWare
4.
x
server in bindery emulation mode. For information on setting up your print
server for use with NetWare 4.
x
servers in NDS (NetWare Directory Services) mode,
see the next chapter
,
Setting up Novell NetWare 4.x Printing
on page 23.
Introduction to Novell NetWare Printing
On Novell NetWare networks, when a workstation user wants to print a document,
the workstation network software sends a file containing commands for the printer to
the NetWare file server, which places it in a print queue.
Some software may be written to send print jobs directly to NetWare print queues;
Windows 3.1 using the NetWare network driver is an example of this type of
Содержание FastPrint Multiprotocol Ethernet/Fast Ethernet Print Server
Страница 6: ......


