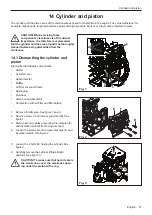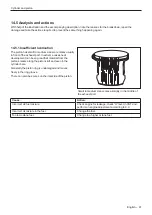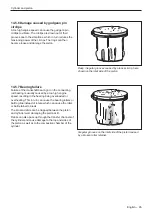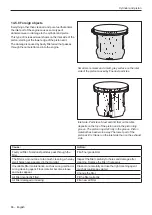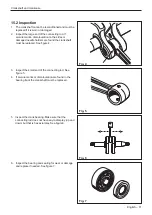
3. Remove the 5 screws that hold both crankcase
halves together. See figure 2.
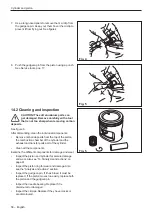
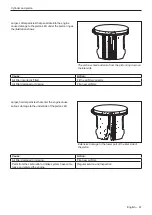
4. Separate the crankcase halves from each other. See
figure 3.
This can be done without tools as the
crankshaft has a sliding fit in the bearing seatings.
5. Remove any gasket residue from the cylinder base
plane and from the contact face of the crankcase.
6. Pry out the radial seals.
7. Heat the crankcase halves to approx. 150°C using a
hot air gun.
8. Place crank case on a plane surface and press the
bearing out of the crank case.
Crankshaft and crankcase
Fig. 2
Fig. 3
70 – English
Содержание 545FX AT
Страница 1: ...Workshop manual English 545RXT AT 545FX AT 545FXT AT 545FX 545FXT 545RX 545RXT ...
Страница 2: ......
Страница 8: ...Service tools 3 Service tools 3 mm 4 mm 5 mm 1 11 4 6 9 7 10 8 5 2 12 3 13 14 15 16 17 8 English ...
Страница 79: ...English 79 ...
Страница 80: ...2018 10 04 115 88 11 26 ...


