INSTALLATION
10
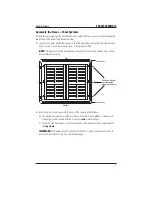
Framed Standard Panel Systems
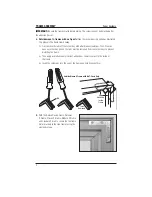
4.
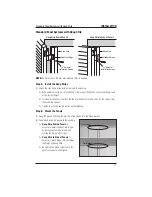
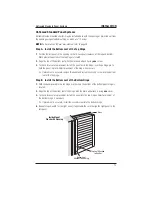
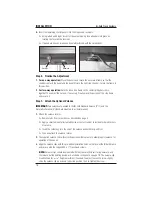
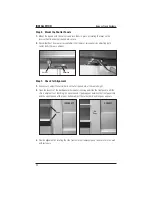
Hold the frame in the aligned position.
➤
Outside (OM) Mount.
Use a fastener to secure the center of the bottom frame. Check
alignment, and then secure the side frames at the bottom corners.
➤
Inside (IM) Mount.
Use fasteners to
secure the side frames at the bottom
corners.
5.
Insert screws into the remaining holes and check that the panels are still aligned after each
screw has been tightened. Re-adjust if necessary.
6.
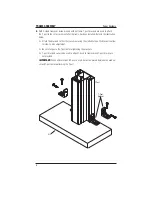
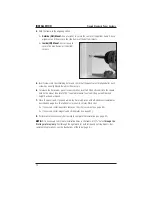
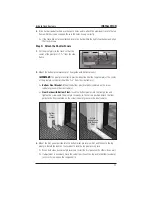
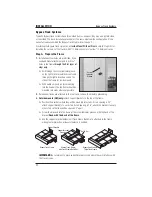
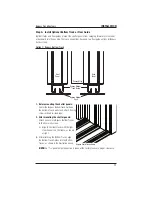
To release the Duracatch
™
panel lock assemblies, insert a #2 Robertson bit into the square
hole on the wheel, then rotate 180° counterclockwise to extend it. Repeat until desired
height has been achieved.
7.
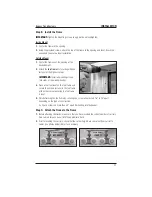
Close the panels and, if needed, adjust the Duracatch locks with a Robertson screwdriver as
described on page 9 so that all doors close easily, yet stay firmly shut.
➤
If necessary, install panel lock ramps on the sill or casement (see page 40).
➤
If necessary, install magnets and strike plates (see page 41).
8.
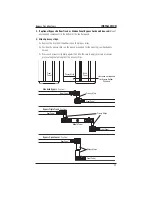
Perform any other necessary finish work to complete the installation (see page 42).
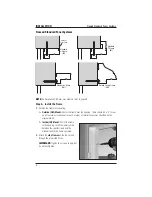
NOTE:
If it is necessary to drill more installation holes in the frame, drill
3
/
8
" holes
through the
first layer of vinyl only
. Drill through the light block for both inside and outside mounts. (For
sample drilling locations, see the illustrations at the top of page 8.)

