Hardware options installation 55
7.
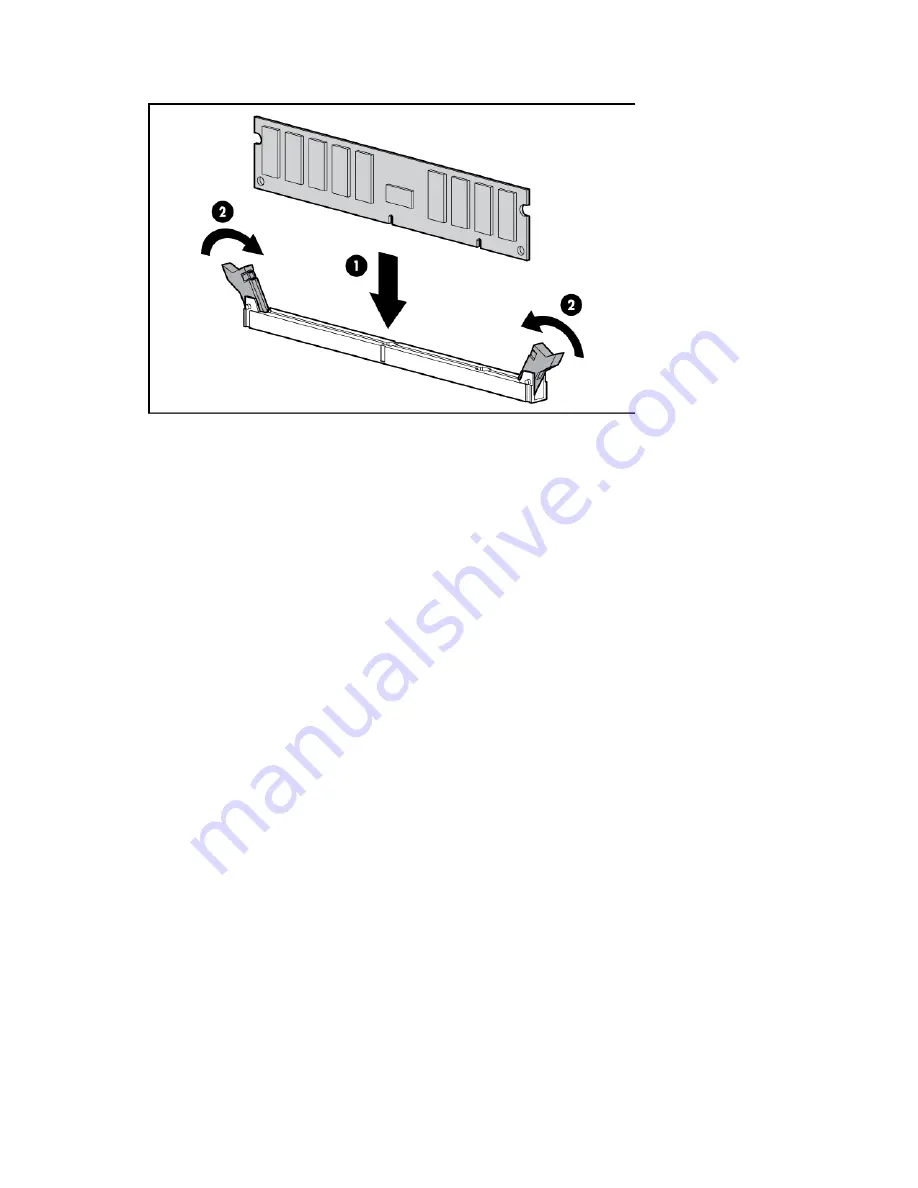
Install the DIMM.
8.
Install the access panel (on page
25
).
9.
Install the server into the rack ("
Installing the server into the rack
" on page
38
).
10.
Connect each power cord to the server.
11.
Connect each power cord to the power source.
12.
Power up the server (on page
23
).
Use RBSU ("
HP ROM-Based Setup Utility
" on page
103
) to configure the memory mode.
For more information about LEDs and troubleshooting failed DIMMs, see "Systems Insight Display LED
combinations (on page
12
)."
Hot-plug hard drive options
When adding hard drives to the server, observe the following general guidelines:
•
The system automatically sets all device numbers.
•
If only one hard drive is used, install it in the bay with the lowest device number.
•
Drives should be the same capacity to provide the greatest storage space efficiency when drives are
grouped together into the same drive array.
Installing a hot-plug SAS or SATA hard drive
The server can support 8 SAS or SATA hard drives in a SFF or LFF configuration, or 16 drives in a SFF
configuration with the optional hard drive cage ("
Hard drive cage option
" on page
76
).
To install the component:
Содержание ProLiant DL380p
Страница 6: ...Contents 6 Acronyms and abbreviations 128 Documentation feedback 131 Index 132 ...
Страница 47: ...Hardware options installation 47 14 Install the heatsink 15 Remove the two fan blanks ...
Страница 61: ...Hardware options installation 61 o 8 or 16 drive SFF o 8 drive LFF ...
Страница 90: ...Cabling 90 Cabling SAS hard drive cabling SFF hard drive cabling SFF cabling with optional drive cage ...
Страница 91: ...Cabling 91 LFF hard drive cabling Optical drive cabling ...
Страница 92: ...Cabling 92 FBWC cabling 8 or 16 drive SFF 8 drive LFF ...
Страница 97: ...Cabling 97 Connect the cable as indicated ...
Страница 126: ...Support and other resources 126 ...
Страница 127: ...Support and other resources 127 ...


