Hardware options installation 63
15.
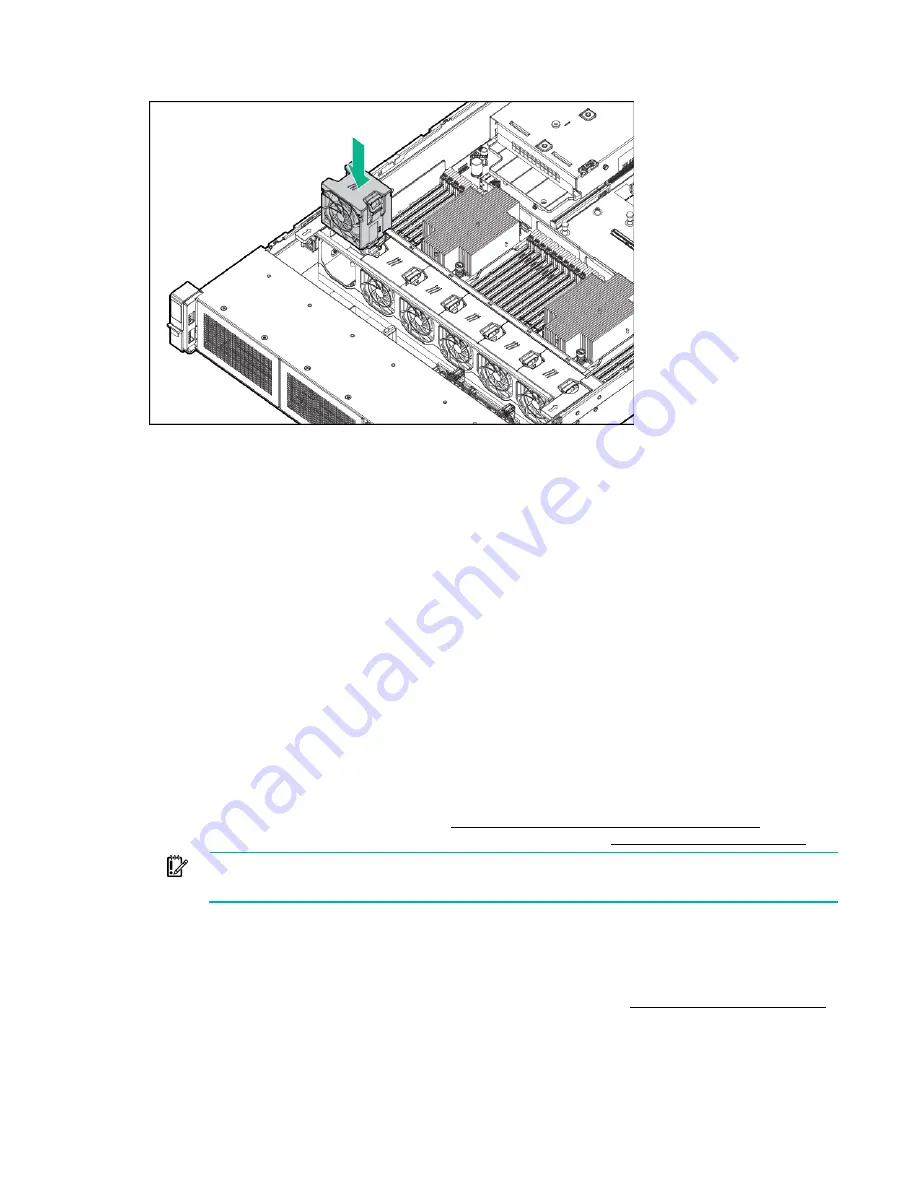
Install the fans into locations 1 and 2.
16.
Install the air baffle (on page
17.
Install the access panel (on page
18.
Install the server into the rack.
19.
Connect each power cord to the server.
20.
Connect each power cord to the power source.
21.
Press the Power On/Standby button.
The server exits standby mode and applies full power to the system. The system power LED
changes from amber to green.
Memory options
This server supports multiple DIMM types:
•
Regular RDIMMs
•
LRDIMMs
•
Regular RDIMMs and NVDIMM-Ns
NVDIMM-Ns are supported when installed together with a regular RDIMM on the same system with
an HPE Smart Storage Battery. For more information on NVDIMM-Ns and persistent memory, see
the Hewlett Packard Enterprise website (
http://www.hpe.com/info/persistentmemory
) and the
product QuickSpecs on the Hewlett Packard Enterprise website (
IMPORTANT:
This server does not support mixing LRDIMMs or RDIMMs. Attempting to mix
any combination of these DIMMs can cause the server to halt during BIOS initialization.
All types are referred to as DIMMs when the information applies to all types. When specified as LRDIMM
or RDIMM, the information applies to that type only. All memory installed in the server must be the same
type.
For more information about product features, specifications, options, configurations, and compatibility,
see the product QuickSpecs on the Hewlett Packard Enterprise website (
Содержание ProLiant DL380 Gen9
Страница 34: ...Operations 34 5 Install the air baffle ...
Страница 90: ...Hardware options installation 90 o Connected to a PCI expansion board ...
Страница 97: ...Hardware options installation 97 o Connected to onboard SATA connectors o Connected to a PCI expansion board ...
Страница 102: ...Hardware options installation 102 o Connected to a PCI expansion board ...
Страница 104: ...Hardware options installation 104 o Secondary riser cage o PCI blank ...
Страница 105: ...Hardware options installation 105 6 Remove the rear wall blank 7 Install the drive cage compatible rear wall ...
Страница 120: ...Hardware options installation 120 o H240 or P440 o P840 8 Install the riser board assembly o H240 or P440 ...
Страница 128: ...Hardware options installation 128 o 24SFF drive backplanes Group C SAS cables ...
Страница 142: ...Cabling 142 o Connect to the x2 SATA port and optical disk drive connector o Connect to a PCI expansion board ...
Страница 143: ...Cabling 143 o Connect to a PCI expansion board and the 12 LFF drive backplane o Connect to an HPE 12G SAS Expander Card ...
Страница 145: ...Cabling 145 o Connect to a PCI expansion board o Connect to a PCI expansion board and the 12 LFF drive backplane ...
Страница 148: ...Cabling 148 o Connect to a PCI expansion board ...
Страница 149: ...Cabling 149 o Connect to an HPE 12G SAS Expander Card Bay 2 installation ...
Страница 152: ...Cabling 152 8SFF drive cage installed in bay 1 Connect using the 8SFF drive cage power cable 776399 001 ...
Страница 154: ...Cabling 154 Drive bay 1 is empty Connect using the NVMe power cable 776392 001 ...
Страница 167: ...Cabling 167 12LFF configuration Connect the two 12LFF Mini SAS cables to the P840ar controller ...
Страница 171: ...Cabling 171 x4 SATA connector Connect the 2 SFF drive bay power cable ...
Страница 173: ...Cabling 173 Secondary PCI riser cage ...
Страница 204: ...Support and other resources 204 ...
Страница 205: ...Support and other resources 205 ...


