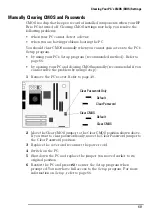
Installing an Expansion Bay Drive
59
5
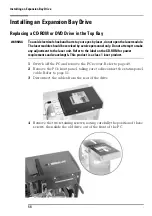
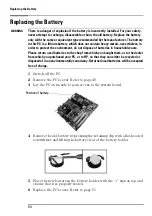
Slide the new drive in from the front of the PC.
6
Replace the two screws.
7
Replace the audio, data and power cables.
8
Check that the jumpers on the drive are set to CS (cable select) mode.
9
Replace the front panel. Refer to page 51.
10
Replace the cover. Refer to page 50.
Installing a Drive in the Lower Expansion Bay
1
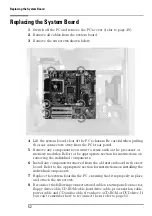
Remove the cover. Refer to page 49.
2
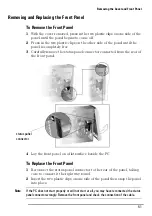
Remove the PC’s front panel, taking care to disconnect the status panel
cable. Refer to page 51.
3
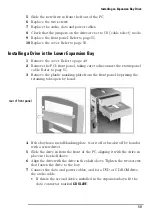
Remove the plastic masking plate from the front panel by prising the
retaining tabs open by hand.
4
If the bay has a metal blanking plate, tear it off or break it off by hand or
with a screwdriver.
5
Slide the drive in from the front of the PC, aligning it with the drive in
place in the shelf above.
6
Align the drive with the drive in the shelf above. Tighten the two screws
that fasten the drive to the bay.
7
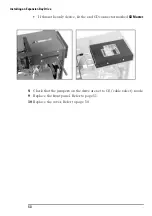
Connect the data and power cables, and for a DVD or CD-ROM drive,
the audio cable.
•
If this is the second device installed in the expansion bays, fit the
data connector marked
CD SLAVE
.
rear of front panel
Содержание Brio BA210
Страница 2: ......
Страница 16: ...Comfort and Safety Checklist 8 ...
Страница 54: ...Support and Information Services 46 ...
Страница 80: ...Technical Characteristics 72 ...
Страница 98: ...Other Services 90 ...
Страница 101: ......

