Basic Operation
12
Drainage mode operation
You can start liquid drainage manually by changing to the drainage mode.
The procedure for draining liquid in the drainage mode is explained below.
1.
Press the up or down button with the Measurement Top screen appearing until the
process display shows [Drainage].
The drainage mode is entered.
2.
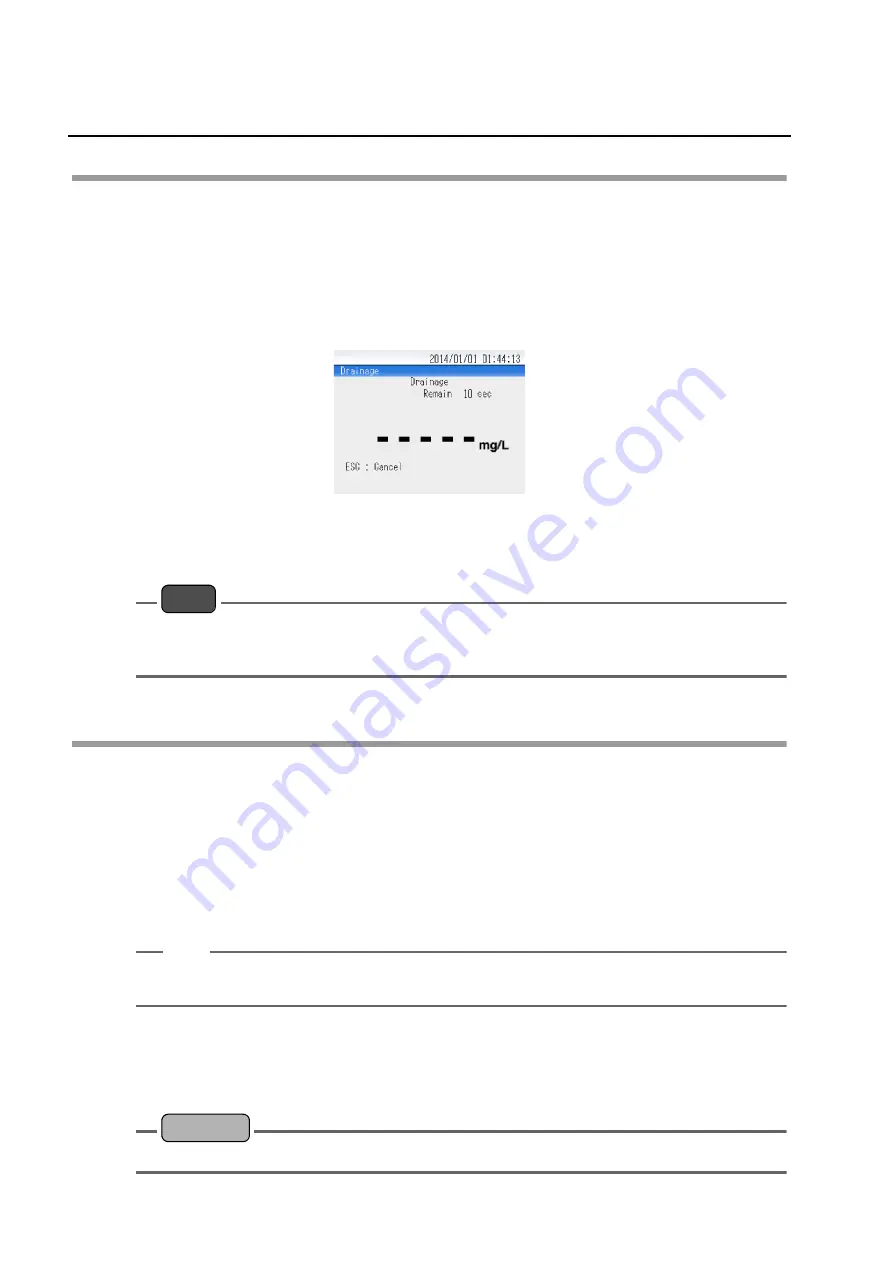
Press the ENT button.
Liquid drainage starts.
Fig. 15 Drainage mode - Drainage
When the set [Drainage Time] elapses, drainage ends and the Measurement Top screen
returns.
Note
If an abnormal condition occurs during measurement, calibration, or liquid drainage, operation may
stop. The alarm icon will blink. Check the alarm information on the Current Alarm screen (refer to
"Current Alarm screen" (page 58) and "Alarm displays and actions" (page 106)).
Operations while the sequence is in progress
Pause
During measurement, the sequence can be paused in the automatic measurement mode,
automatic zero calibration mode, and automatic span calibration mode.
1.
Press the ESC button during measurement.
The sequence enters the paused state.
2.
To resume operation from the paused state, press the ENT button.
Measurement will resume from the point where it was stopped.
Tip
If the ESC button is pressed in the paused state, the measurement is aborted and the measurement
liquid is drained.
When an error occurs
When a light source error or unstable data alarm occurs, measurement stops, the
Measurement Top screen returns, and the alarm icon blinks.
Reference
Содержание OCMA-500
Страница 1: ...Oil Content Analyzer OCMA 500 Instruction Manual CODE GZ0000331784D ...
Страница 20: ......
Страница 58: ...Measurement 38 Flow scheme of operation Fig 36 Operation flow of automatic measurement ...
Страница 65: ...Measurement 45 Manual measurement Flow scheme of operation Fig 45 Operation flow of manual measurement ...
Страница 140: ......


