Initial Setup
The initial setup of ActiveSync must be made via a USB connection. When there is a Connect icon on the desktop, this section
can be bypassed. Partnerships can only be created using USB cable connection.
Connect via USB
The default connection type is
USB Client
To verify it is set to USB, select
Start > Settings > Control Panel > PC Connection
Tap the Change button. From the popup list, choose
USB Client
This will set up the mobile device to use the USB port. Tap OK and ensure the check box for “Allow connection with desktop
computer when device is attached” is checked.
Tap OK to return to the Control Panel. If desired, any control panel windows may be closed.
Connect the USB cable to the PC (the host) and the mobile device (the client) as detailed below. USB will start automatically
when the USB cable is connected, not requiring you to select “Connect” from the start menu.
When the MX7 Tecton loses connection, e.g. enters Suspend Mode, etc., the connection to ActiveSync will be lost. When the
MX7 Tecton resumes, the ActiveSync session will automatically re-connect.
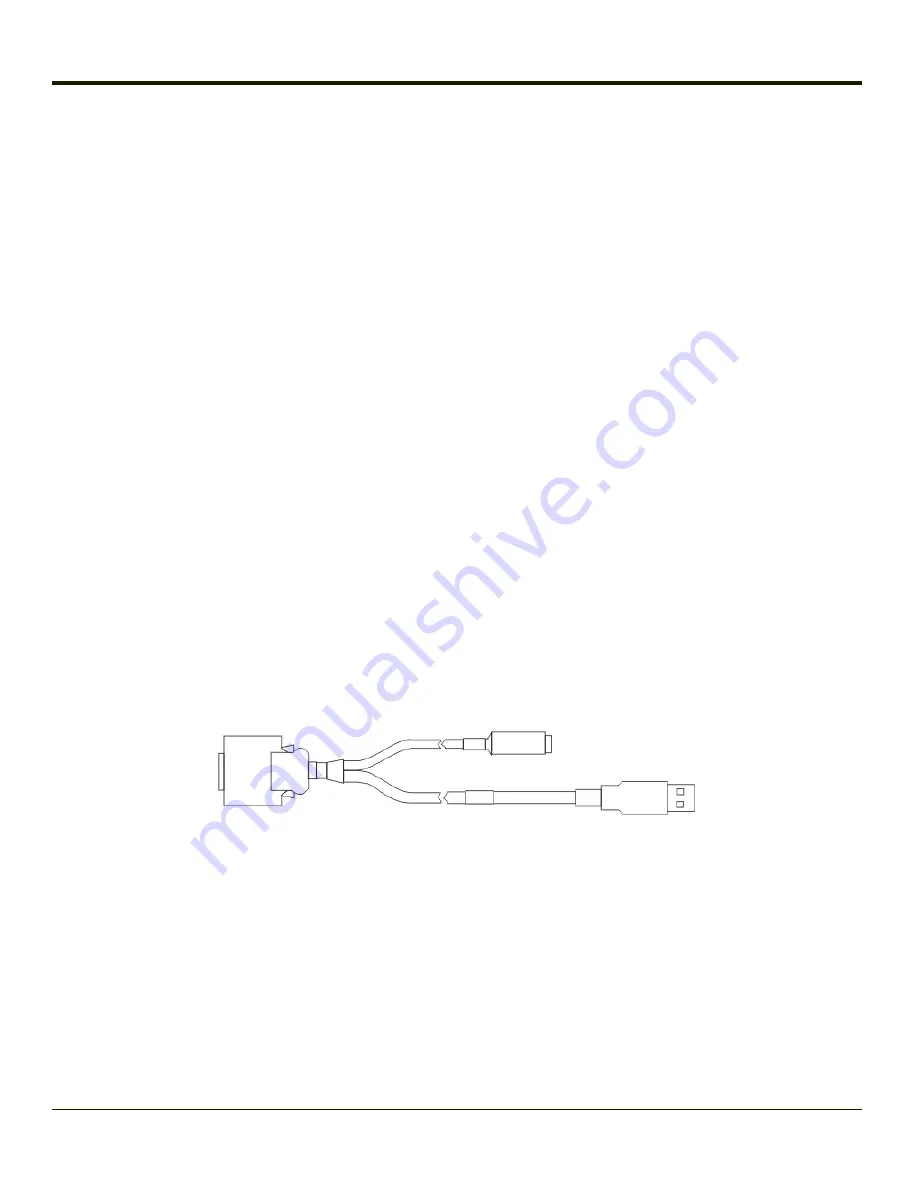
Cable for USB ActiveSync Connection:
MX7052CABLE
- MX7 Tecton Charge/Comm Interface Cable with USB Client port for ActiveSync. USB end of cable
connects to PC/Laptop USB port.
l
Connect the MX7 Tecton end of the cable to the I/O port on the bottom of the MX7 Tecton
l
The USB type A connector on the cable connects to a USB port on a PC or laptop.
l
It is not necessary to connect the power connector on the cable in order to use ActiveSync.
Explore
From the ActiveSync Dialog on the Desktop PC, tap the Explore button, which allows you to explore the mobile device from
the PC side, with some limitations. You can copy files to or from the mobile device by drag-and-drop. You will not be allowed to
delete files or copy files out of the \Windows folder on the mobile device. (Technically, the only files you cannot delete or copy
are ones marked as system files in the original build of the Windows image. This, however, includes most of the files in the
\Windows folder).
6-2
Содержание MX7 Tecton
Страница 1: ...MX7 Tecton Hand Held Computer Microsoft Windows Embedded CE 6 Operating System Reference Guide ...
Страница 14: ...xiv ...
Страница 24: ...1 10 ...
Страница 38: ...3 4 ...
Страница 166: ...Hat Encoding Hat Encoded Characters Hex 00 through AD 4 128 ...
Страница 167: ...Hat Encoded Characters Hex AE through FF 4 129 ...
Страница 176: ...4 138 ...
Страница 177: ...4 139 ...
Страница 202: ...Enter user name password and domain to be used when logging into network resources 4 164 ...
Страница 209: ...4 171 ...
Страница 240: ...5 22 ...
Страница 276: ...7 30 ...
Страница 320: ...8 44 ...
Страница 325: ...Click the Request a certificate link Click on the advanced certificate request link 8 49 ...
Страница 326: ...Click on the Create and submit a request to this CA link 8 50 ...
Страница 334: ...8 58 ...
Страница 358: ...9 24 ...
Страница 362: ...10 4 ...
Страница 365: ...11 3 ...
Страница 366: ...Honeywell Scanning Mobility 9680 Old Bailes Road Fort Mill SC 29707 www honeywellaidc com E EQ MX7CERG Rev E 10 12 ...


