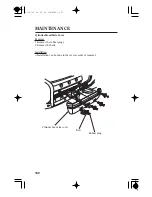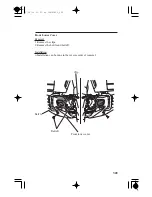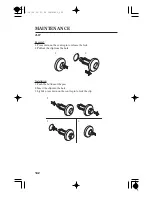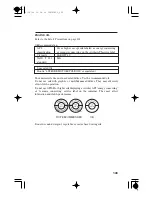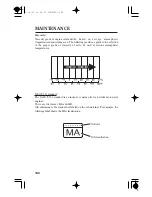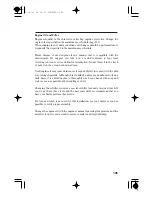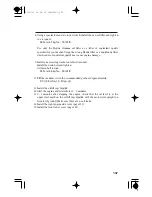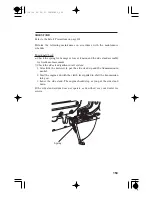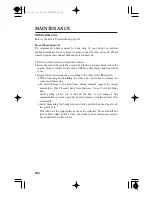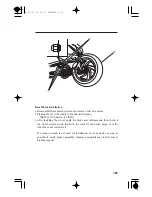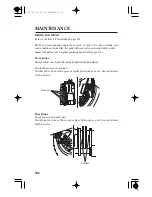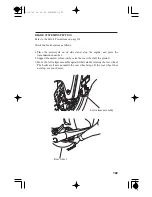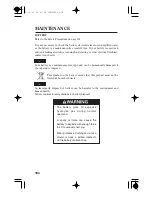
We recommend wheel removal be done only by your dealer or another
qualified mechanic. Do not attempt to remove the wheel on your own. Wheel
removal requires mechanical skill and professional tools.
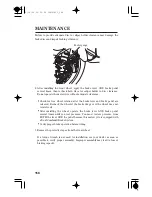
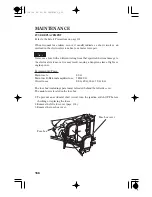
Raise the front wheel off the ground by placing a support block under the
engine, being careful to avoid contact with the exhaust pipe and front lower
cover.
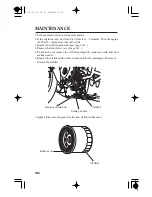
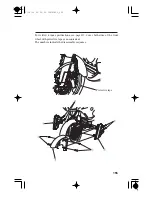
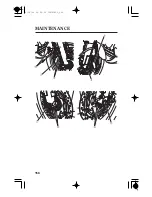
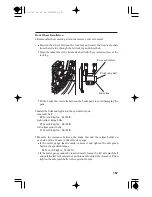
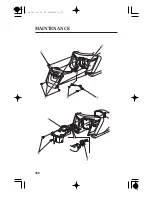
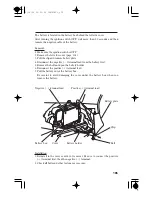
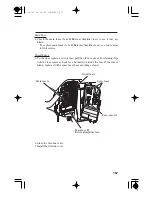
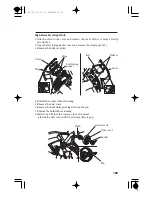
Remove the parts in sequence, according to the order in the illustration.
When removing and installing the wheel, be careful not to damage the
sensor and pulser ring.
Park your motorcycle on a firm, level surface.
Refer to the Safety Precautions on page
.
To avoid damage to the brake hose during removal, support the caliper
assembly so that it doesn’t hang from the hose. Do not twist the brake
hose.
Avoid getting grease, oil, or dirt on the disc or pad surfaces. Any
contamination can cause poor brake performance or rapid pad wear after
reassembly.
Avoid depressing the brake lever and brake pedal when the wheel is off
the motorcycle.
This will force the caliper pistons out of the cylinders. The result will be a
loss of brake fluid. If this occurs, the brake system will require service.
See your dealer for this service.
1.
2.
3.
131
WHEEL REMOVAL
Front Wheel Removal
MAINTENANCE
154
12/12/06 16:29:26 32MJG600_164
Содержание Goldwing F6B
Страница 25: ...15 TYRE INFORMATION LABEL CARGO LIMIT LABEL CARGO LIMIT LABEL 12 12 06 16 14 21 32MJG600_025 ...
Страница 28: ...For KO type For SI type MOTORCYCLE SAFETY 18 12 12 06 16 14 40 32MJG600_028 ...
Страница 29: ...For KO type For SI type 19 RADIATOR CAP LABEL TYRE INFORMATION LABEL 12 12 06 16 14 45 32MJG600_029 ...
Страница 31: ...Saddlebag Radio antenna Rear brake pedal 21 12 12 06 16 14 52 32MJG600_031 ...
Страница 32: ...Front headset terminal Shift lever Helmet holder Saddlebag PARTS LOCATION 22 12 12 06 16 14 56 32MJG600_032 ...
Страница 166: ...MAINTENANCE 156 12 12 06 16 29 36 32MJG600_166 ...
Страница 170: ...MAINTENANCE 160 12 12 06 16 30 02 32MJG600_170 ...

