56
57
•
This means that the device (or the central control
unit) to be taught-in needs to be switched to teach-in
mode during this time too.
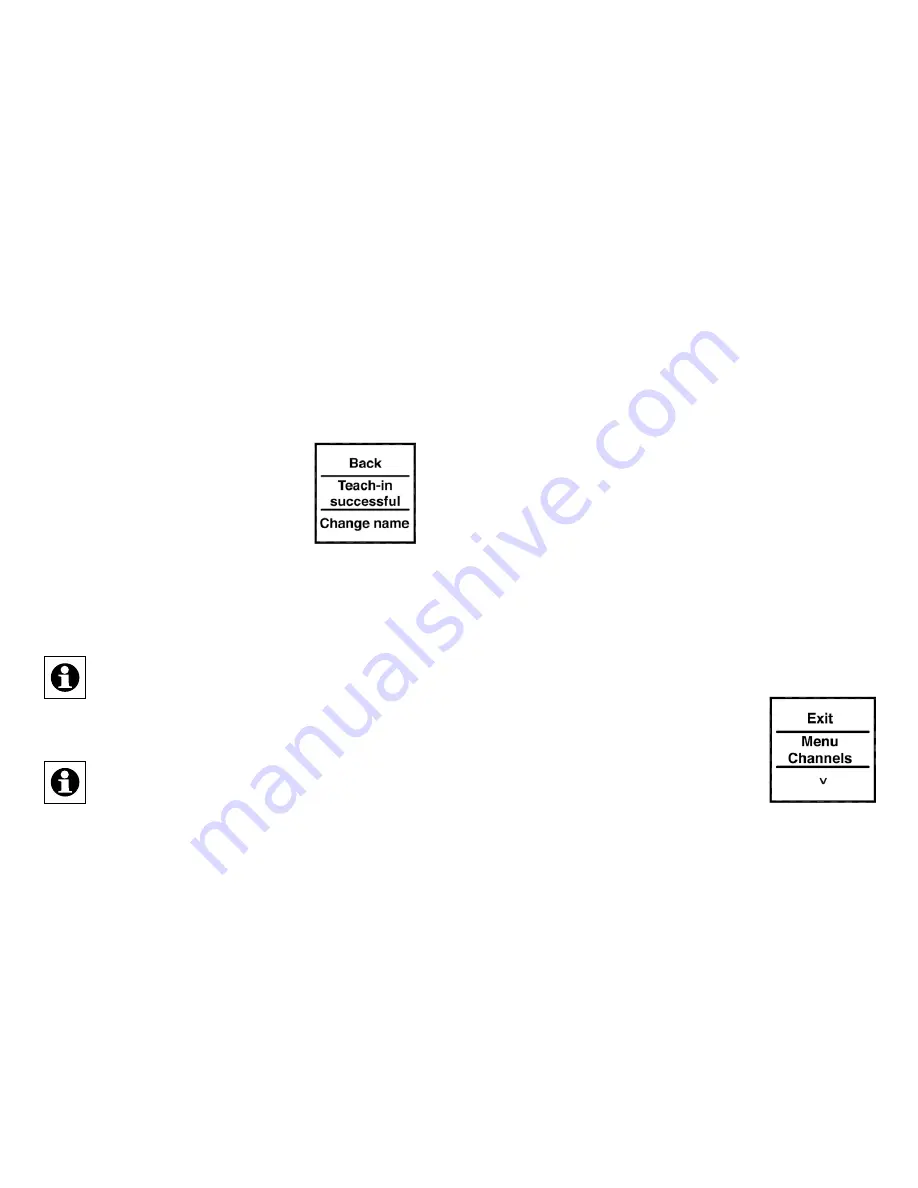
Once teaching-in has been completed successfully,
the device and room names can be changed.
•
After teaching-in has been completed,
“Position” is initially stored as the
name and the associated number is
stored for the room.
•
Press the button on the left/right (<>)
to toggle between “Change name”
and “Change room”.
• Confirm your selection by pressing the button at the
bottom (˅).
Once you have made your selection you can
either choose a preset name or room, or define
your own. For details on this, please refer to
Section 8.3.
The display push-button features 10 channels,
also referred to as “positions” in the following.
Up to 10 HomeMatic devices can be taught-in
to each channel. If several devices have been
taught-in to one channel, they are referred to
as a group. A switching operation will be trigge-
red for all the devices in the group simultane-
ously.
8.3. Changing a name/room
A name (e.g. Light) and a room (e.g. Living room) can
be stored for every device taught-in to the display
push-button or for every channel.
You can choose from a selection of preset names
or enter a customised name with a maximum of 12
characters.
The name of a device and that of a room are changed
in the same way, so just one example is given below to
explain both processes.
• Open the configuration menu by pressing and hol
-
ding down the button on the left or right (<>).
•
The top menu level appears on the
display. Press the button on the left/
right (<>) to select the menu item
“Channels”.
• Press the button at the bottom (˅) to
access the next menu level.


