58
59
•
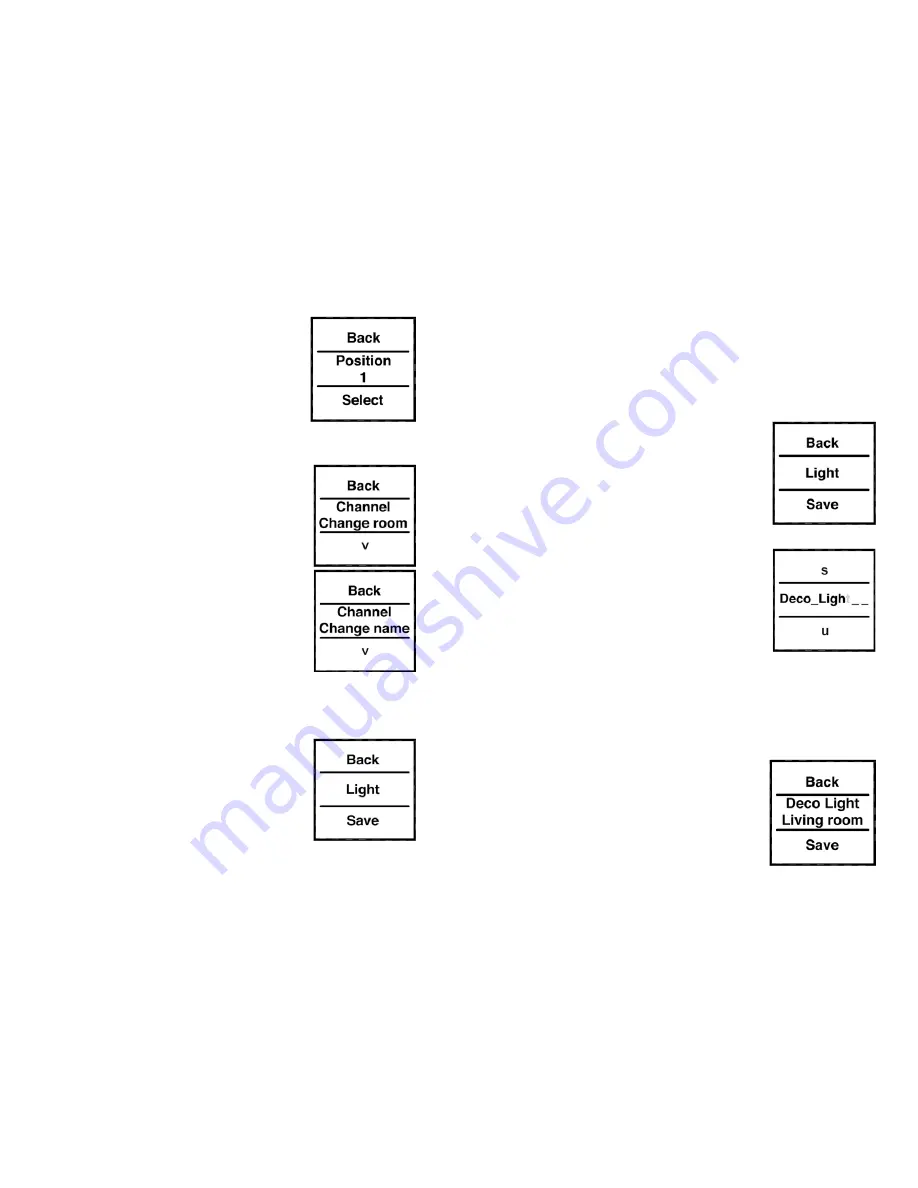
In the next menu level you can select
a storage position (channel) by
pressing the button on the left/right
(<>). This example refers to the de-
vice called “Position” in room “1”.
• Confirm your selection by pressing
the button at the bottom (˅).
•
Now you can select either “Teach-
out” or the “Change name” or “Chan-
ge room” items.
•
Select (<>) the “Change name” or
“Change room” item by pressing the
button at the bottom (˅) .
In the example below, the “Change
name” item has been selected. The
procedure for changing the name of a
room is the same.
•
Press the button on the left/right (<>)
to browse through the different pre-
set names.
• Press the button at the bottom (˅)
to select a name and save it at the
same time.
In the example, the name “Light” has been selected.
You can also enter and save a customised name or
modify a preset name; this process is explained below.
Assigning customised names/Edit mode:
•
Launch edit mode by pressing and
holding down the button on the left
or right (<>) for more than 4 se-
conds.
•
Press the button on the left/right (<>)
to select the 12 digits individually.
Press the button at the top/bottom
(˄˅) to change the corresponding di
-
git.
•
You can toggle between upper/lower
case and special characters by pres-
sing and holding down the pushbut-
ton at the top/bottom (˄˅).
•
Press and hold down the button on the left or right
(<>) to save the name and exit edit mode.
In the example on the right, both the
device and room names have been
changed.
The actuator taught-in to position/
channel 1 controls the decorative light


