BA_PH_245-20_EN_15-22.docx
44
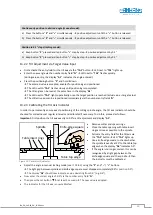
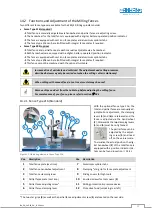
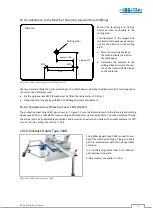
Fence plate adjustment
Loosen the star grip (
8
) and push the fence plate (
1
) to the desired position. Then retighten the star grip (
8
).
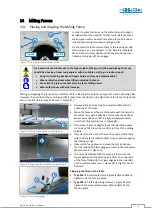
Always adjust the plates so that they cover as much of the tool as possible without touching it.
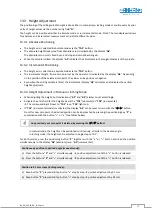
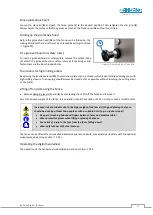
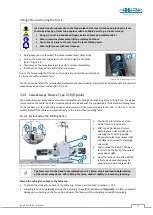
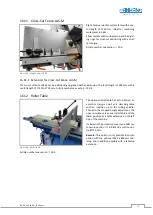
Folding up the protective hood
Before the protective hood (
12
) of the fence can be folded up, the
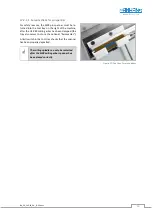
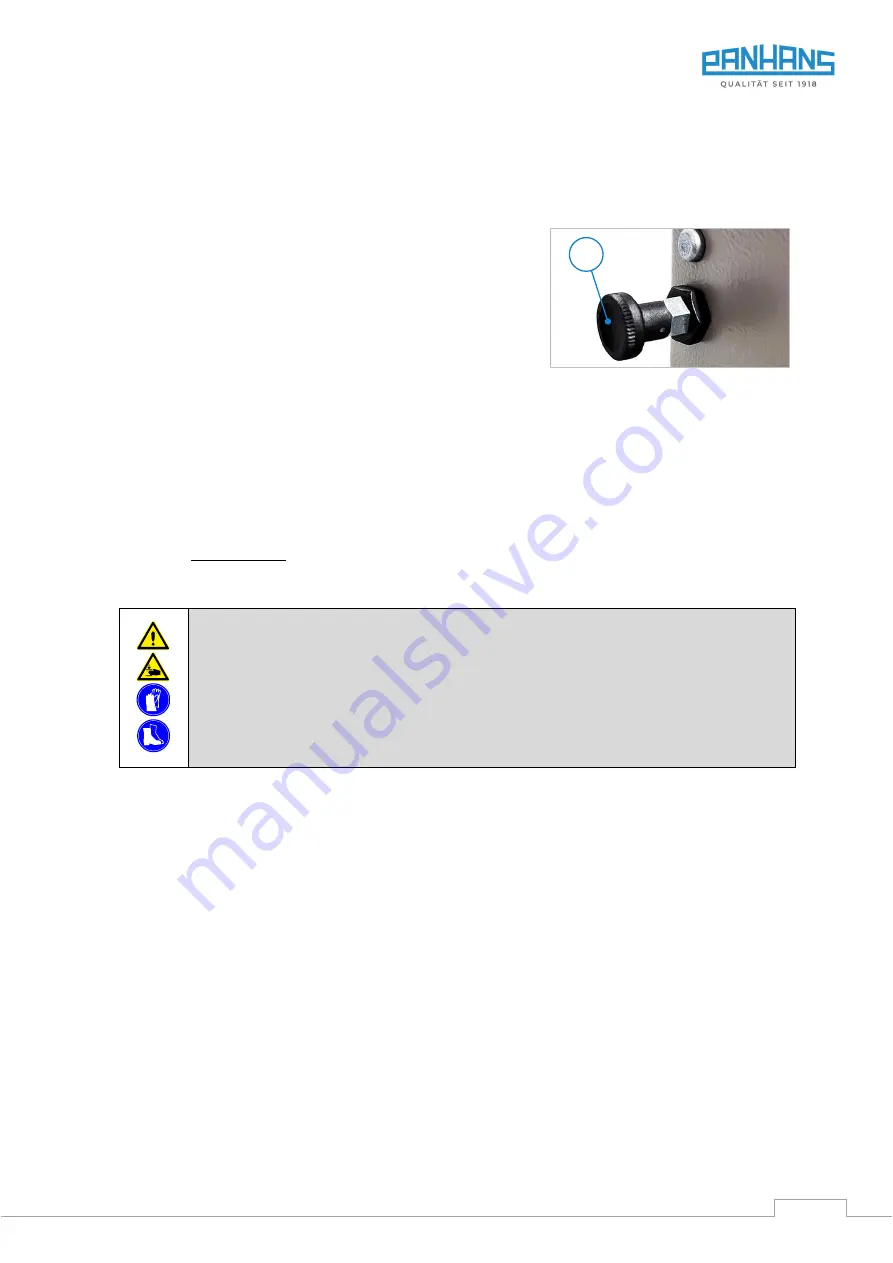
locking bolt (
V
) at the rear left must be unlocked by pulling it out (see
Fit a grooved board or safety rulers
To insert a grooved board or safety rulers, remove the splinter tabs
(
7
), attach the grooved board or safety rulers as fence bridges and
fasten them via the free threaded holes.
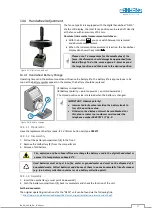
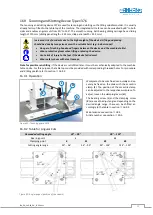
Figure 32: Locking bolt of Type 216
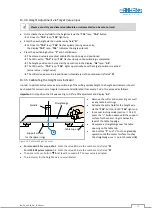
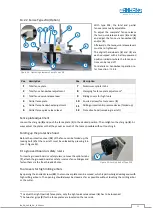
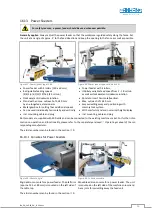
Tool covers for high milling arbors
By opening the knurled screws (
10
), the two cover plates can be moved, which is particularly advantageous with
high milling arbours. The opening should always be closed as far as possible without touching the milling arbor
or the cutter.
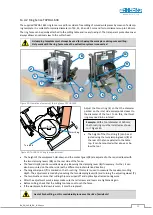
Lifting off and removing the fence
•
Remove clamping levers (
3
) and (
6
) by unscrewing them, lift off the fence and remove it.
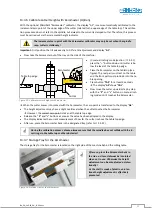
Due to the heavy weight of the fence, this operation should be carried out by 2 persons or with a suitable hoist.
Increased risk of accidents due to the high weight of the fence! Lifting and placing the fence
should be done by at least two people or with a suitable hoist (e.g. an indoor crane)!
•
Danger of crushing hands and fingers between fence and machine table!
•
Wear protective gloves when lifting or placing the fence.
•
Acute risk of injury to the feet from the fence falling down!
•
Wear safety shoes with steel toecaps.
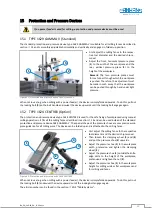
The fence can be lifted off and swivelled backwards even more easily, conveniently and safely with the optional
swivel-away device (see section
Operating the digital handwheel
The operation of the handwheel is described in detail in section
V

