E2 - 14
3.8
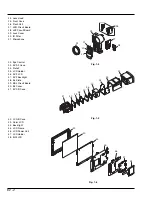
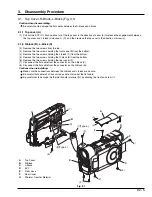
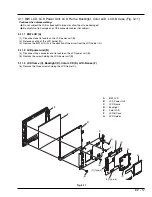
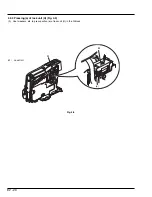
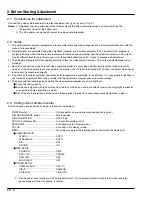
Lock Unit, Side Case-R (Fig. 3-8)
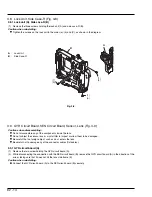
3.8.1 Lock unit (A), Side case-R (B)
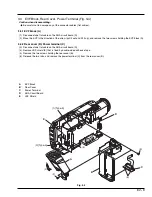
(1) Remove the three screws holding the lock unit (A) and side case-R (B).
Caution when reinstalling:
Tighten the screws on the lock unit in the order (a), (b) and (C), as shown in the diagram.
Fig. 3-8
(1)
(a)
(1)
(b)
(1)
(c)
B
A
3.9
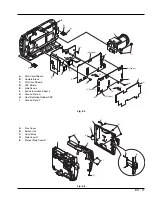
GYR Circuit Board, SEN Circuit Board, Sensor, Lens (Fig. 3-9)
Cautions when disassembling:
Do not disassemble any of the components inside the lens.
Do not subject the sensor, lens or crystal filter to impact or allow them to be damaged.
Be careful that no foreign object, such as dust, enters the lens.
Be careful not to damage any of the connector cables (flat cables).
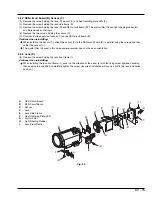
3.9.1 GYR circuit board (A)
(1) Remove the two screw holding the GYR circuit board (A).
(2) While disconnecting the connection with the SEN circuit board (B), remove the GYR circuit board (A) in the direction of the
arrow, taking care that it does not hit the lens side frame (E).
Caution when reinstalling:
Connect the GYR circuit board (A) to the SEN circuit board (B) securely.
A :
Lock Unit
B :
Side Case-R

