background image

Ensemble/Multiplex

(Group name)

Signal strength

Time/Date

DLS(Scrolling text)

Audio bit rate

Programme Type

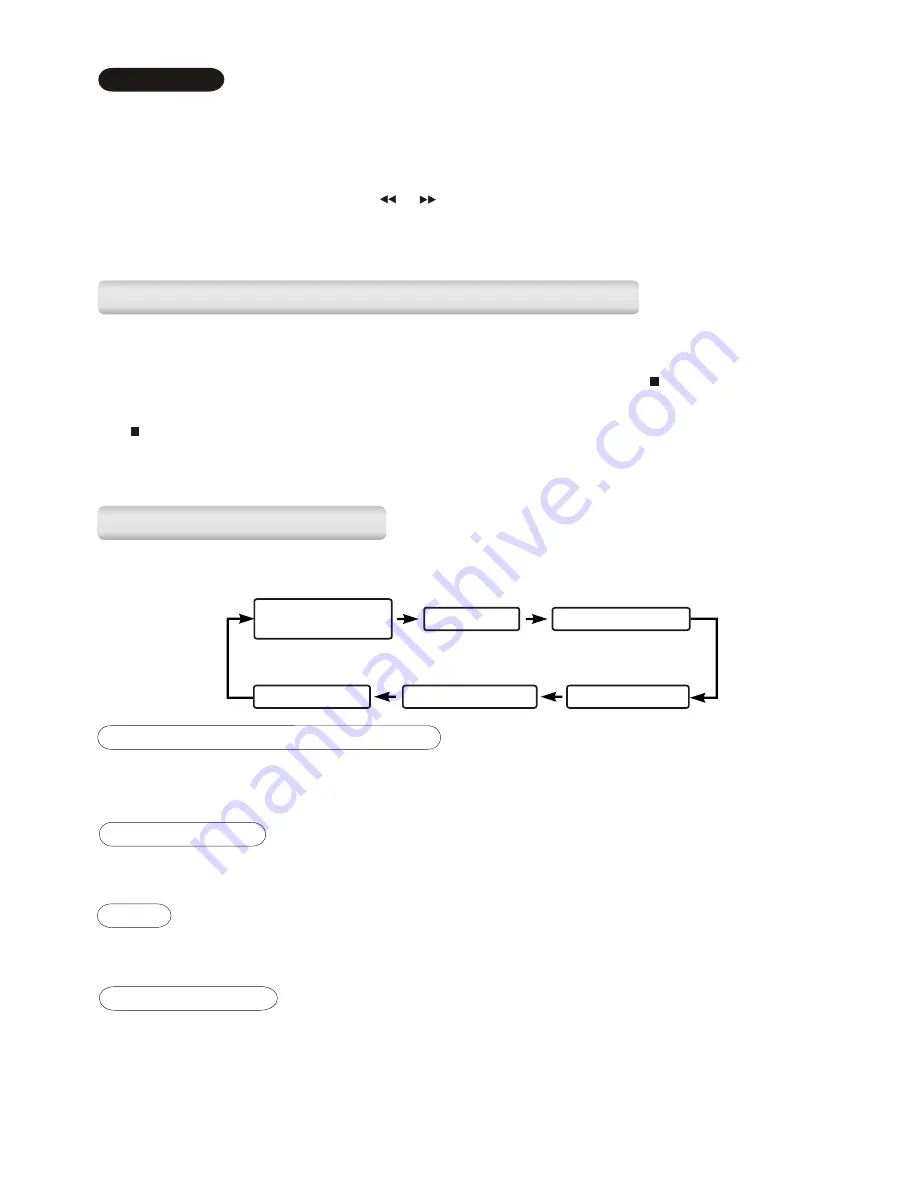
In  DAB  mode,  every  time  you  press  the  Info/Display  button,  the  display  will  cycle  through  the  following 
display modes: 

Ensemble/Multiplex (Group name)

The  Ensemble/Multiplex  is  a  collection  of  radio  stations  that  are  bundled  and  transmitted  together  in  a 
single frequency. There are national and local multiplexes, local ones contain stations that are specific to 
that area.

The time and date will be automatically updated by the broadcasted information; there is no need to set the 
clock manually. 

DLS stands for Dynamic Label Segment which is a scrolling message that the broadcaster may include in 
their transmissions. The message usually includes information such as programme details …etc.

Signal strength

The display will show a slide bar to indicate the signal strength, the stronger the signal, the longer the bar 
will be from left to right.

DAB DISPLAY MODES

DAB DISPLAY MODES

Time and date

DLS

1.     To select FM, press the Radio button, the display will show the frequency and the audio mode.  
2.      To  activate  frequency  auto  search  up,  press  the  Autotune  button  once,  it  will  start  scanning  up  the 

frequency band and stop automatically once a station has been found.

3.    To activate frequency auto search down, press and hold the Autotune button until it starts to scan down 

the frequency band.

4.     To activate manual search, press the 

◀◀ or ▶▶ button.  

5.    

The radio will automatically switch between stereo and mono mode, but you can override this and 
switch this function manually which is helpful for poor signal reception.

 Press the 

Select

 button to 

select audio mode, you can toggle to select between “Auto” or “Mono”.

In either DAB or FM mode, you can store up to 20 stations to the favourite presets; this will enable you to 
get direct access to your favourite stations.  


1.     To store a preset, first tune to your desired station, then press and hold the    button until the display 

shows flash “Preset #”.  

2.      Press  the  Preset  +  or  Preset  -  button  to  select  your  desired  station  preset  number,  then  press  the       

button to confirm your selection, the display will show “Preset # Saved”.

3.     To recall a preset station, press the /- button to select the stations that you have stored. The 

display  will  show  “Preset  #  Loaded”.  If  the  preset  hasn’t  been  allocated  a  station,  the  display  will 
show “Preset # Free”.  

FM mode

STORING AND RECALLING STORED STATIONS

STORING AND RECALLING STORED STATIONS

10

Содержание AX-M133 s

Страница 1: ...AX M133 DAB FM CD MP3 WMA Music Centre with USB SD MP3 WMA Playback MP3 Encode CD Volume EQ Random Sleep Select Pro gra m Menu Setup Radio Input Preset Folder X Bas s Intro Timer Repeat Autotune Info Display Instruction Manuals ...

Страница 2: ... all servicing to qualified service personnel TO REDUCE THE RISK OF ELECTRIC SHOCK DO NOT REMOVE COVER OR BACK NO USER SERVICEABLE PARTS INSIDE REFER SERVICING TO QUALIFIED SERVICE PERSONNEL Conductor dangerous voltage that may be of sufficient magnitude to constitute a risk of electric shock to persons is present within this product s enclosure The owner s manual contains important operating and ...

Страница 3: ...etent person preferably a qualified electrician If there is no alternative to cutting off the mains plug ensure that you dispose of it immediately having first removed the fuse to avoid a possible shock hazard by inadvertent connection to the mains supply IMPORTANT The wires in this mains lead are coloured in accordance with the following code Blue NEUTRAL Brown LIVE As these colours may not corre...

Страница 4: ...r objects filled with liquids such as vases to be placed on the equipment DON T place hot objects or naked flame sources such as lighted candles or nightlights on or close to equipment High temperatures can melt plastic and lead to fires DON T listen to headphones at high volume as such use can permanently damage your hearing DON T leave equipment switched on when it is unattended unless it is spe...

Страница 5: ... not expose discs to direct sunlight or high temperatures high humidity or dusty places 4 Cleaning a disc Should the disc become soiled wipe off dust dirt and fingerprints with a soft cloth The disc should be cleaned from the centre to the edge Never use benzene thinners record cleaner fluid or anti static spray Be sure to close the CD door so the lens is not contaminated by dust Do not touch the ...

Страница 6: ...ROLS FEATURES AND CONTROLS 1 AC Power On Off Switch 2 13 Pin Socket to Main Unit 3 Speaker Out Jack Left 4 Speaker Out Jack Right 5 AC Power Cord 6 Speaker In Jack 7 IR Sensor 8 USB Port 9 Memory Card Slot 10 CD Slot 11 CD Eject Button 12 Standby Button 13 Display Socket 14 AUX In Jack 15 Speaker Out Jack Left 16 Speaker Out Jack Right 17 13 Pin Socket to Woofer 18 Antenna Socket ...

Страница 7: ...E BATTERY INTO THE REMOTE 1 2 3 4 5 6 7 8 9 10 11 12 13 14 15 16 17 18 19 20 21 22 23 24 CD Volume EQ Random Sleep Select Progr am Menu Setup Radio Input Preset Folder X Bas s Intro Timer Repeat Autotune Info Display 1 Push in the battery compartment and release the compartment will slide out 2 Fully slide out the battery compartment place the battery 1 x CR2032 or similar type onto it Ensure it i...

Страница 8: ...nna base and connect the cable to the RF connector located at the back of the main unit 6 The installation is completed and you can now plug the woofer into the AC mains outlet 7 To power up the system set the Power Switch at the back of the woofer to on the system will be in standby mode the display will first show the greeting and then the clock 8 the Standby button to switch on the system and n...

Страница 9: ...cted to the power and switched on for the first time it will be in standby Press the Standby button once to switch on the unit it will automatically enter into the DAB mode and perform DAB services full scan function after the scan has finished the first alphanumerically found station will be automatically selected The clock will then be synchronized to the current local time You can manually set ...

Страница 10: ... are two scan modes one is quick scan and the other is full scan Quick scan will only search for the UK DAB Band III channels and full scan will search all DAB Band III channels Once the scan has finished the radio will select the first alphanumerically found station 1 To activate the quick scan press the Autotune button once the display will show Quick Scan and then a progressing slide bar F 6 2 ...

Страница 11: ...uto search up press the Autotune button once it will start scanning up the frequency band and stop automatically once a station has been found 3 To activate frequency auto search down press and hold the Autotune button until it starts to scan down the frequency band 4 To activate manual search press the or button 5 The radio will automatically switch between stereo and mono mode but you can overri...

Страница 12: ...cs as well as the quality and condition of the blank media you are using 100 playability cannot be guaranteed This is not an indication of a problem with the player 1 Press the CD button to select CD function The display will show CD READY and the CD icon 2 Insert the disc with the printed label side aligned with printed artwork The display will first show Reading and then finally the total track ...

Страница 13: ...the display shows the total number of tracks on the disc 2 Press the Program button once in CD stop mode the display will show the track numbe or file name if MP3 WMA and P 01 will flash F 16 3 Press the or button to select the first track number to be programmed When the desired track number appears in the display press the Program button to confirm and the first track to play is programmed The p...

Страница 14: ...t button to play the file 3 To activate direct search repeatedly press the Menu Setup button until the display shows the names of the files in the memory device CD 4 the Folder or Folder button to select a different folder and press the or button to select Press the file finally press the Select button to play the file The MP3 file encoding and copying function is done by songs or by individual MP...

Страница 15: ...ding and start playing the tracks in your programmed sequence 6 It will stop automatically when the tracks have played and finished The tracks programmed will be encoded and stored as new MP3 files in your desired memory device USB or SD MMC You can encode your favourite radio program into MP3 format and store them into your memory device through the USB port or SD MMC card slot 1 Press the Radio ...

Страница 16: ...or SD MMC first press the button to stop the auto playback and then press the or button to select the track file that you want to copy 3 Press the Menu Setup button until the display shows Copy Mode 4 Press the or button to select USB or SD MMC again press the Select button to confirm The display will show USB or SD MMC 5 Press the or button to select Yes then press the Select button again to conf...

Страница 17: ...e system will be switched into standby 5 To cancel the sleep function press the Sleep button until the display shows SLEEP OFF 80 70 50 40 30 10 90 60 20 OFF Formatting your memory device USB or SD MMC AUX INPUT AUX INPUT SLEEP FUNCTION SLEEP FUNCTION This feature enables you to program copy the file from a MP3 WMA disc USB or SD MMC into you desired memory device up to 32 tracks files can be prog...

Страница 18: ...l switched on to the mode as set F 21 3 To set the timer press and hold the Timer button until the display shows the timer status the hour digit of the timer clock will flash 4 Press the or button to set to the desired hour and press the Timer button to confirm first set the hour and then finally the minute 5 T en you will enter into the timer mode setting press the or button to select your desire...

Страница 19: ...W x 215 D x 200 H mm DISPLAY UNIT DIMENSION 144 W x 25 D x 46 H mm TOTAL WEIGHT 7 988Kg RADIO SECTION FREQUENCY RANGE DAB 174 240 MHz FM 87 5 108 MHz COMPACT DISC SECTION CD MEDIA CD DA CD ROM CD R CD RW DISC FORMATS CD DA Digital Audio ISO9660 CD R ISO13346UDF CD RW Mixed mode and Enhanced CD MP3 WMA SECTION BIT RATE MP3 32 128bps WMA 32 48 192bps Constant VBR Variable Bit Rate DISPLAY MP3 WMA Ta...

Страница 20: ...way to buy electrical spares and accessories With over 1 million spares and accessories in stock we can deliver direct to your door the very next day Visit www partmaster co uk or call 0870 6001 338 UK customers only Calls charged at National Rate ...

Отзывы: