HCO
5-Advanced Setting SG550/SG530
Page 8
Advanced Settings
After you are familiar with the basic operations of the camera, you are now ready for advanced
operations. The advanced operations in this section are very similar to the basic operations,
only the options and parameters of the camera are explained in more details.
4.1 Parameter Settings
In order to do the parameter settings, you must enter the TEST mode first. Parameter settings
start by pressing the MENU key in the TEST mode.
After you enter the Test mode, some suggestive information will be shown on the LCD. The
effective value will be shown on the LCD after setting except for the date and time. Press the
UP or DOWN key to enter the previous or next menu (the UP key for the previous menu and
DOWN key for the next menu). Press the RIGHT key to change the value of specific
parameter.
4.1.1
Camera Mode
Two ways are available for setting this parameter: one is to use the shortcut key and the other
is through the MENU. By using the shortcut key, you can set the camera to the video mode by
pressing the UP key and setting the Camera Mode to camera mode by pressing the DOWN key
in the TEST mode.
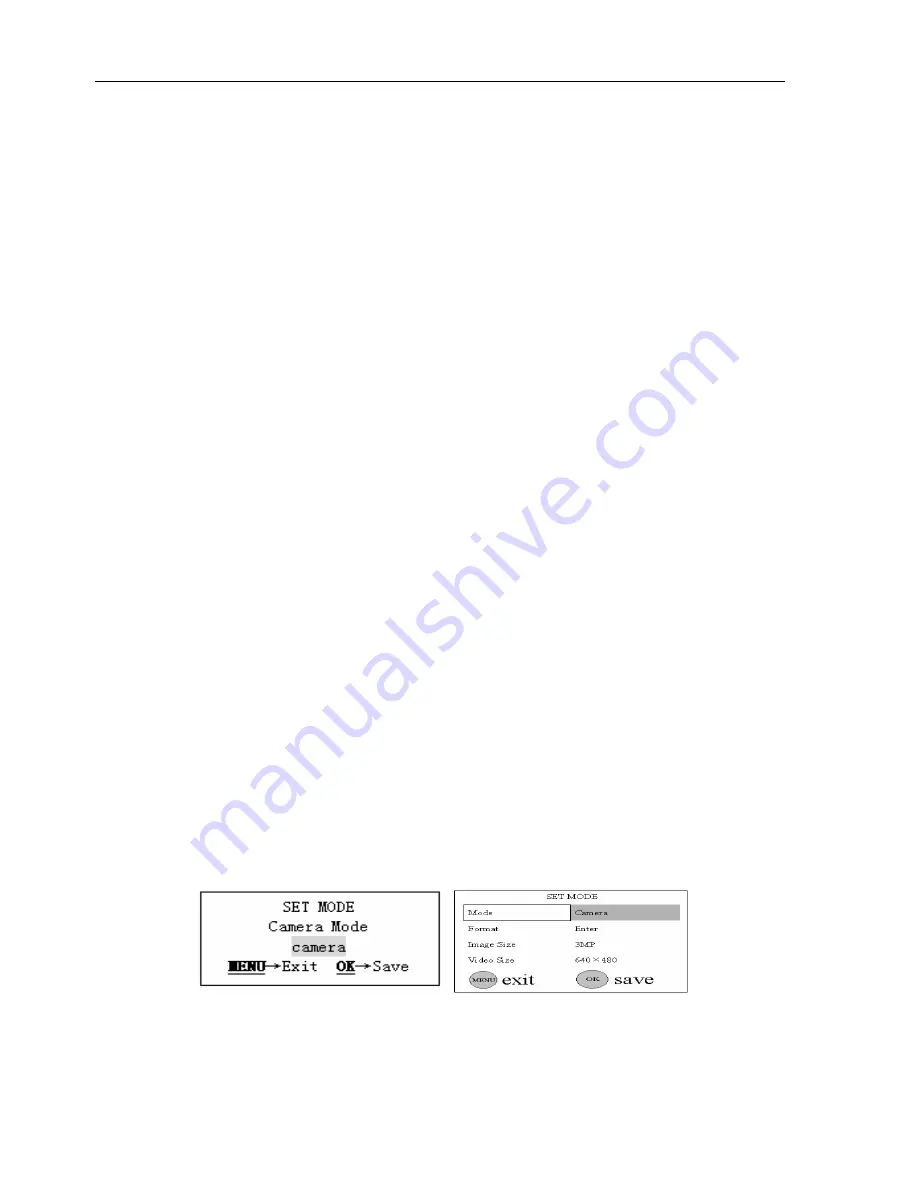
The default camera mode is camera mode. You can change it to video mode by the following
procedure:
1.
In MENU, the default setting of the Camera Mode, ‘camera’, is highlighted as
shown in Fig. 5(a) and 5(1).
2.
This parameter has two options: ‘camera’ and ‘video’. Pressing the RIGHT key
can switch between these two options as shown in Fig. 5(b) and 5(2).. The selected
option will be highlighted,
3.
Press the OK key to save the current setting or the MENU key to cancel the setting
process and exit. You will quit setting process without saving and no parameter
will be changed if you press the MENU key at any time before pressing the OK
key. After pressing the OK key, the information in Fig. 5(c) and 5(3) will be shown.
(a)
(1)


