Chapter 4
Using NEXIO Config
66
©2011 Harris Corporation. All rights reserved.
4
Click
Yes
to open the
Apply Changes
dialog box and review the changes prior to
restoring the factory defaults.
-OR-
Click
No
to restore the factory defaults without reviewing the changes.
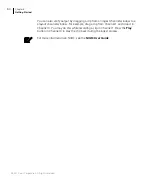
The following dialog box appears recommending that you restart the system.
Figure 4-7
NEXIO Config — Defaults Reboot
5
Click
OK
to restart the system and apply the factory defaults.
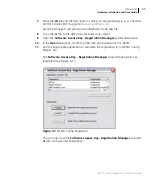
To specify a default preset
1
Create a preset as described in
Creating or Modifying a Preset
2
In Windows Explorer, open the
presets
folder.
Tip
The
presets
folder is in
C:\Program Files\Harris\NEXIO Config (x64)
.
3
Copy the file that you want to use as the default from
C:\Program
Files\Harris\NEXIO Config (x64)\presets
to
C:\Program Files\Harris\NEXIO
Config (x64)
.
4
Rename the file to
default.xml
.
5
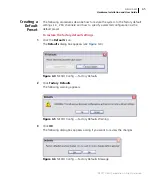
Click the
Defaults
icon.
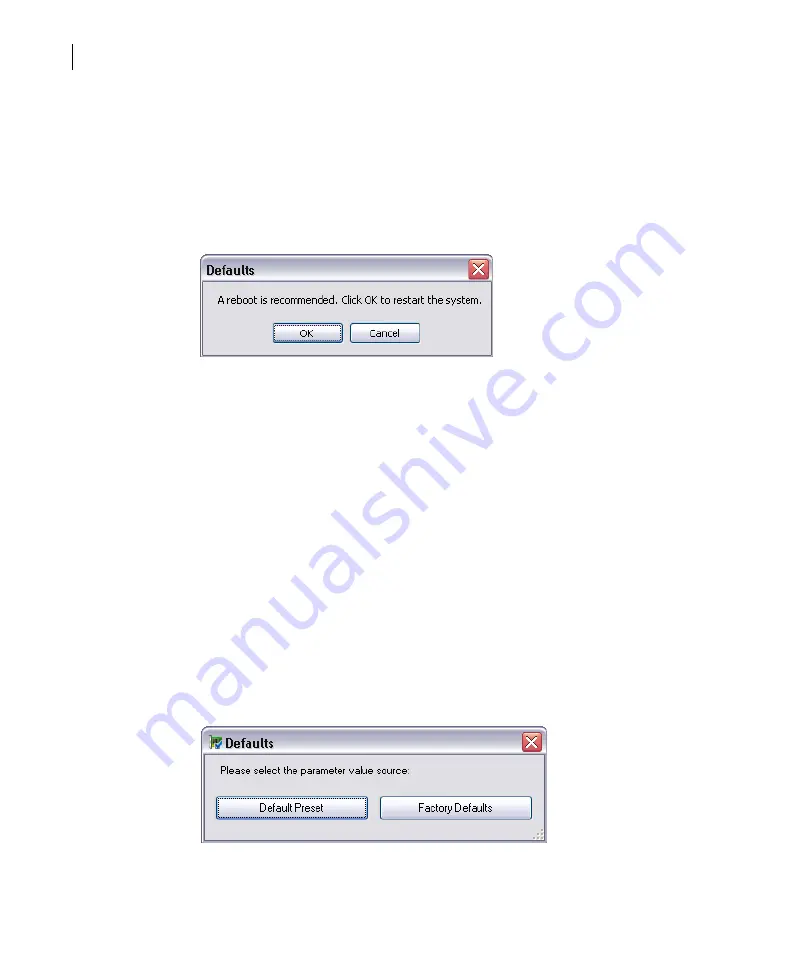
The
Defaults
dialog box appears. Since you have defined a default preset, the
Default Preset
button is available (see
Figure 4-8
NEXIO Config — Default Preset
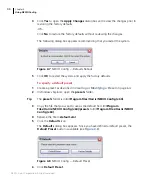
6
Click
Default Preset
.
Содержание NEXIO AMP NX3801HDX
Страница 2: ......
Страница 8: ...Contents vi 2011 Harris Corporation All rights reserved...
Страница 18: ...About This Guide 8 2011 Harris Corporation All rights reserved...
Страница 120: ...Chapter 5 Monitoring Server Status 110 2011 Harris Corporation All rights reserved...
Страница 132: ...Chapter 6 Connectors Jumper Settings and Circuits 122 2011 Harris Corporation All rights reserved...
Страница 138: ...Index 128...
Страница 139: ......


