For technical questions, please call 1-888-866-5797
40
USING DLC LOCATOR
Additional Tests
USING THE DLC LOCATOR
40
5.
Select the Monitor for which you wish to view Drive Cycle
Procedures, then press
ENTER
.
A “One moment please…” message displays while the Scan
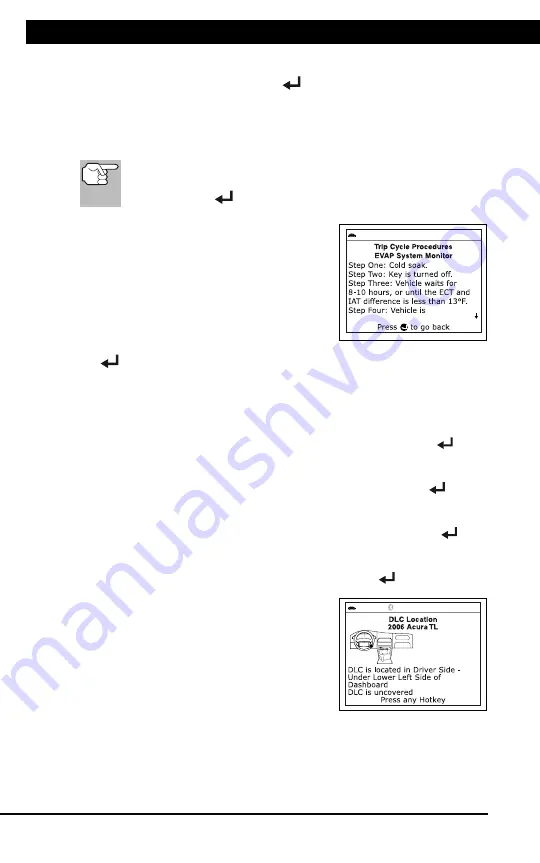
Tool retrieves the requested Drive Cycle Procedure. The Drive
Cycle Procedures screen for the Monitor displays when the
procedure has been retrieved.
If a Drive Cycle Procedure for the selected Monitor is not
available, an advisory message shows. Select
Back
, then
press
ENTER
to return to the Main Menu.
6.
The Drive Cycle Procedure screen
shows the specific set of operating
procedures that ensure the vehicle is
driven in such a way that all the
required “Enabling Criteria” for the
Monitor to run and complete its
diagnostic testing are met.
7.
When you are finished viewing the
Drive Cycle Procedures, press
ENTER
to return to the Drive Cycle Procedures menu, or, press
M
to
return to the Main Menu.
USING THE DLC LOCATOR
1.
Select
DLC Locator
in the
Main Menu
, then press
ENTER
.
The Select Vehicle Model Year screen displays.
2.
Select the desired vehicle model year, then press
ENTER
.
The Select Vehicle Manufacturer screen displays.
3.
Select the desired vehicle manufacturer, then press
ENTER
.
The Select Vehicle Model screen displays.
4.
Select the desired model, then press the
ENTER
button.
The DLC Location screen for the
selected vehicle displays.
The DLC Location screen shows the
selected vehicle make and model, a
description of the DLC location and
whether the DLC is “covered” or
“uncovered,” and includes a picture
of the DLC location.
5.
When you have finished viewing the DLC location, press any hotkey
to exit the DLC Locator.


