10
Hangar 9 33% Pawnee 80cc ARF
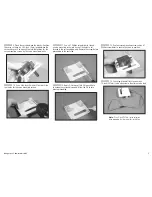
Note
: If you are using a 2-position flap
switch, still set the center position as a starting
point for the flap linkage installation.
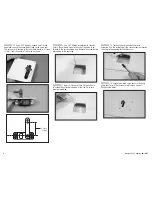
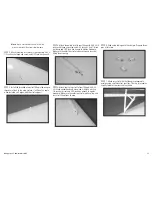
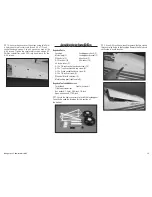
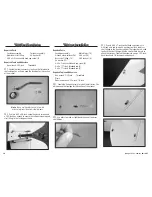
26. Next, set the full-flap position Use the travel
adjustment to set the down flap position as shown.
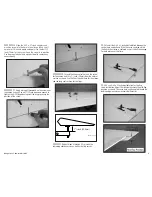
27. Set the flap switch to the up flap position. Use the
travel adjustment to move the servo so the flap is aligned
with the wing as shown.
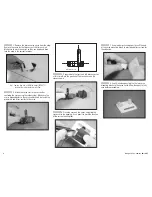
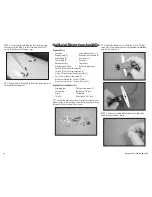
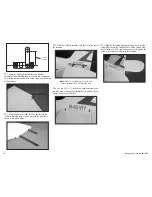
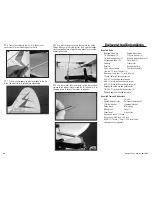
28. Install the remaining 4-40 x 2-inch adjustable link
for the opposite flap servo. Adjust the linkage so when the
transmitter is set to the up flap position, the flap is aligned
with the wing. The mid and down flap positions will then
match the opposite flap without any additional adjustments
to the radio.
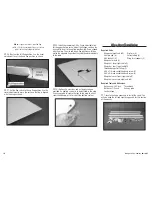
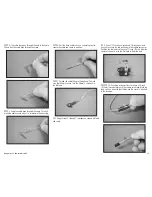
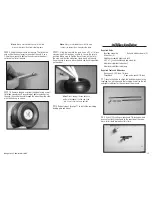
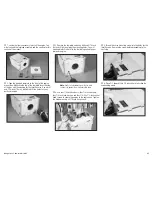
29. (Optional) A clear lens and a string have been
provided if a lighting system is to be installed in the wing.
Use canopy glue to secure the lens to the wing to either
cover the opening, or to finish off the lighting system.
Wing Strut Installation
Required Parts
Wing panel (right and left)
Strut pin (6)
Strut pin clip (6)
Safety tubing (6)
4-40 lock nut (4)
Wing strut support (2)
Wing strut mount (4)
Wing strut, long (right and left)
Wing strut, short (right and left)
Threaded wing strut fitting (2)
4-40 x 1/2-inch socket head cap screw (8)
4-40 x 5/8-inch socket head cap screw (4)
Wing strut cover, front (right and left)
Wing strut cover, rear (right and left)
Required Tools and Adhesives
Hex wrench: 3/32-inch
Threadlock
Nut driver: 1/4-inch
Canopy glue
Low-tack tape
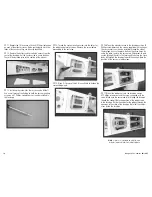
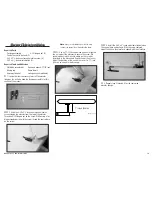
1. Locate the items necessary to install the struts. You
will also need the left and right wing panels for this section
of the manual.
Содержание 33% Pawnee 80cc ARF
Страница 1: ...33 Pawnee 80cc ARF Assembly Manual ...


