5
Hangar 9 33% Pawnee 80cc ARF
Optional Field Equipment
Self-stick weights, 6 oz (HAN3626)
Cleaner and towels
Pro-Link Wrench (HAN3558)
Before Starting Assembly
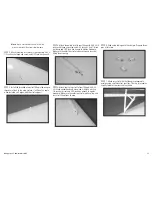
Before beginning the assembly of your model, remove
each part from its bag for inspection. Closely inspect the
fuselage, wing panels, rudder and stabilizer for damage. If
you find any damaged or missing parts, contact the place
of purchase.
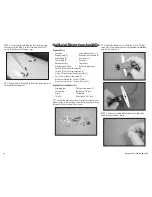
If you find any wrinkles in the covering, use a heat gun
(HAN100) and covering glove (HAN150) or covering iron
(HAN101) with a sealing iron sock (HAN141) to remove
them. Use caution while working around areas where the
colors overlap to prevent separating the colors.
Binding the Radio System
Before starting the assembly of your model, we recommend
preparing your radio system for installation. This includes
charging the transmitter and receiver batteries, as well as
centering the trims and sticks on your transmitter. If using
a computer radio, make sure to reset a model memory
and name it for this particular model. We also recommend
binding the transmitter and receiver at this time following the
instructions provided with your radio system.
Note
: We highly recommend re-binding the radio
system once all the control throws are set. This will
keep the servos from moving to their endpoints
until the transmitter and receiver connect.
Aileron and Flap Servo Installation
Required Parts
Wing panel (right and left)
Ball end with hardware (4)
Control horn, long (2)
Control horn, short (2)
8-32 flanged nut (4)
Servo with hardware (4)
Receiver
Receiver battery
Transmitter
Aluminum servo arm, 1
1
/
2
-inch (38mm) (4)
18-inch (457mm) servo extension (2)
3-inch (152mm) servo extension (2)
Servo hardware (4)
4-40 x 2-inch adjustable link (2)
4-40 x 3-inch adjustable link (2)
2mm x 10mm wood screw (16)
8-32 x 21/4-inch countersunk machine screw (4)
3/4 x 3/8 x 9/16 (19mm x 9.5mm x 14mm) hardwood
block (8)
Required Tools and Adhesives
30-minute epoxy
Mixing stick
Ruler
Pencil
Medium grit sandpaper
Drill
Drill bit: 5/64-inch (2mm) Phillips screwdriver: #1
Thin CA
String or dental floss
Nut driver: 1/4-inch
Flat blade screwdriver
Threadlock
Open-end wrench: 11/32-inch
Canopy glue
Linkage wrench (optional)
Isopropyl alcohol
Paper towels
Hex wrench: 3/32-inch, 2.5mm
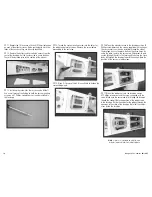
Note
: Before beginning this section of the
manual, set the throws for the flap servo at the
transmitter to 0% in both the up and down positions.
This will center the flap servo, allowing you to
properly install the servo arm and linkage.
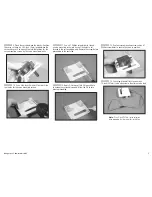
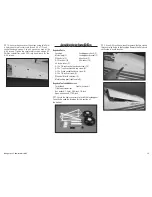
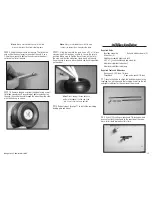
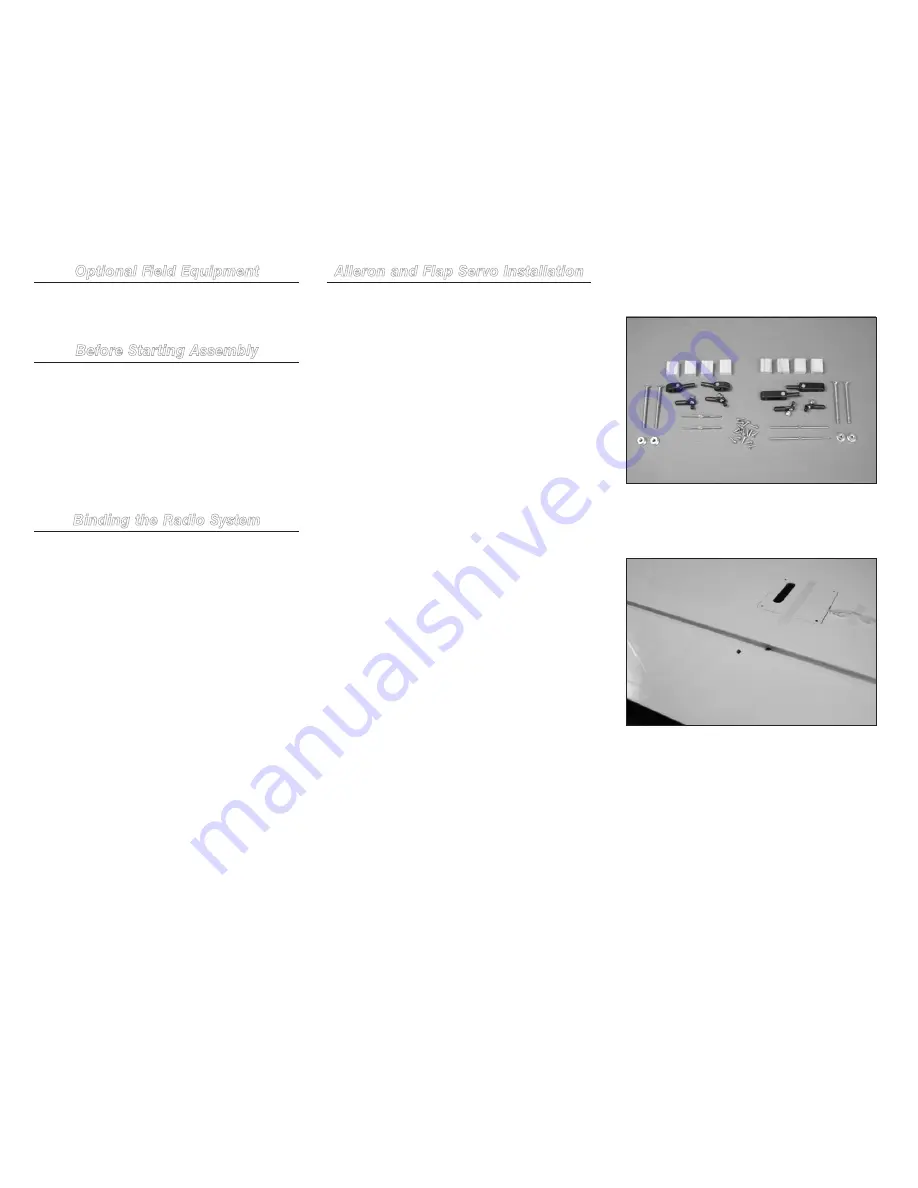
1. Locate the items necessary to install the aileron and
flap servos and linkages. You will also need the left and right
wing panels for this section of the manual.
2
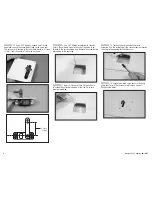
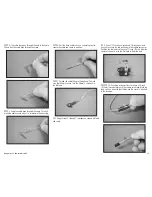
. Check the hinges in each wing panel to make sure
there is no excess adhesive that might prevent them from
moving. Use a hobby knife and a #11 blade to remove any
excess adhesive if any is found.
Содержание 33% Pawnee 80cc ARF
Страница 1: ...33 Pawnee 80cc ARF Assembly Manual ...


