14
Hangar 9 33% Pawnee 80cc ARF
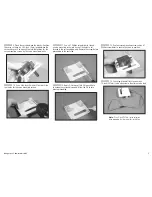
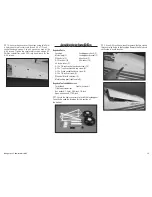
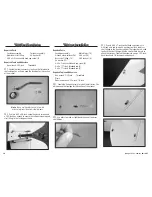
11. Repeat step 10 to secure a 36-inch (915mm) extension
on each of the elevator servos. Again, remember to mark the
leads of the servos so they can be easily identified.
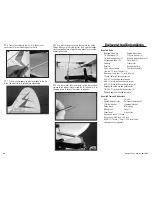
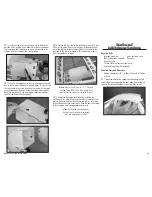
12. Remove the battery and servo hatch covers from the
rear of the fuselage. Set the covers aside in a safe location.
They will be installed later in this section of the manual.
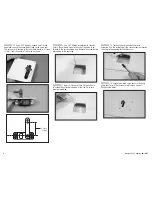
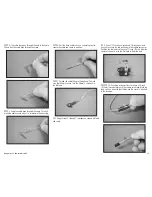
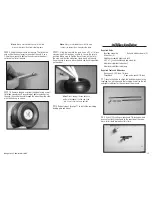
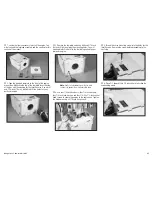
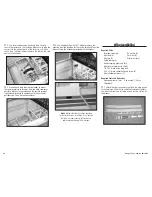
13. Installing the screws for the servos can be difficult.
Use a small piece of fuel tubing to hold the servo mounting
screw on a #1 Phillips screwdriver so it can be installed in
the fuselage.
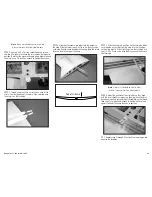
14. Thread the servo mounting screw into the holes for
the rudder and elevator servos. Remove the screw before
proceeding to the next step.
15. Place 2–3 drops of thin CA in each hole to harden the
surrounding wood.
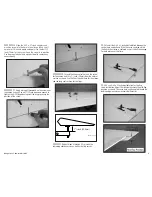
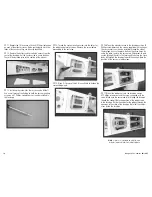
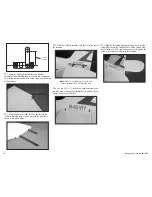
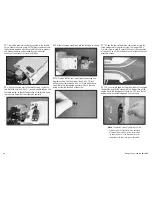
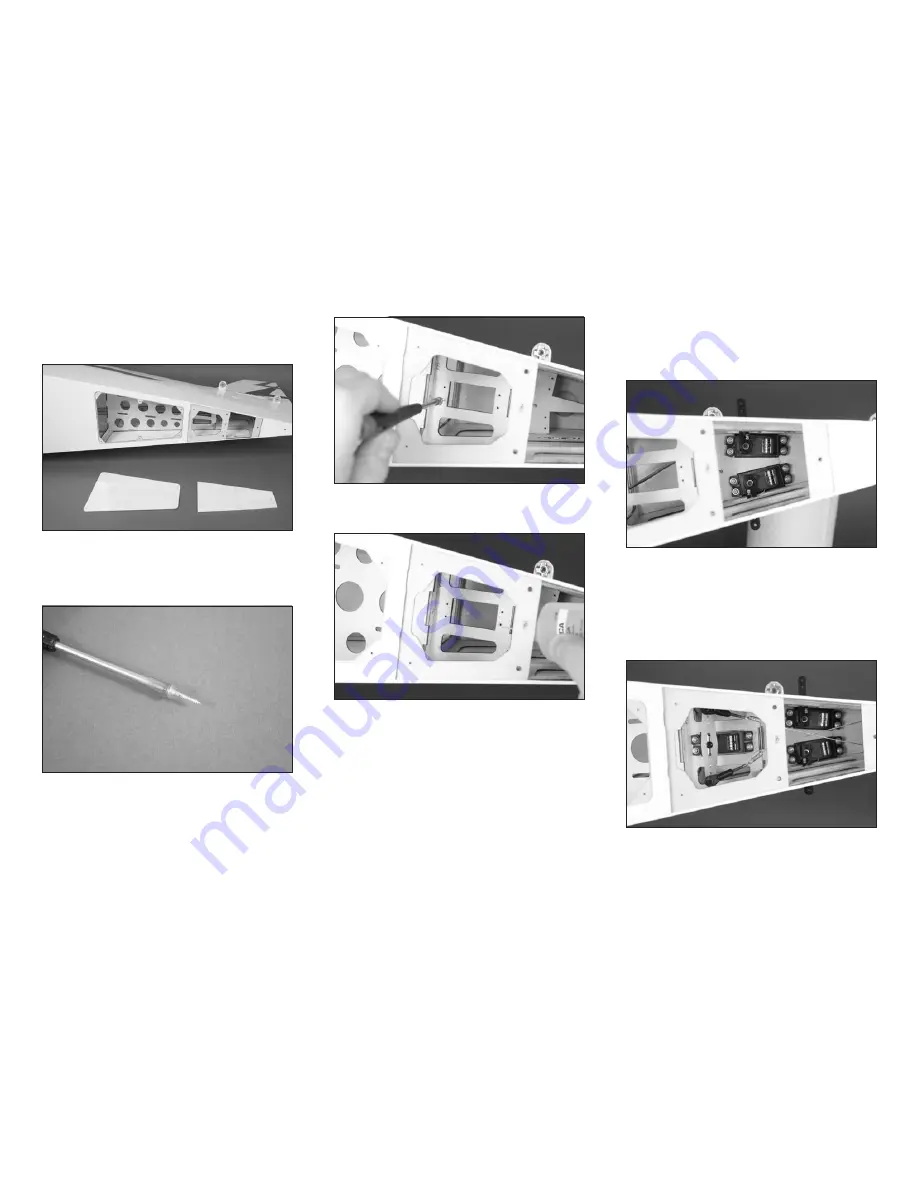
16. Mount the elevator servos in the fuselage using a #1
Phillips screwdriver and the screws supplied with the servos.
The servos arms can then be installed through the side of
the fuselage. Access the pinch bolts on the servo horns by
using the radio to move the servo arms 45-degrees to gain
access through the slot in the fuselage. Make sure the servo
leads fall through the fuselage toward the cockpit. Note the
position of the servos in the fuselage.
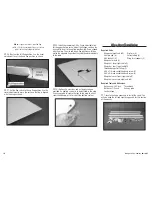
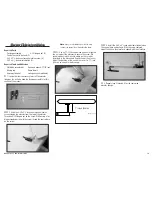
17. Mount the rudder servo in the fuselage using a
#1 Phillips screwdriver and the screws supplied with the
servo. Make sure the servo lead falls through the fuselage
toward the cockpit. Note the position of the rudder servo
in the fuselage. Guide the cables for the rudder through the
openings in the sides of the fuselage. Note that the cables
cross inside the fuselage.
Note
: Always use threadlock on metal-to-metal
fasteners to prevent them from vibrating loose.
Содержание 33% Pawnee 80cc ARF
Страница 1: ...33 Pawnee 80cc ARF Assembly Manual ...


