


28
Your camera allows you to print the photos with printer. The operation as below:
1.
Select a photo you want to print.
2.
Press Menu button.
3.
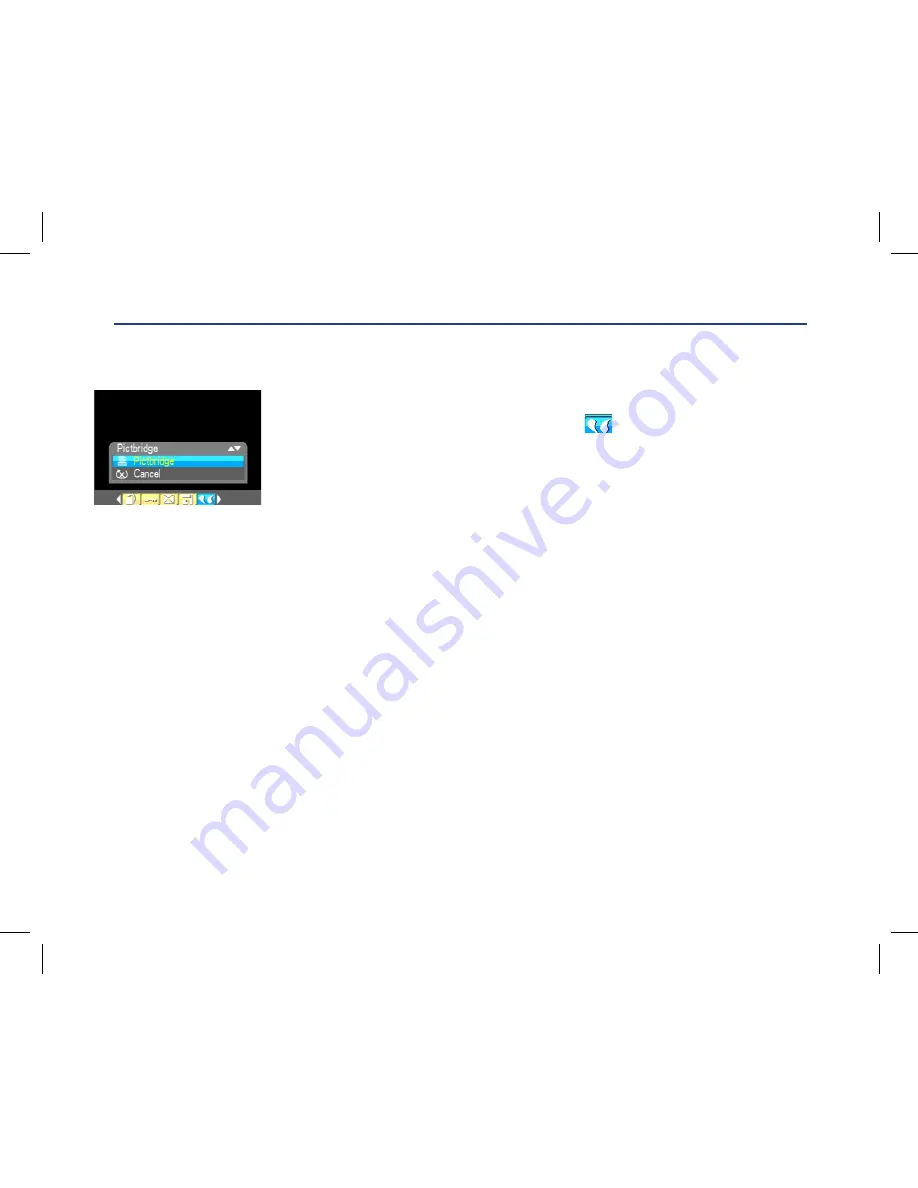
Press Right/Left button to select icon
,
the function menu as below:
4.
Press Up/Down button to select Pictbridge: to print photo,
Cancel: to exit menu.
5.
Press Menu button to enter Pictbridge mode and the LCD will show:”
please connect to device”.
6.
Connect your camera to compatible printer with USB cable correctly for printing.
7.
Press Menu button to exit if you do not want to print.
8.
If you select the “This Image”, there are 5 options for your selecting:
a)
Press Menu Button and select “OK” to start Printing.
b)
Press Up/Down button to select Cancel that means exit this Menu option.
c)
Press Up/Down button to select “NO. Of copy” option from “This image” menu.
That you selected number is 10 means you need printing 10 copies of this image.
d)
Press Up/Down button to select “N-up Layout” option from “This image” menu.
There is only one option “Default setting”.
e)
Press Up/Down button to select “Size” option from “This image” menu.
You can set the size of printing.
33
3. Press Right/Left button to select icon
, the function menu as below:
4. Press Up/Down button to select Pictbridge: to print photo, Cancel: to exit menu.
5.
Press Menu button to enter Pictbridge mode and the LCD will show:” please connect to device”.
6. Connect your camera to compatible printer with USB cable correctly for printing.
7. Press Menu button to exit if you do not want to print.
8.
If you select the “This Image”, there are 5 options for your selecting:
a)
Press Menu Button and select “OK” to start Printing.
b)
Press Up/Down button to select Cancel that means exit this Menu option.
c)
Press Up/Down button to
select “NO. Of copy” op
ti
on from “This image” menu. That you selected
number is 10 means you need printing 10 copies of this image.
d)
Press Up/Down button to select “N
-
up Layout” option from “This image” menu. There is only one
option “Default setting”.
e)
Press Up/Down button to selec
t “Size” option from “This image” menu. You can set the size of
printing.
9.
If you want to print your selected photos, you need to select “Select Images” option from menu.
a)
Then select “select” option from menu and Press Menu Button to confirm. At this time,
you can
select another photo.
i.
Press Menu Button once, the photo will be selected and this icon will appear in the left
Содержание GVA12DC
Страница 1: ...Instruction Manual Digital Camera GVA12DC...
Страница 5: ...5 Getting to know your Digital Camera...


