User Manual
•
Under the heading named “Laser”, you can toggle between “on” and “off” by
pressing Button “
<
” and “
>
”. Press Button “Menu” or “OK” to confirm your
selection “off”’
Warning:
•
Pls do never point the laser at human bodies so as to avoid any hurt
Pausing Live Images and Saving Images
•
To store an image, press Button “OK” to freeze the live image and temporarily
capture the visual image into the built-in flash memory. Pressing Button “OK”
again will store both the infrared image and visual image into built-in flash
memory.
•
The frozen image can be defined as the mean of 1, 4, 8, or 16 image frames,
which is designed to reduce or eliminate noise so as to ensure better image
quality
•
The image storage begins when “ ” appears on the screen. When the image is
saved, indication like “Saved as IMAGE006” will appear on the screen temporarily
and then comes to the live image capturing status.
•
If voice annotation is required with the image, make sure that the “Voice Annotat”
is toggled “ON” before trying to save the image. To do this, press button “M” to
bring up the main menu, press Button “ ”
∧
, “ ”
∨
, “
<
” and “
>
” to highlight the
“Setup Analysis” option, select by pressing Button “Menu” or “OK”
•
Under the heading named “Voice Annotat”, you can toggle between “on” and “off”
by Button “
<
” and “
>
”. The selection “on” is confirmed by pressing Button “Menu”
or “OK”
•
Then when you repeat the steps to save an image the option to record the voice is
present
•
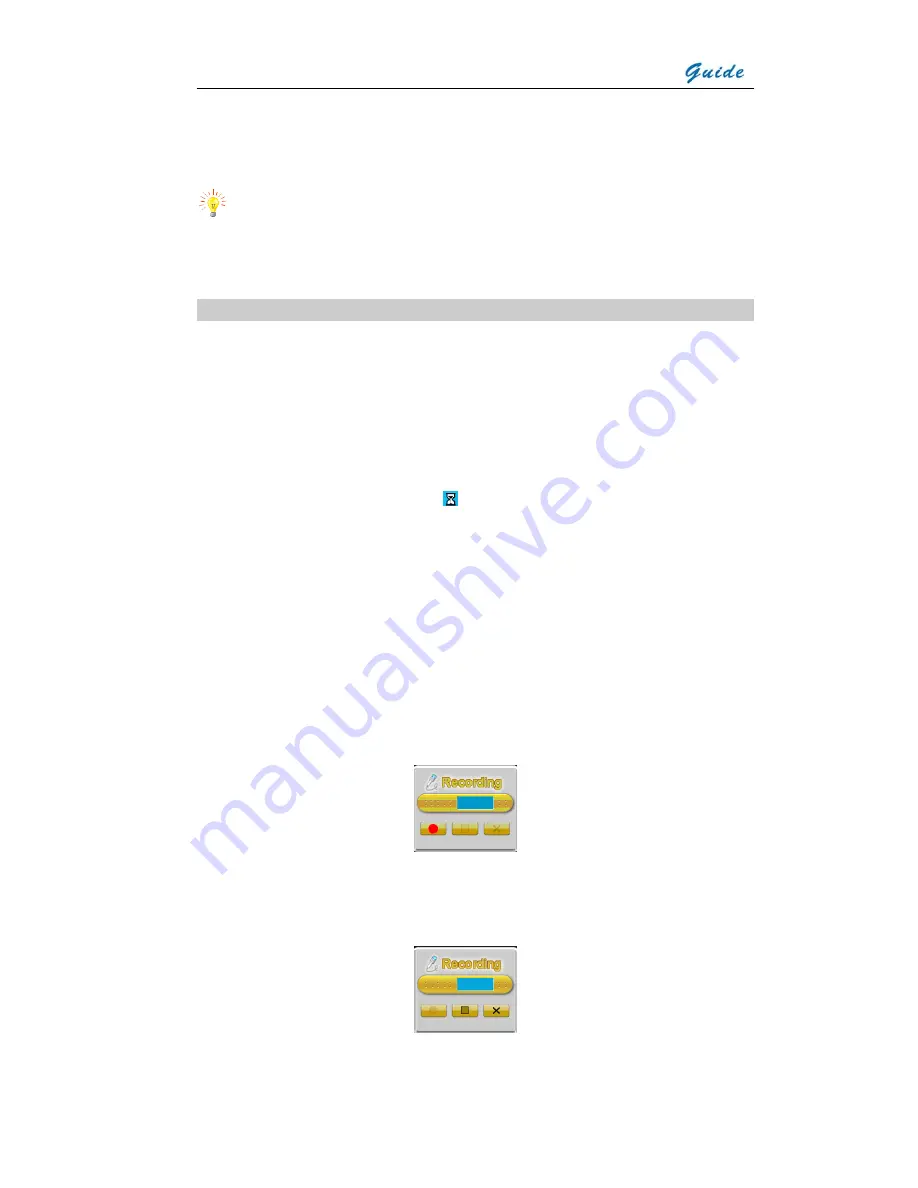
Press Button “OK” to begin recording, with time of the recording counted
automatically. Press Button “
●
” to stop recording. Pressing Button “C” will cancel
recording.
•
Buttons in the dialog box above change to be the ones below


