background image

RadaScan

Operator - 10

Navigation: single target

To start single target navigation

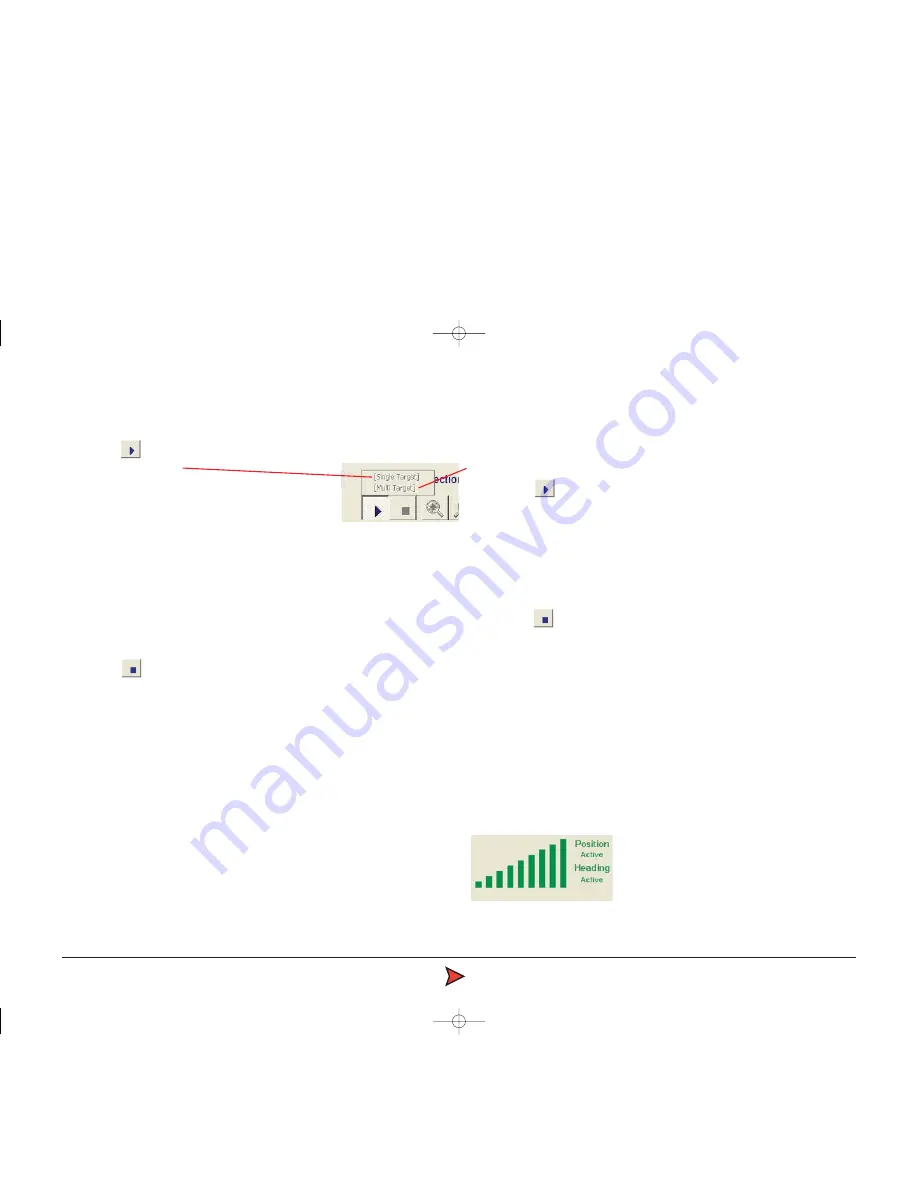
1  Click the        button to reveal a pop-up list of navigation options.

2  Select [Single Target] 

3  In the subsequent dialog, click 'OK' to 

confirm your selection.

4  Click the cursor on one of the target reflections shown

on the sensor display. 

After a short delay, the navigation data will be determined and displayed. 

Note that only 'Range and Bearing' or 'Bow and Starboard' values will be
shown as single target/prism modes cannot provide heading information.

To end single target navigation

1  Click the        button.

2  In the subsequent dialog, click 'OK' to confirm your action. 

The readouts in the navigation section will become inactive and turn grey. The
viewed targets will remain shown on the sensor display.

Navigation: multi-target

To start multi-target navigation

The Multi-target navigation option only becomes available when Radascan

identifies 2 or more authentic Radascan targets

1  Click the         button to reveal a pop-up list of navigation options. 

2 Select [Multi-Target] 

3  In the subsequent dialog, click 'OK' to confirm your selection. 

RadaScan will automatically identify the available targets and after a short
delay will start to navigate against them.

To end multi-target navigation

1  Click the         button.

2  In the subsequent dialog, click 'OK' to confirm your action. 

The readouts in the navigation section will become inactive and turn grey.
The viewed targets will remain shown on the sensor display

Information quality indicator

When beginning either single or multi-target navigation, the readouts in the
navigation section of the screen (top right corner) will initially turn red (to
indicate that the positional information received is not yet sufficient). The
RadaScan system will improve upon its positional information and as quality
increases, the readouts will change from red to amber and then to green.
Additionally, the information quality indicator bar graph will show more
similarly coloured bars. 

Radascan Operators Manual  20/11/06  1:46 pm  Page 10

Содержание RadaScan

Страница 1: ...Operator s Guide Radascan Operators Manual 20 11 06 1 46 pm Page 1 ...

Страница 2: ...Disk contains Control Console Software Software License Operator s Guide Radascan Operators Manual 20 11 06 1 46 pm Page 2 ...

Страница 3: ...hout the prior written consent of the Owner Windows is a trademark of Microsoft Corporation All other brand or product names are trademarks or registered trademarks of their respective companies or organisations RadaScan is not currently approved for import to the United States Guidance Navigation Limited 4 Dominus Way Meridian Business Park Leicester LE19 1RP England Tel 44 0 116 229 2600 Fax 44 ...

Страница 4: ...Status bar 11 Property pages 12 Alarms property page 13 Using the historic alarm list 14 Reflection property page 15 Configuration property page 16 DP feed format and message string 17 About property page 18 Using the on screen keyboard 19 Using log files 20 Entering service access mode To obtain and use a temporary service access mode 21 The configuration page 22 Specifications Specification info...

Страница 5: ...ull control of the system together with graphical and data display of system status An Ethernet link connects the Sensor to the Console PC RadaScan Transponder Target A passive self contained battery powered electronics module for temporary semi permanent or permanent installation on the target vessel RadaScan transponders are ATEX certified as intrinsically safe Principles of Operation The RadaSc...

Страница 6: ...Software version information The Configuration page tab within the property sheet provides version information about every software component with the Console application and the RadaScan Sensor Serial numbers and software versions Software component version information Radascan Operators Manual 20 11 06 1 46 pm Page 4 ...

Страница 7: ...ons RadaScan User Console offers you two options for shutting down or suspending or resetting the sensor communication link These options are accessed via the RadaScan button in the lower left hand corner Suspend Places the sensor into a sleep mode whereby the motor ceases spinning However upon command from the Console application the unit will return to full operation This mode is suitable for us...

Страница 8: ... between the RadaScan vessel and any targets that are in view Button bar A collection of nine buttons that provide or control a range of functions The pages that follow provide explanations of each of the five key screen areas and the elements presented within them Status bar Provides important feedback information on various topics and displays the date and time that the situation was first repor...

Страница 9: ...ns either as an outline or a solid filled shape with a distinct bow and stern or alternatively the vessel image may be switched off see Display options Depending upon the chosen display option the centre of the Sensor display will either represent the RadaScan vessel or the target origin of the current multi target group see Display options Range circles A series of radiating labelled concentric c...

Страница 10: ...tion boxes that are superimposed on the reflection squares Stop navigation Click to cease sending live positional data to the DP system Start navigation Click to begin a sequence of steps that leads to the RadaScan system providing live positional data to the DP system After selecting this button you will be requested to select a stored multi target group or single target Zoom in Decreases the dis...

Страница 11: ...n property page Positional display DP Feed mode Information Quality Indicator Navigation section Information Quality Indicator A graphical 9 bar display gives a quick indication of the confidence that the sensor system has in the positional data being generated The more bars that are displayed the better the data The bars and numerical values are also coloured and change from red through orange to...

Страница 12: ...ies 2 or more authentic Radascan targets 1 Click the button to reveal a pop up list of navigation options 2 Select Multi Target 3 In the subsequent dialog click OK to confirm your selection RadaScan will automatically identify the available targets and after a short delay will start to navigate against them To end multi target navigation 1 Click the button 2 In the subsequent dialog click OK to co...

Страница 13: ...s bar are two buttons RadaScan Click this button to view the Control dialog From here you can Suspend Places the sensor into a sleep mode whereby the motor ceases spinning However upon the resume command the unit will return to full operation Suspend Exit Shuts the Console software application but maintains power to the sensor Upon starting the application the unit will return to full operation Th...

Страница 14: ... gives details of the reflection s which are being received by the sensor Configuration This page gives access to operational parameters including screen contrast DP feed type and navigation display About This page gives Service Access to the set up parameter for the system The software version of the User Console a copyright statement and Guidance Navigation contact details are also shown For mor...

Страница 15: ...e filter is activated with only the Information alarms un ticked to conceal them To use the alarms filter 1 View the Alarms page within the Property sheet in the lower right corner 2 Click the right side of the two part filter button A drop down list will be displayed showing the four types of reports alarms 3 Click on each type of alarm to check uncheck them as necessary Note Alarm types that are...

Страница 16: ...key click the required alarm entries and click the button To accept all alarms click the button Note If you attempt to transfer any alarms that are still unresolved a warning dialog will be displayed To clear the historic list Items in the Current list cannot be deleted they may only be moved to the Historic list Once there however they may be erased 1 View the Alarms page tab within the Property ...

Страница 17: ...ring the last complete revolution of the sensor rotor This page can be used to verify the graphical representation of reflections shown within the Sensor display As a new revolution is started the list is cleared and starts again For each verified reflection the list provides Target ID code Range Bearing and Signal to Noise Ratio The latter relates to the quality of the reflection For changes up t...

Страница 18: ...sition in a Bow Starboard axis frame This option switches the display to one of Range and Bearing to the selected target To implement tick the box and click the apply button The DP message string is unaffected Day View Night View To provide maximum visibility during daytime operation and minimal glare during night shifts RadaScan User Console offers two display modes Day View and Night View To cha...

Страница 19: ...e the DP feed format Note Changes in formats other than between NMEA and ASCII can only be carried out in service access mode 1 View the Configuration page within the Property sheet 2 Click the down arrow of the DP Feed Format box to reveal a drop down list of options 3 Select the appropriate format and then click the button Ensure that the DP system is correctly prepared to receive the new messag...

Страница 20: ...ware version and copyright details It also allows you to invoke the temporary service access mode in order to adjust certain settings please refer to the section Entering service access mode for further details Radascan Operators Manual 20 11 06 1 46 pm Page 18 ...

Страница 21: ...n displayed the on screen keyboard appears as a floating window as standard it is set to remain Always on Top of all other applications this can be changed using its Settings menu To use the on screen keyboard 1 Click the icon to display the on screen keyboard 2 Select an item within RadaScan Console that requires text entry or editing 3 Click the necessary keys on the on screen keyboard To enable...

Страница 22: ... time period has elapsed in which at least one instance of the expected problem has occurred end the navigation session 2 Use the Start button and My Computer to access the Local Disk C folders and filing system Locate the Program Files RadaScan folder 3 Within the folder locate the log file whose filename matches the date and time of your session The name of the folder will include the start and ...

Страница 23: ...About page A dialog will be displayed and will show a Service request code Note The service request code is constructed as two groups of six capital letters A Z separated by a sign There are never any numerals in a service access code 3 Transmit the service access code to Guidance Navigation Limited support radascan co uk or an authorised customer service representative A corresponding Service acc...

Страница 24: ...a number of extra items Firstly the full range of DP Feed types become selectable within the General category Additionally use the Select Configuration Category control to select the Communications and File Transfer Admin pages See Using the on screen keyboard for details Radascan Operators Manual 20 11 06 1 46 pm Page 22 ...

Страница 25: ... XP Pro Embedded Software dedicated real time interactive Hardware options compact marine standard PC module 15 TFT monitor Hatteland Type Approved integrated PC TFT screen Environmental Operating temperature 25 to 55 C Water and dust protection Standard EMC CE certified Mechanical Enclosure radome on anodised alloy base Dimensions 1200mm Ø 920mm h Weight ca 63kg Mounting securing bolt holes in ba...

Страница 26: ...RadaScan Operator 1 Radascan Operators Manual 20 11 06 1 46 pm Page 24 ...

Отзывы: