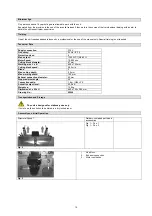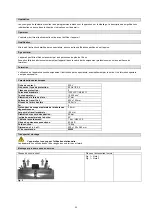
Fig. 7
Angle stop may be set up at needed.
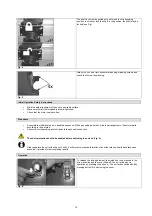
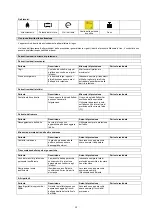
Fig. 8
The required chip cutting may be set up by turning the adjusting knob.
The adjustment will be shown on the scale on the front
side. Work in several steps and take small chips. The
result is then substantially better than if taking large chips.
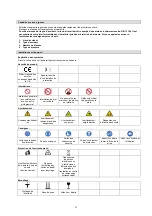
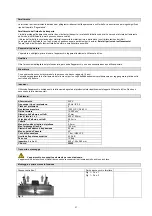
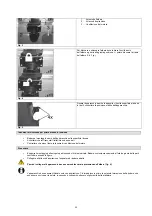
Fig. 9
Mind the direction of the piece advance.
Always set the edge cover so that unexpected reaching
rotating blades is avoided. The blade cover will save your
hands letting it slip down safely.
Still principal attention is required as inattention may result
in severe injuries.
Operator Safety Instructions
Unplug before maintenance/adjustment. Upon finishing the work unplug as well.
•
Do not use the machine until you have read the instruction manual carefully.
•
Observe any safety instructions included in the manual.
•
Be responsible to the others
Step-by-Step Instructions
1.
Set the angle stop at the required angle.
2.
Slide the cutting block protection to the angle stop as far as possible to apply slight pressure on the piece worked.
3.
Set the required chip taking by setting wheel and the scale.
4.
Switch the unit on.
5.
Push the piece to be worked slowly and evenly across the table in the feed device.
6.
Switch off the unit.
Troubles – Causes – Troubleshooting
Trouble
Cause
Troubleshooting
Unit does not work
1.
Defective extension cable
2.
Defective on/off switch
3.
Shaft lock is locked.
1.
Check the extension cable and replace it if
necessary.
2.
Have the switch tested by a professional
17

