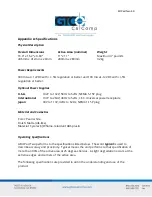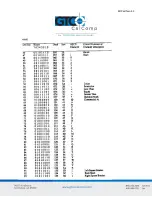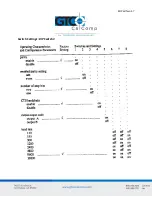
Bit Pad Two 37
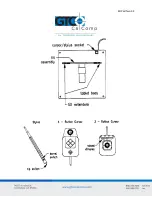
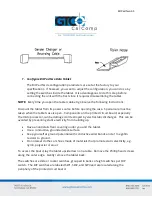
Lift the tilt mounting gently to clear the cursor/stylus socket. Remove the tilt
assembly.
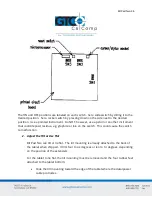
Remove the paper backing from the rubber feet. Stick the feet on the tablet
back, approximately one inch from each corner.
3.
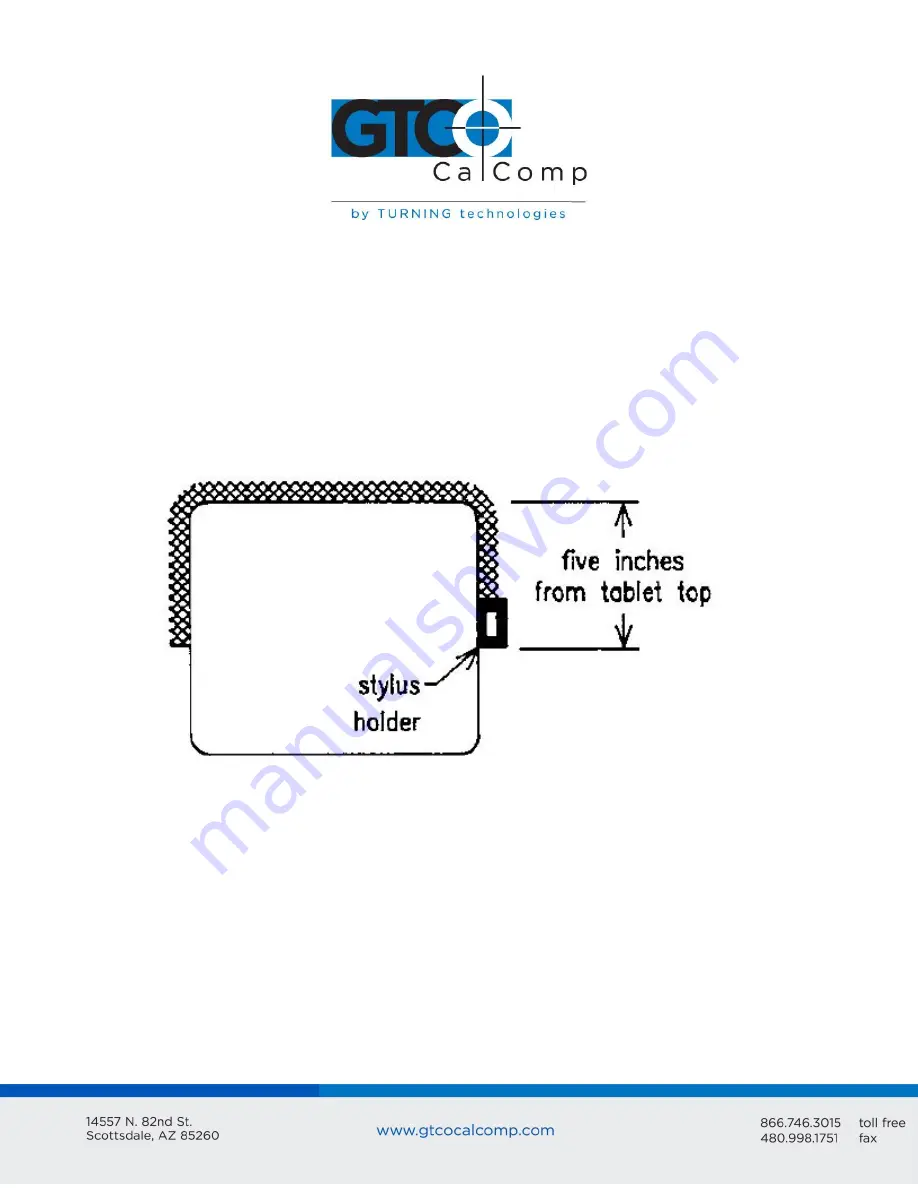
Attach Stylus Holder (if applicable)
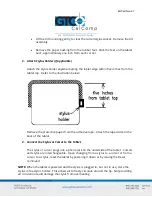
Attach the stylus holder anywhere along the tablet edge within five inches from the
tablet top. Refer to the illustration below:
Remove the protective paper from the adhesive tape. Attach the taped side to the
back of the tablet.
4.
Connect the Stylus or Cursor to the Tablet
The stylus or cursor plugs into a phone jack on the underside of the tablet. Cursors
and stylus are interchangeable. Upon changing from a stylus to a cursor or from a
cursor to a stylus, reset the tablet by powering it down or by issuing the Reset
command.
NOTE:
When the tablet is powered and the stylus is plugged in, but not in use, store the
stylus in the stylus holder. This allows air to freely circulate around the tip. Not providing
air circulation could damage the stylus from overheating.
Содержание BIT PAD TWO DATA
Страница 14: ...Bit Pad Two 14 General Flowchart for Master Program to Read and Process Data Tablet Reports...
Страница 15: ...Bit Pad Two 15 Detail A Get and Decode Reports Subroutine...
Страница 16: ...Bit Pad Two 16 Detail B Data Input Subroutine...
Страница 34: ...Bit Pad Two 34...
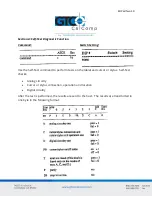
Страница 42: ...Bit Pad Two 42 Appendix B ASCII Conversion Chart...
Страница 43: ...Bit Pad Two 43...
Страница 44: ...Bit Pad Two 44...
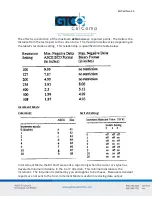
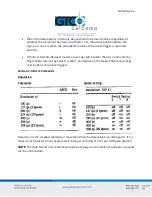
Страница 46: ...Bit Pad Two 46 Switch Settings DIP Switch 1...
Страница 47: ...Bit Pad Two 47 Switch Settings DIP Switch 3...

