Bit Pad Two 36
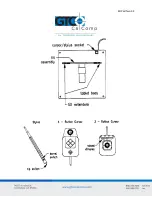
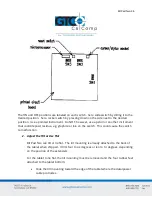
The ON and OFF positions are labeled on each switch. Set a slide switch by sliding it to the
desired position. Set a rocker switch by pressing down on the side next to the desired
position. Use a pointed instrument. Do NOT, however, use a pencil or another instrument
that could deposit residue, e.g. graphite or ink, on the switch. This could cause the switch
to malfunction.
2.
Adjust the Tilt or Use Flat
Bit Pad Two can tilt or lie flat. The tilt mounting is already attached to the back of
the tablet when shipped. It tilts four to six degrees or ten to 14 degrees, depending
on the position of the extenders.
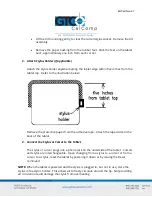
For the tablet to lie flat, the tilt mounting must be removed and the four rubber feet
attached to the tablet bottom:
Slide the tilt mounting toward the edge of the tablet where the data/power
cable protrudes.
Содержание BIT PAD TWO DATA
Страница 14: ...Bit Pad Two 14 General Flowchart for Master Program to Read and Process Data Tablet Reports...
Страница 15: ...Bit Pad Two 15 Detail A Get and Decode Reports Subroutine...
Страница 16: ...Bit Pad Two 16 Detail B Data Input Subroutine...
Страница 34: ...Bit Pad Two 34...
Страница 42: ...Bit Pad Two 42 Appendix B ASCII Conversion Chart...
Страница 43: ...Bit Pad Two 43...
Страница 44: ...Bit Pad Two 44...
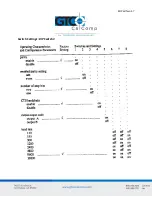
Страница 46: ...Bit Pad Two 46 Switch Settings DIP Switch 1...
Страница 47: ...Bit Pad Two 47 Switch Settings DIP Switch 3...

