Geophysical Survey Systems, Inc.
UtilityScan with GS Software
Manual
MN71-307 Rev B
17
Collecting Data
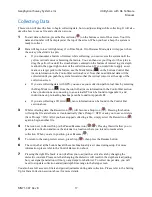
This section will describe how to begin collecting data, how to adjust settings while collecting. It will also
describe how to save a file and collect a new one.
1
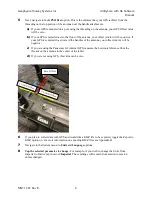
To start data collection, press the Record icon ( ) on the bottom center of the screen. Your file
name and number will be displayed at the top of the screen. When you hear a beep the system is
ready to collect.
2
Data will begin to scroll right away if in Time Mode. If in Distance Mode, data will appear when
the survey wheel starts to spin.
•
If you encounter a feature of interest while collecting, you can reverse the system until the
yellow vertical cursor is bisecting the feature. You can then use your finger or the stylus to
drag the yellow box until the crosshairs are centered on the feature of interest to get a depth
readout in the upper right corner of the collection screen. If you would like to apply a user
mark or a target pick to the feature, use the Mark button (
) on the bottom Control Bar
(more information in the Control Bar section above). Note that no additional data will be
collected until you push the system forward so that the vertical cursor is at the edge of the
collection screen.
•
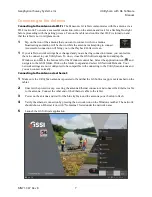
If you are collecting data with GPS, you can see your collection path in real time by selecting
the Map Mode icon (
) from the control bar (more information in the Control Bar section
above, instructions on connecting to an external GPS can be found in Appendix A, and
instructions on pre-loading base maps can be found in Appendix B).
•
If you are collecting a 3D Grid ( ), more information can be found in the Control Bar
section above.
3
While collecting data, the Record icon ( ) will become a Stop icon (
). Pressing this button
will stop the file and ether save it automatically (Save Prompt = OFF) or ask you to save or delete
(Save Prompt = ON). After you have stopped collecting a file, simply select the Record icon ( )
again to begin another file.
4
The icon next to Record/Stop is the Pause/Resume icon (
/
). Pressing this will allow you to
pause data collection and move the antenna to a location where you intend to resume data
collection. When you are in position, press Resume (
)
5
To return to the scan preview screen, press Stop (
), then press the Resume button.
6
The control bar at the bottom has all the same functionality as it does during setup. For more
information, please refer to the Control Bar section above.
7
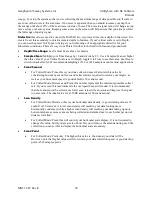
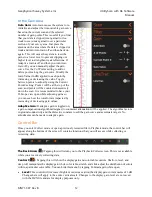
Pressing the right File Stack icon will allow you to adjust the vertical scale by changing the
dielectric constant. Please note that changing the dielectric will result in the depth scale adjusting,
but your signal penetration will not go any deeper or shallower. To collect deeper data, you will
need to stop data collection and adjust depth/time range in the Setup screen.
You also have full access to filters and gain adjustments during data collection. Please refer to the Setting
Up for Data Collection section (above) for more details.
Содержание UtilityScan 50350HS
Страница 1: ...MN27 151 Rev A MN71 307 Rev B ...
Страница 4: ...Geophysical Survey Systems Inc UtilityScan with GS Software Manual ...
Страница 6: ...Geophysical Survey Systems Inc UtilityScan with GS Software Manual ...
Страница 8: ...Geophysical Survey Systems Inc UtilityScan with GS Software Manual MN71 307 Rev B 2 ...
Страница 14: ...Geophysical Survey Systems Inc UtilityScan with GS Software Manual MN71 307 Rev B 8 ...
Страница 20: ...Geophysical Survey Systems Inc UtilityScan with GS Software Manual MN71 307 Rev B 14 1 2 3 4 ...
Страница 46: ...Geophysical Survey Systems Inc UtilityScan with GS Software Manual MN71 307 Rev B 40 ...
Страница 47: ...Geophysical Survey Systems Inc UtilityScan with GS Software Manual MN71 307 Rev B 41 ...


