


Model G0701 (Mfd. Since 9/17)
-31-
Calibrating Miter
Gauge
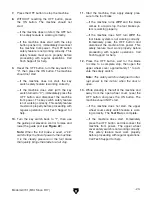
Figure 39. Aligning the miter gauge body with
the blade.
Miter Gauge Body
Lock Knob
6. Loosen the miter gauge lock knob and rotate
the gauge body until it is flat against the
square, then re-tighten the lock knob.
7. Loosen the screw that secures the miter
gauge pointer, set the pointer to the 0° mark
on the scale, then re-tighten the screw.
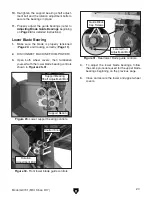
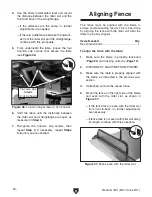
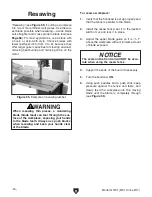
6. Loosen the cap screws that secure the fence
rail to the table (see
Figure 38).
Figure 38. Fence rail cap screws.
7. With the fence locked onto the fence rail,
shift the fence rail until the fence is even with
the miter slot along its entire length, then re-
tighten the rail cap screws.
8. Slide the fence along the entire length of the
rail to make sure it does not bind against the
table.
— If the fence does bind against the table,
re-loosen the rail cap screws and pull
the rail away from the table, then repeat
Steps 7–8.
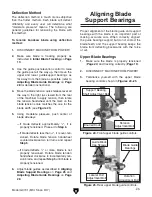
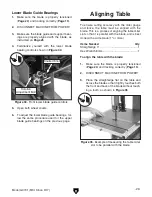
To align the miter gauge body:
1. Make sure the blade is properly tensioned
(
Page 24) and tracking correctly (Page 19).
2. Install the widest blade possible and correctly
tension it.
3. DISCONNECT MACHINE FROM POWER!
4. Lay the machinist's square flat on the table
and up against the blade without touching
any blade teeth, as shown in
Figure 39.
5. Without moving the square, bring the miter
gauge body up to the square, as shown in
Figure 39.
— If there are no gaps between the miter
gauge body and the square, no further
adjustments are needed.
— If there are gaps between the miter gauge
body and the square, continue with this
procedure.
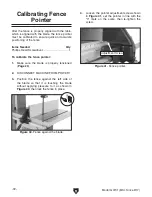
To ensure accurate cutting results when using
the miter gauge, the miter gauge body must be
aligned with the blade.
Items Needed
Qty
Phillips Head Screwdriver .................................. 1
Machinist's Square ............................................ 1