50
To create the user, fill out the form fields and click
SAVE
. Upon creation of the user, an
email confirmation will be sent to the specified email address. The user can confirm their
account by following the instructions received in the email.
Creating a New Project in the Cloud
Similar to the application, the cloud also enables creation of projects.
You can find the “Projects” page on the navigation bar at the home screen. This link
will lead you to the page where projects are listed. New projects can also be created by
clicking the
+
button on the top right corner.
Fill out appropriate information on the dialog to then create a project. You might want to
leave the radio button selected to “Open” to mark that the project is incomplete and may
be edited.
Accessing/Editing Prior Projects
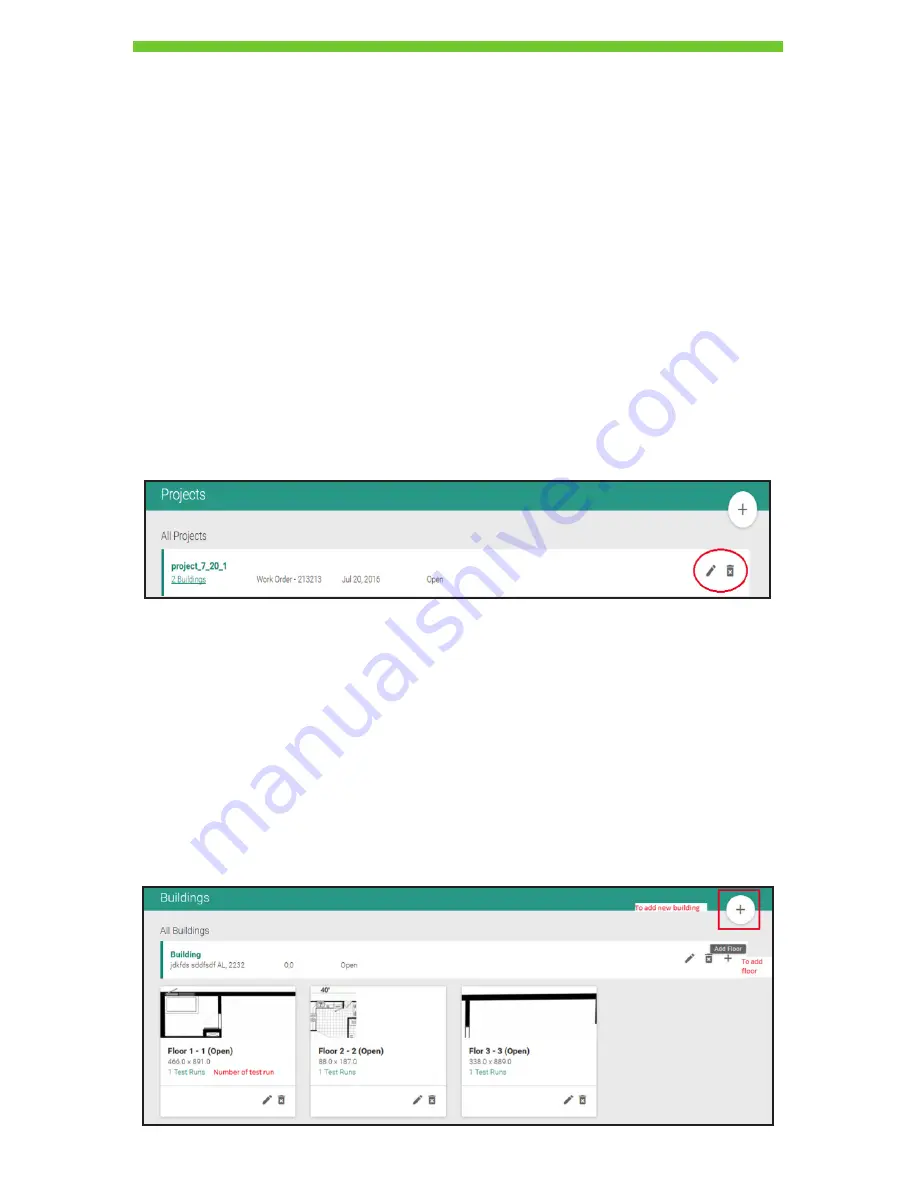
You can edit the project name and status by clicking on the “pencil” icon. Projects can be
deleted by pressing on the “trash can” icon.
The count of buildings that belong to a project is shown right under the project name.
Following the link leads to the “Buildings” page for that project.
The “Building” page displays each building inside the project along with the number of
floors it has. Each floor is displayed as a tile.
The
+
icon at the right end (shown in the image below) can be used to add floors to the
corresponding building as required.
The tile shows a glimpse of the originally imported floorplan image, its dimension in pixels,
and number of test runs performed on the floor.
The “n Test Run” link on the same tile is clickable to explore more information about the
test runs performed on the particular floor.
DRAFT #2—11.16.16


