12
Finish the Wings
o
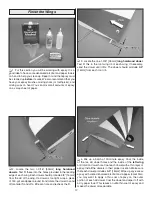
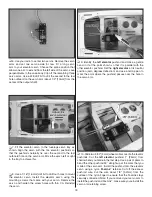
1 . For this section you will be working with epoxy . It is a
good idea to have some denatured alcohol and paper towels
on hand to help you clean up . Keep in mind that epoxy must
be cleaned up
before it cures . We also recommend that you
have your epoxy brushes, mixing sticks (or toothpicks), and
mixing cups on hand . You can mix small amounts of epoxy
on a scrap sheet of paper .
o
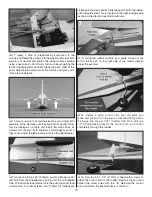
2 . Locate the two 1-3/16" [30mm]
long hardwood
dowels . Test fit these into the holes provided in the leading
edge of each wing . Each dowel should protrude 5/8" [16mm]
from the LE of the wing . If a dowel is too tight, wrap a piece
of 150-grit sandpaper around it and rotate the dowel to sand
off material . Sand off a little at a time and recheck the fit .
o
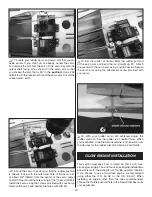
3 . Locate the one 1-3/8" [35mm]
long hardwood dowel .
Test fit this in the root wing rib of each wing . If necessary,
sand the dowel until it fits . The dowel should protrude 5/8"
[16mm] from each root rib .
o
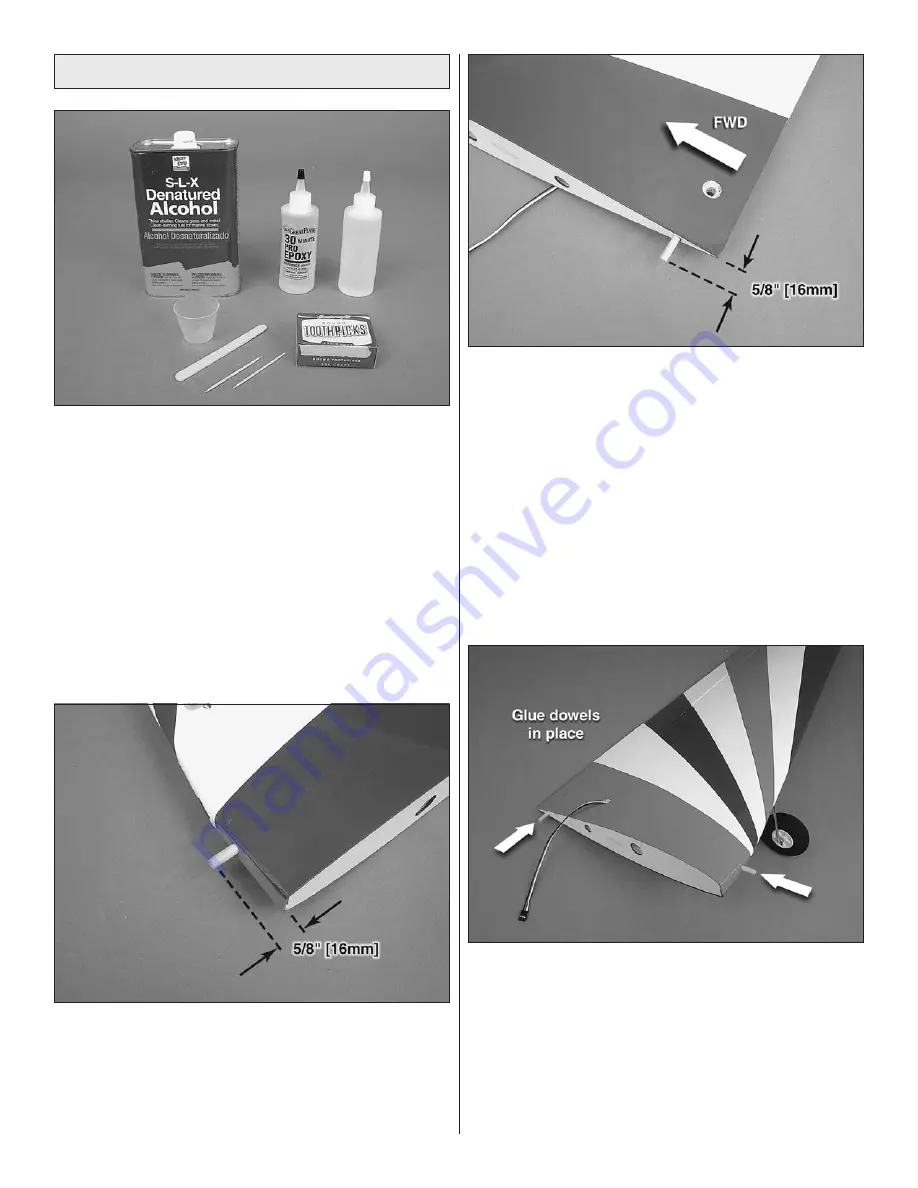
4 . Mix up a batch of 30-minute epoxy . Coat the inside
of the two LE dowel holes and the inside of the
left wing
anti rotation dowel hole . Coat each dowel with a thin layer of
epoxy . Install the dowels in their proper location . Make sure
that each dowel protrudes 5/8" [16mm] . Wipe up any excess
epoxy with some denatured alcohol and a paper towel . Also,
you may want to apply a thin coat of epoxy on the outer
portion of each LE dowel . Coat the dowel and wipe it off with
a dry paper towel . This leaves an ultra thin coat of epoxy and
makes the dowel more durable .
Содержание Z-526 ZLIN krobat
Страница 40: ......


