7
PREPARE FOR ASSEMBLY
o
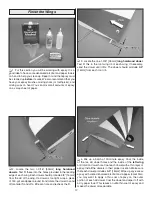
1 . Before you begin assembling your model, use a
covering iron set to a medium temperature (about 250°
F [121° C]) to tack down any loose or wrinkled covering .
Securely tack down the edges of trim and where seams
are present and around the aileron servo hatch covers . We
recommend using a Coverite
™
(COVR2700) covering iron
with a sock (COVR2702) .
o
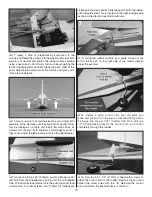
2 . Check the pre-hinged ailerons for secure attachment .
If necessary, add several drops of thin foam-safe CA to
each side of the hinges . Clean up any excess glue that runs
out of the hinge line using a paper towel . Allow the glue to
fully cure .
ASSEMBLE THE WINGS
Aileron Servos & Control
Horn Installation
o
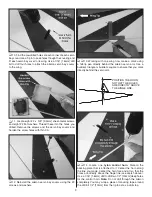
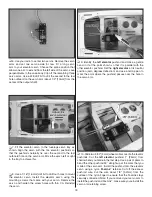
1 . Locate the long servo arm that came with your servo .
For Futaba standard servos this is the arm that is already
installed on the servo . For other radio systems, please use
the arm that is at least 5/8" [15 .9mm] long from the center
of the shaft to the outermost hole . Center two servos using
your radio . Remove the servo arm screw and reposition the
servo arm on the splined output shaft so that the arm is 90°
(perpendicular) to the servo case side . Clip off the unused
servo arms so that your servos look like those in the photo .
Install the servo arm screw .
o
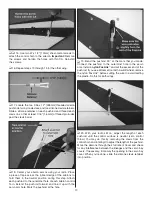
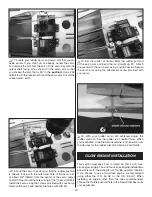
2 . Use a #48 drill bit to drill the outermost servo arm hole
on both aileron servos . Install the servo mounting grommets .
Note: If you don’t have a numbered drill bit set, you may use
a hobby knife to carefully enlarge the servo arm hole . Work
slowly and keep checking the fit using the unthreaded end of
one of the 2-56 pushrods . Minimizing control slop now can
prevent poor flying characteristics (or even flutter) later .
Содержание Z-526 ZLIN krobat
Страница 40: ......


