❏
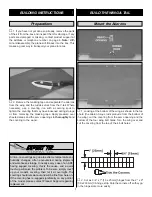
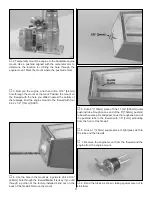
5. Attach your receiver and receiver battery to the top of
the servo tray. Use 1/4" [6mm] foam to isolate vibration, and
the included hook-and-loop material to hold them in place.
Remove the receiver and receiver battery.
❏
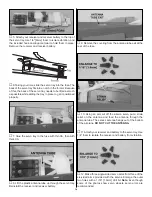
6. Taking your time, slide the servo tray into the fuse. The
back of the servo tray fits into a notch in the former. Because
of this, the back of the servo tray needs to be lifted as much
as possible while sliding the tray in place to get it positioned
properly.
❏
7. Glue the servo tray to the fuse with thin CA, then with
thick CA.
❏
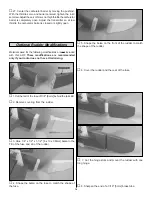
8. Lift the plastic antenna tube up through the servo tray.
Reinstall the receiver and receiver battery.
❏
9. Remove the covering from the antenna tube exit at the
rear of the fuse.
❏
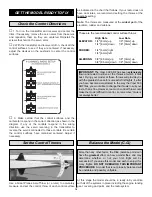
10. Using an arm cut off the aileron servo, put a strain
relief on the antenna and feed the antenna through the
antenna tube. The excess antenna hangs out of the bottom
of the airplane. DO NOT CUT THE ANTENNA.
❏
11.Attach your receiver and battery to the servo tray. Use
1/4" foam to isolate the receiver and battery from vibration.
❏
12. Make three single-sided servo arms from three of the
six-sided arms provided with the servos. Enlarge the outer
two holes with a 1/16" [1.6mm] drill bit. Note: Even though
some of the photos show servo wheels, servo arms are
recommended.
14

