❏
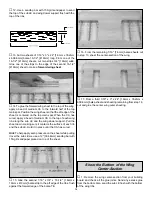
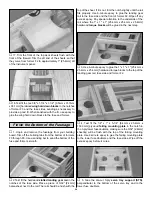
6. Glue a die-cut 3-ply servo mount backup to the
bottom of the servo tray at both ends of the opening for the
rudder and elevator servo. Determine which side your
throttle servo will need to be mounted on. Cut the third servo
mount backup in half and glue it to the bottom of the servo
tray in front and behind the throttle servo mounting hole.
❏
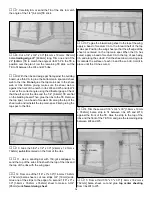
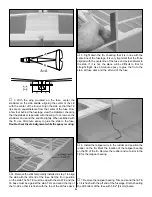
7. Carefully sand the outside of the 36" [914.4mm] gray
outer pushrod tubes with coarse sandpaper so that the
glue will adhere better.
❏
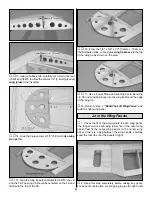
8. Use a 3/16" [4.8mm] drill bit to chamfer the front of the
pushrod tube exit slot at the aft end of the fuselage. You
want the outer pushrod to be as straight as possible when it
is inserted through the slot and the holes in the formers.
❏
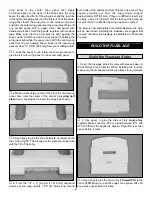
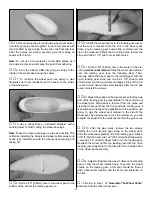
9. Insert the outer pushrods through the slots and the
holes in the formers. Leave approximately 1/4" [6.4mm] of
the pushrod tubes protruding from the front of former F3.
Glue the tubes to the formers and fuse sides. The slots in
the side of the fuse for the pushrod tube exit can be filled
with Hobbico
®
balsa filler or 50/50 mixture of microballoons
and epoxy.
❏
10. After the filler has cured, cut off the pushrod tubes,
flush with the fuse side, and use a sanding bar to sand the
outer pushrod tubes and filler flush with the side of the
fuselage. Save the remaining outer pushrod tube for the
throttle outer pushrod tube.
❏
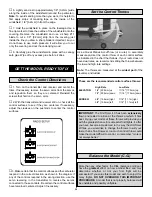
11. From the leftover balsa stringers, glue sheeting
supports, flush with the fuse sides, to the front of the landing
gear rail and the front and back of the fairing mounting plate.
❏
12. With the fuselage positioned upside-down on your
building board, sand the fuse sides and formers flush. Sheet
the bottom of the fuse using 3/32" x 3" x 30" [2.4mm x
76.2mm x 762mm] balsa sheet, applied cross-grain, starting
at the firewall and proceeding to within 1-1/2" [38.1mm] of
the aft end. After the fin is installed the remaining sheeting
will be installed.
❏
13. Fill any small gaps in the fuselage with balsa filler.
❏
14. Use a sanding bar to sand the bottom sheeting flush
with the side of the fuse. Blend the top deck into the fuse
sides. Round the edges between the aft fuse deck and fuse
sides and the bottom sheeting and fuse sides. Try to do as
much finish sanding now as possible. It is easier to sand
now than after the stab and fin are installed.
27
Содержание Old Timer
Страница 6: ...6 DIE PATTERNS...
Страница 7: ...7 DIE PATTERNS...
Страница 44: ...TWO VIEW DRAWING Use copies of this page to plan your trim scheme...
Страница 45: ...B C...
Страница 46: ...D A...


