❏
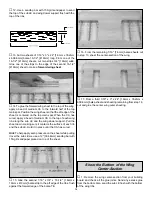
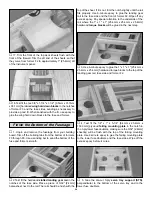
17. Trim the front of the top deck sheets flush with the
front of the firewall. Trim the aft end of the sheets so that
they curve from former F2 to approximately 1" [25.4mm] aft
of the instrument panel.
❏
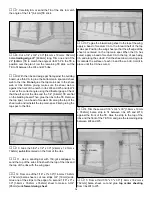
18. Test fit the two 3/8" x 1-1/4" x 1-1/2" [9.5mm x 31.7mm
x 38.1mm] hardwood wing hold down blocks in the notches
of former F3 and the fuse sides, sanding as necessary to
provide a good fit. When satisfied with the fit, use epoxy to
glue the wing hold down blocks to the fuse and former.
❏
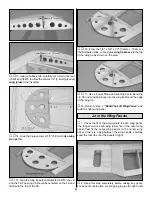
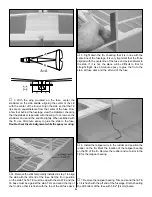
1. Unpin and remove the fuselage from your building
board. Trim off the building tabs from the bottom of formers
F3 through F6. Use a sanding bar to sand the bottom of the
fuse and formers smooth.
❏
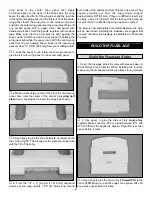
2. Test fit the hardwood slotted landing gear rail in the
notches of the fuse side. Place a piece of 3/32" [2.4mm]
balsa sheet next to the rail. The rail should be flush with the
top of the sheet. If it is not, trim the notch slightly until the rail
fits properly. Use 6-minute epoxy to glue the landing gear
rail to the fuse side and the front of former F2. Wipe off any
excess epoxy. Pay special attention to the underside of the
rail where the 1" x 1" x 1" [25.4mm x 25.4mm x 25.4mm]
hardwood torque blocks will be glued in the next step.
❏
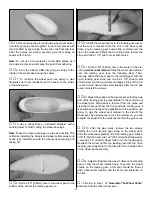
3. Use 6-minute epoxy to glue the 1" x 1" x 1" [25.4mm x
25.4mm x 25.4mm] hardwood torque blocks to the top of the
landing gear rail, fuse side and former F2.
❏
4. Test fit the 1/4" x 1" x 5-1/4" [6.4mm x 25.4mm x
133.3mm] plywood fairing mounting plate in the notch in
the 3-ply lower fuse doublers, making sure the 3/32" [2.4mm]
sheeting will be flush with the top of the fairing mounting
plate. Use 6-minute epoxy to glue the fairing mounting plate
to the lower fuse doublers and the fuse sides. Wipe off the
excess epoxy before it cures.
❏
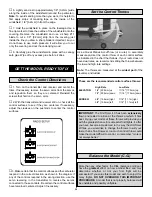
5. Glue the die-cut 3-ply servo tray support (STS),
perpendicular to the bottom of the servo tray and to the
lower fuse doublers.
Finish the Bottom of the Fuselage
26
Содержание Old Timer
Страница 6: ...6 DIE PATTERNS...
Страница 7: ...7 DIE PATTERNS...
Страница 44: ...TWO VIEW DRAWING Use copies of this page to plan your trim scheme...
Страница 45: ...B C...
Страница 46: ...D A...


