❏
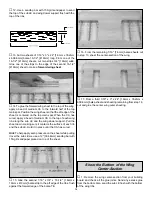
1. Cover the Fuselage Top View plan with waxed paper
or Great Planes Plan Protector.
❏
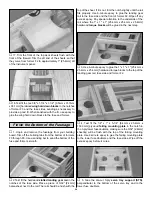
2. Lay the right fuse side on your building board. Align the
front of the fuse with the front of the fuse plan. Use the plan
as a guide to locate the formers. Insert the die-cut 3-ply
formers F2 through F6 in the fuse side. Do not glue them
in yet.
❏
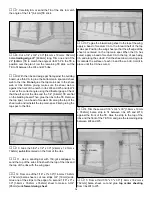
3. Install the left fuse side on formers F2 and F3. The top
of the former F2 must be flush with the top of the fuse side.
Use masking tape to hold the fuselage together. Tape the
fuse behind F2 and in front of F3. After taping, rotate the
fuse upright.
❏
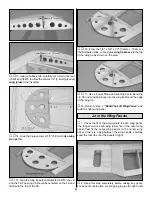
4. You will notice at the bottom of former F3 is a centerline
mark. Darken the mark with a pen. Align this mark with the
centerline and the former location on the fuse plan. Pin the
former to the plan. Align the center joint in former F2 with the
centerline and pin it to the plan.
❏
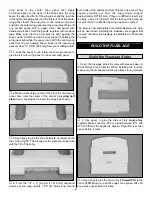
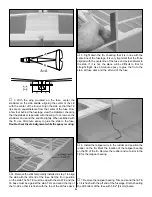
5. Pull the fuse sides together at former F4, F5 and F6.
Tape the sides together and pin the formers to the building
board, aligning the mark at the bottom of each former, with
the centerline. Do not put the tape over the top of the fuse.
You will need to check fit the aft fuse deck .
❏
6. Test fit the aft fuse deck to the fuse and tape it into place.
❏
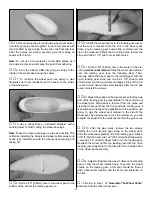
7. Starting at former F2, use thin and medium CA to glue
the fuse sides to the formers. Make sure each former is
aligned with the centerline and against the building board.
Carefully work your way back to former F6. Once the
formers are glued to the fuse sides, glue the aft fuse deck
to the formers and fuse sides.
❏
8. Use 6-minute epoxy to glue the die-cut 3-ply stabilizer
plate to the fuse sides and the stab saddle doubler.
❏
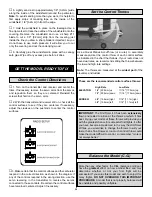
9. Use 6-minute epoxy to glue the engine tray, perpendicular
to the front of the firewall. The front of the firewall is F1A.
Note that the wider side of the engine tray is on the right
side when viewed from the firewall.
Assemble the Fuselage
24
Содержание Old Timer
Страница 6: ...6 DIE PATTERNS...
Страница 7: ...7 DIE PATTERNS...
Страница 44: ...TWO VIEW DRAWING Use copies of this page to plan your trim scheme...
Страница 45: ...B C...
Страница 46: ...D A...


