❏
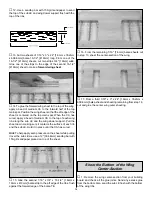
3. With the wing mounted on the fuse, center the
stabilizer on the stab saddle, aligning the center of the LE
with the center of the fin slot. Align the stab so that the TE
tips are an equal distance from the center of the fuse. From
a few feet behind the fuselage, view the stabilizer, checking
that the stabilizer is parallel with the wing. If not, remove the
stabilizer and sand the saddle slightly. When satisfied with
the fit, use 30-minute epoxy to glue the stab to the fuse.
Double-check the stab alignment while the epoxy is curing.
❏
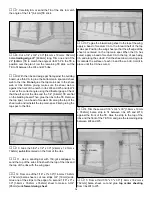
4. Remove the stick temporarily installed in step 1 to align
the stab with the aft end of the fuse. Set the fin in position
on the stab. The fin TE must line up with the stab TE and the
fin base must be against the stab. Trim and sand the top of
the fin LE so that it is flush with the top of the aft fuse deck.
❏
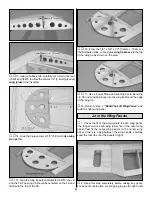
5. Sight down the fin, checking that it is in line with the
centerline of the fuselage. It is very important that the fin be
aligned with the centerline of the fuse and perpendicular to
the stab. If it is not, the plane will be difficult to trim for
straight flight. Use 30-minute epoxy to glue the fin to the
stab, aft fuse deck and the aft end of the fuse.
❏
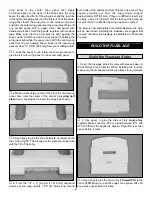
6. Install the tailgear wire in the rudder and position the
rudder on the fin. Mark the location of the tailgear bearing
on the TE of the fin. Remove the rudder and cut a slot in the
TE for the tailgear bearing.
❏
7. Remove the tailgear bearing. Trim and sand the fin TE
so it is flush with the aft end of the fuselage. Finish sheeting
the aft bottom of the fuse with 3/32" [2.4mm] balsa.
29
Содержание Old Timer
Страница 6: ...6 DIE PATTERNS...
Страница 7: ...7 DIE PATTERNS...
Страница 44: ...TWO VIEW DRAWING Use copies of this page to plan your trim scheme...
Страница 45: ...B C...
Страница 46: ...D A...

