❏ ❏
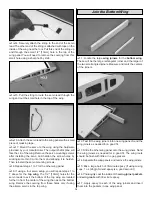
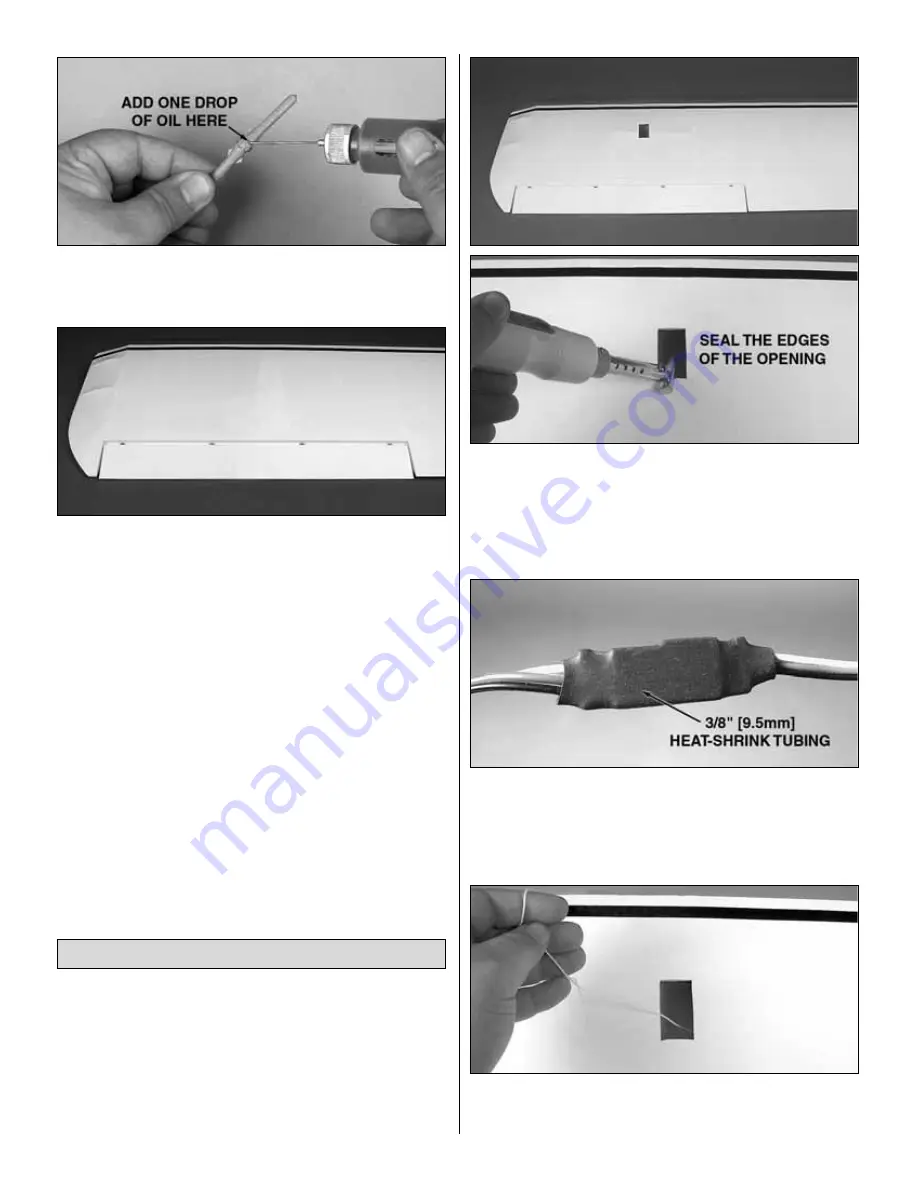
6. Before inserting the hinge in the hole, apply a drop of
oil to the hinge. This will serve to smooth the operation of the
hinge and also help prevent epoxy from binding the hinge.
❏ ❏
7. Reattach the aileron. There should be a gap just
small enough to see through when the aileron is properly
attached as shown in the second photo. Caution: DO NOT
move the aileron until the epoxy has cured completely.
Doing so may work epoxy into the hinge and cause it to
bind! Use masking tape to hold the aileron in place until the
epoxy has completely cured.
❏
8. Repeat steps 2-7 for the other top and bottom wing panels.
Note: There are two options for aileron installation on the
Giant Aeromaster ARF. One option is to use two bottom
aileron servos to drive all four ailerons. The second option is
to install an aileron servo for each of the four ailerons. You
will repeat the following steps for the top wing if you choose
to use four aileron servos. If you choose to use the two
servo option, later in the manual after the wings are
mounted, you will join the two ailerons on each side.
❏ ❏
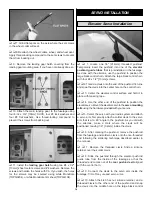
1. Locate the aileron servo bay in the bottom of the
wing panel. Remove the covering from the opening using a
sharp hobby knife. Seal down the edges of the opening with
a sealing iron after cutting.
❏ ❏
2. Attach a 36" [914mm] servo extension to the aileron
servo and seal the connection using 3/8" [9.5mm] heat-
shrink tubing as shown (not included).
❏ ❏
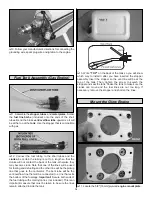
3. Inside the cutout for the servo there is a length of
string taped to the interior of the wing. Carefully pull this
string up and out of the aileron servo bay.
Install the Ailerons Servos
9


